Installing CarePro
Before you begin installation, make sure you have a webserver that meets the following requirements:
- PHP >= 7.2.5
- MySQL >= MySQL 5.7
- BCMath PHP Extension
- Ctype PHP Extension
- JSON PHP Extension
- Mbstring PHP Extension
- OpenSSL PHP Extension
- PDO PHP Extension
- Tokenizer PHP Extension
- XML PHP Extension
CarePro was built using Laravel 7
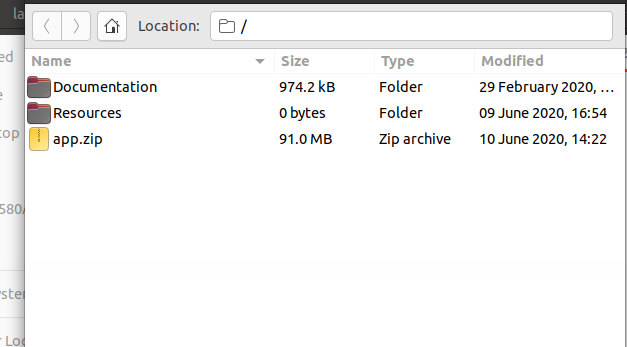
The CarePro Download consists of the following files
- Documentation (Directory)
- Resources (Directory)
- app.zip
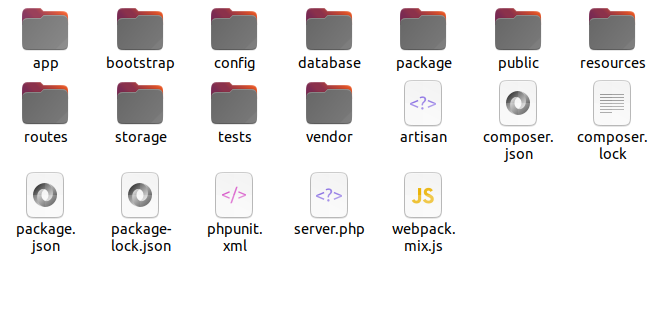
The main application's files reside in the app.zip archive. Extract this archive to your web server. You should see the following directory structure:
We recommend that you point your domain name to the public directory. Your should be able to do this from your hosting's control panel. Otherwise, you can use the .htaccess file located the the 'Resources' directory (this file might be hidden depending on your operating system. Make sure you enable display of hidden files for that directory). Simply upload this file to the same directory as the public folder and then change the [YOUR_DOMAIN_NAME] placeholder to your actual domain name
Open your web browser and enter the domain name for the application. You should see the setup wizard open like below:
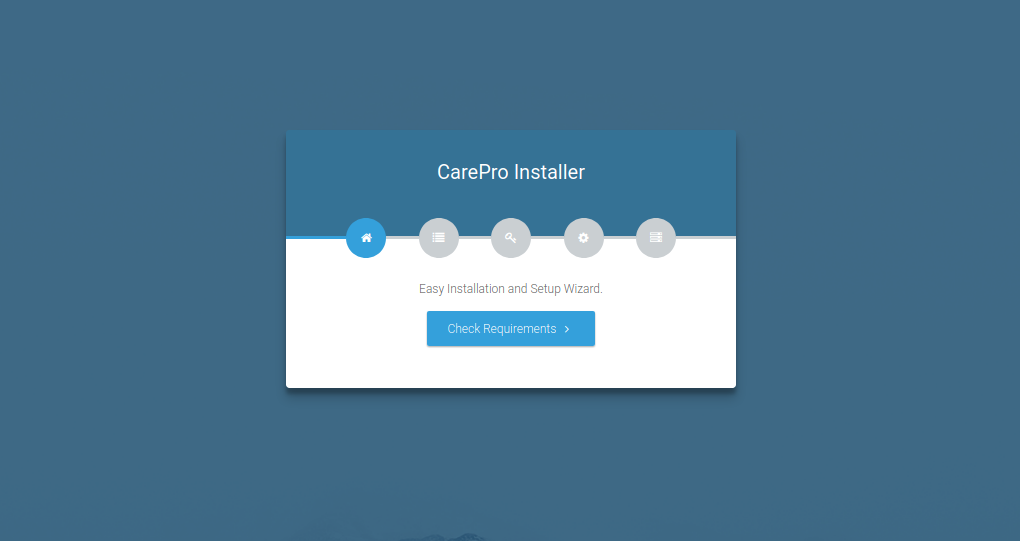
Click on the 'Check Requirements' button to start the setup wizard.

This step will check to make sure that your server meets all the system requirements for the application.
If any of the requirements report a problem, ensure that you fix it before proceeding with the
installation.
If every requirements checks out okay, click on the 'Check Permissions' button in order to proceed

This step checks to see if some folders in the application have the right permissions. If it is reported that any
directory does not have the right permissions, make sure that you fix it before proceeding with the next step. You should
be able to fix the permissions from the command line or from the filemanager of your web hosting.
Next, click on the 'Configure Environment' button. This brings up the following page
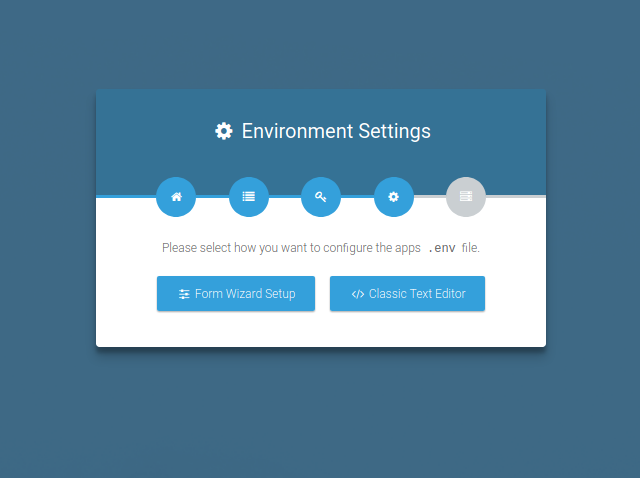
We recommend that most users click on the 'Form Wizard Setup' button. The 'Classic Text Editor' option is for advanced users only.
Clicking on the 'Form Wizard Setup' button brings up the following page

The available options on this page are explained below:
- App Name: The name of the application. You can enter your company name here
- App Environment: If you are setting up for a live environment, set this to 'Production'.
- App Debug: If you are setting up for a live environment, set this to 'False'
- App Log Level: Leave this as the default
- App Url: Set the url for your application here e.g. https://mysite.com
Next, click on the 'Setup Database' button. This will lead to the page where you will setup the database for the application. Kindly note that, even though Laravel supports multiple database types, CarePro has only been tested in MySQL/MariaDB and that is the database we recommend.
Before proceeding with this step, make sure that you have already created your database on your server and you have added a user to the database. Ensure that you give the user ALL privileges to the database. This will prevent errors during the database setup.

After you enter in all your database credentials, click on the 'Setup Application' button
The next step presents some advanced options. The only thing you need to change in this step is the 'Mail' section
Click on the 'Mail' tab.
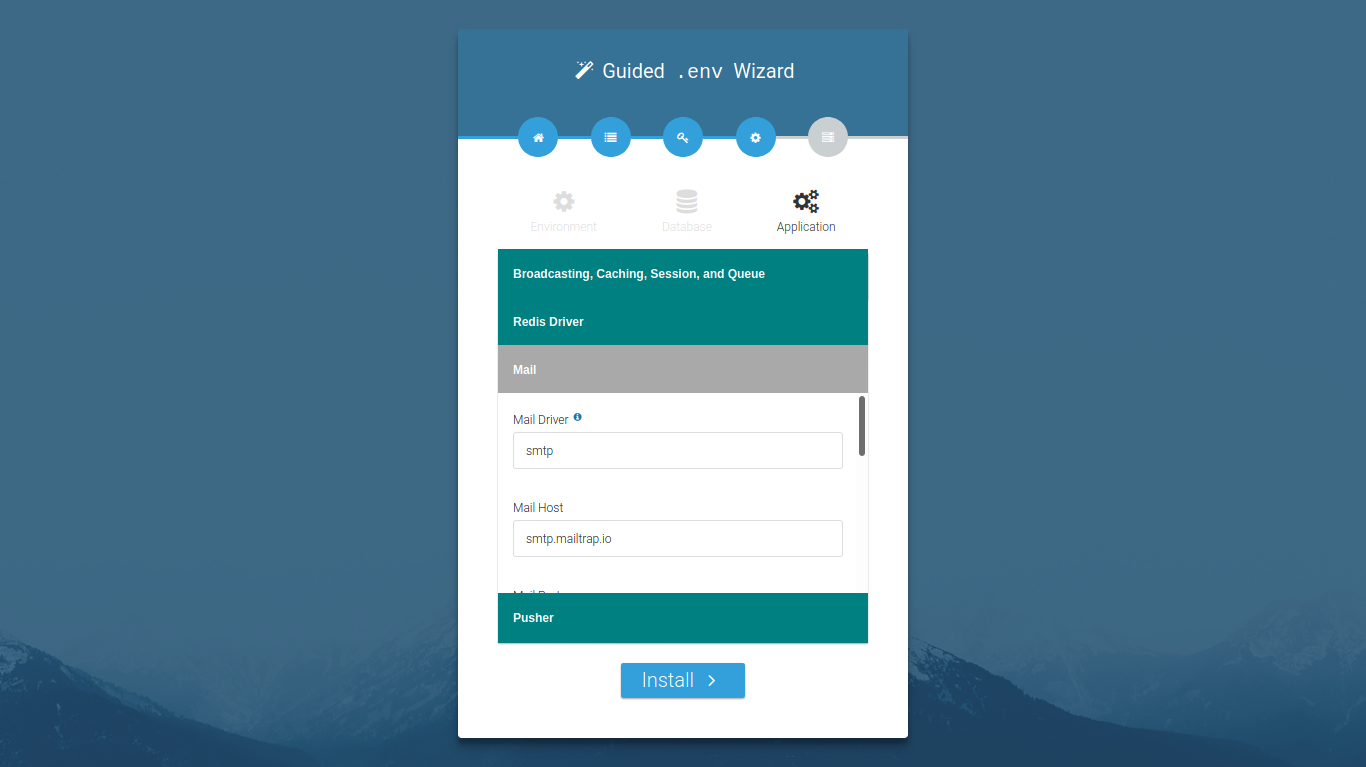
If you have smtp credentials for your email account, then you can set them up here. Otherwise, change the 'Mail Driver' option to
mail. This will set the application to send our email directly from PHP.
Finally, click on the 'Install' button. This will install the application. (These operation might take a few minutes so ensure that your server's PHP timeout value is high enough).
Once the installation is complete, you will see a page like below:

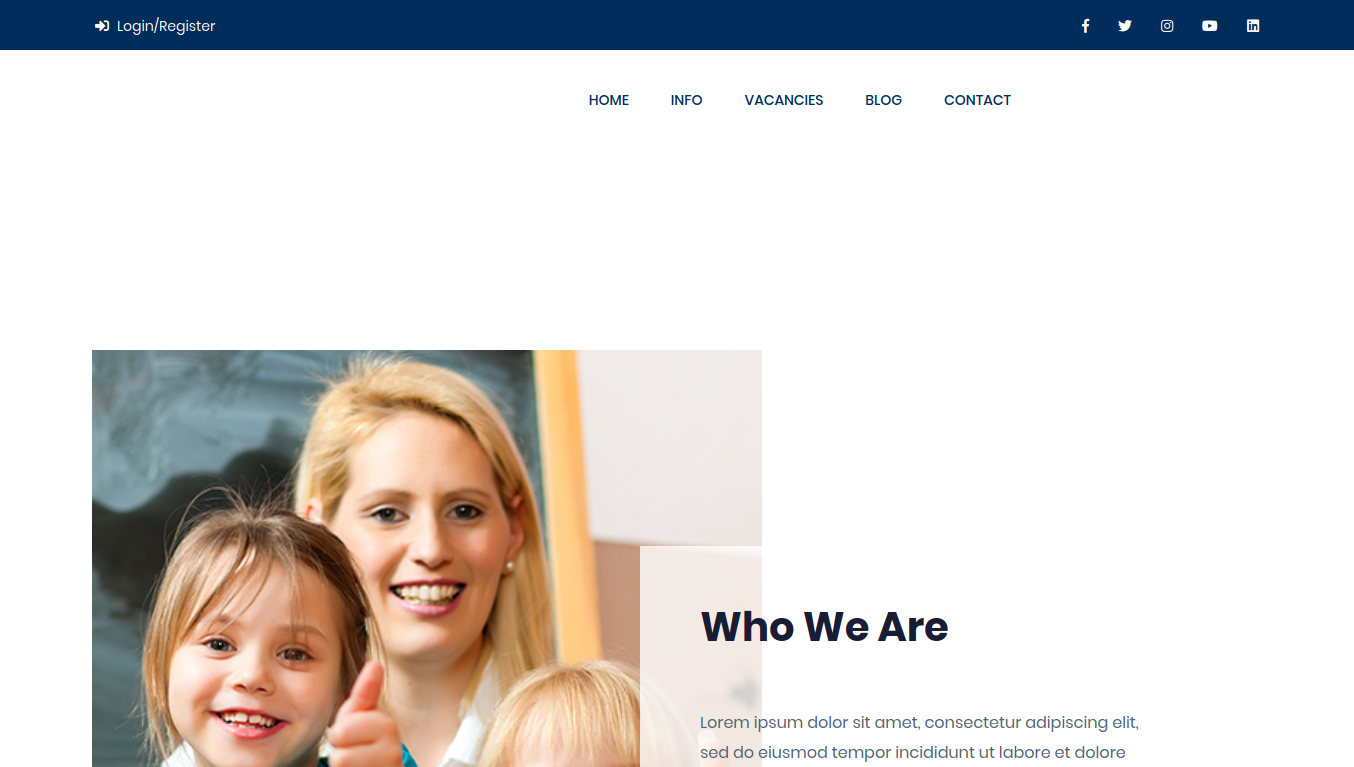
Click on the 'Click here to exit' button and you should then be directed to your homepage
YOUR FIRST ADMIN ACCOUNT
When you install the application for the first time, a default Admin account is created for you. The credentials for this account are as follows:
Email: admin@email.com
Password: password
Click on the 'Login/Register' link at the top in order to login to your admin area
Order Settings
Before you start accepting orders on your CarePro portal, you should setup some basic order settings. These define a few options for how orders should be placed on your site.
To open the order settings page, go to 'Settings'-'Order Settings'
This opens the following page:

Each option presented in this page is explained below:
-
Enable Shortlist: This specifies if you would like Employers to be able to shortlist candidates while they are placing their orders. If you set this to 'No' , then the shortlist option will not be visible on the site. However, you will still be able shortlist candidates if you are creating orders manually from the backend.
-
Require billing address during checkout: This specifies if you would like to force users to submit their billing addresses during checkout. This is needed if you are using certain payment gateways that may require it.
Order Forms
CarePro allows you to create multiple order forms. An order form is a dedicated form accessible only to Employers. Employers can use these forms to place orders for your services.
Each order form can be customized in order to receive the right type of information you need from your various types of Employers. For example, if you run a Nanny agency that caters for Parents and Creches, you can choose to create two order forms, one for Parents and the other for Creches. Links to the order forms can be placed on your Navigation menus for easy location by Employers.
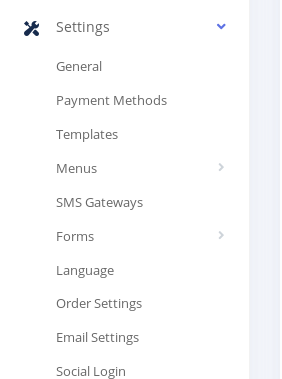
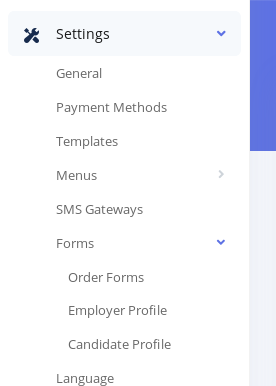
In order to create an order form, login to your Admin account and navigate to 'Settings'-'Forms'-'Order Forms'.
The Order Forms page will open which shows the list of all available forms.
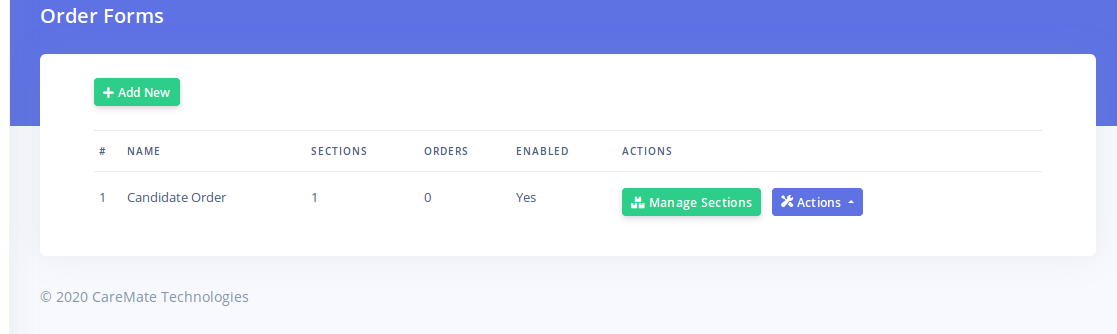
In order to create a new form, click on the 'Add New' Button.
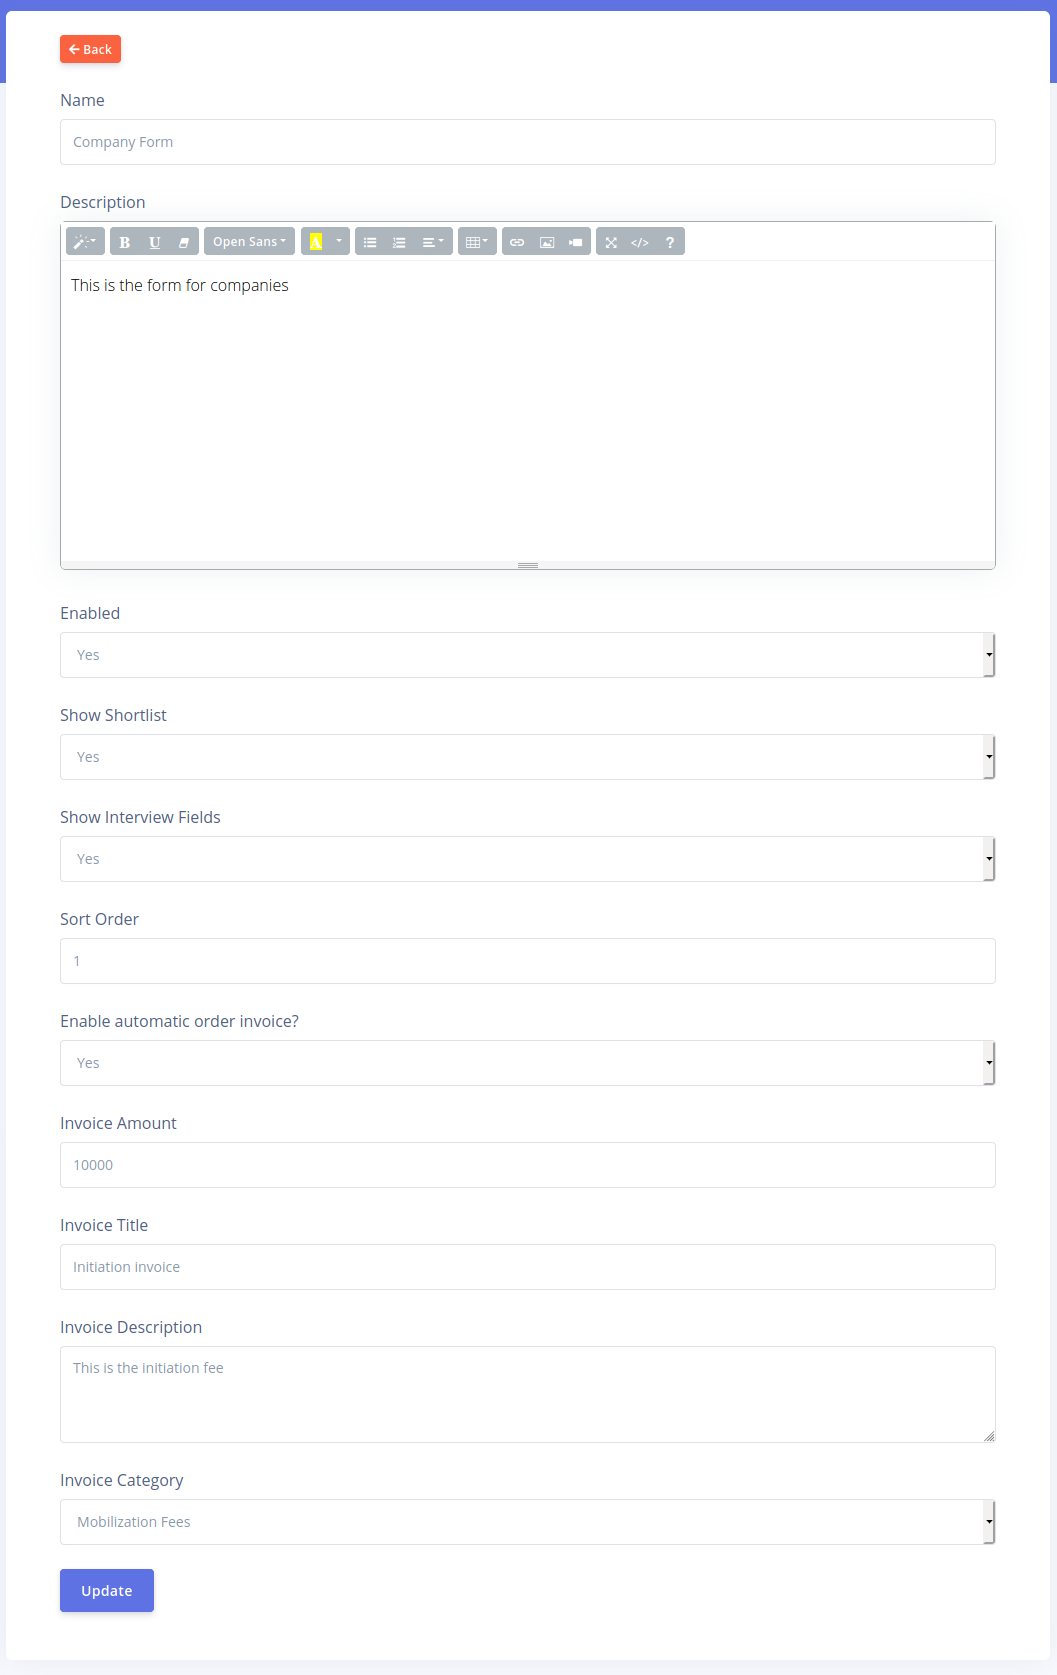
The order form page will open up which contains the following fields:
-
Name: Enter the name of the form. Choose a name that is descriptive of the Form's function as this name will be displayed as the Title of the form when employers open it.
-
Description: The description of the form should contain instructions you would like employers to read before filling the form. This description will be visible on the first section of each Order Page an employer attempts to fill. It will also be visible on the order form list that gets displayed if there are more that one active order forms.
-
Enabled: This specifies if a form can receive responses or not. If disabled, employers will not be able to view the form even if they have the url.
-
Show Shortlist: When an employer is placing orders, they may wish to shortlist candidates from your public list. This setting determines if the shortlisted candidates will be visible on the form while it is being filled. You may wish to disable this if you do not expect Employers the form was designed for to be interested in shortlisting.
-
Show Interview Fields: Typically, order forms are used to place orders for candidates and this usually results in an interview being scheduled. By default, forms have some fields that enable employers set their preferred interview details such as Interview date, Interview location and Interview Time.
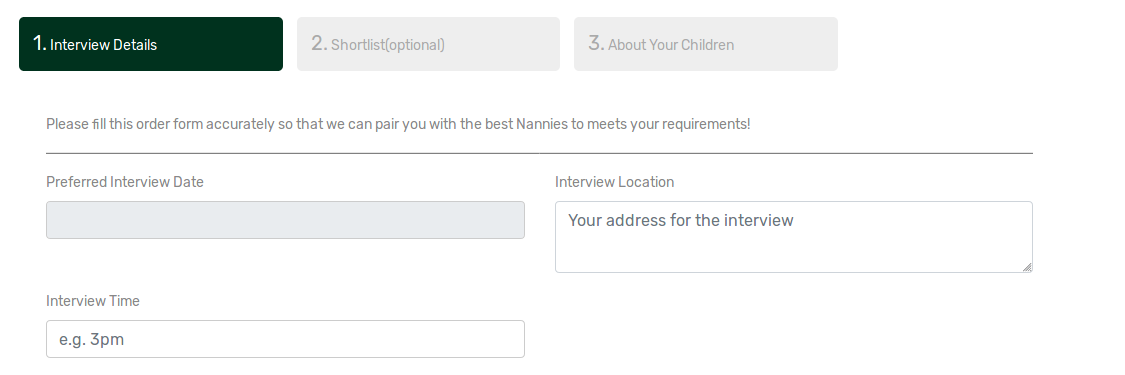
If you wish to hide these fields in a form, you can do so using this option.
-
Enable automatic order invoice: This specifies if you would like and invoice to be generated automatically every time an employer successfully creates an order. This is especially useful for collecting mobilization fees. If set to yes, then and invoice will be automatically generated for the employer and they will be redirected to the payment page after they place their order.
-
Invoice Amount: This option will only have an effect if the 'Enable automatic order invoice' option is set to 'Yes'. This specifies the amount that will be charged on the automatically generated invoice.
-
Invoice Title: This option will only have an effect if the 'Enable automatic order invoice' option is set to 'Yes'. This defines the title of the invoice that is generated automatically.
-
Invoice Description: This is the description of the invoice item for the automatically generated invoice (if enabled).
-
Invoice Category: CarePro enables you to categorize your invoices for easy sorting. You can specify the Invoice Category that the automatically generated invoice (if enabled) will belong to by default.
Once you have successfully created a form, you can proceed to create sections for that form. Each order form is comprised of 'Sections'. You can create as many sections as you wish for each form. Each section can contain multiple fields. Fields are the actual form controls that the employer fill input data into. Fields can be of various types such as Text boxes, Text area, Select, Radio buttons, Labels, Checkboxes and File input.
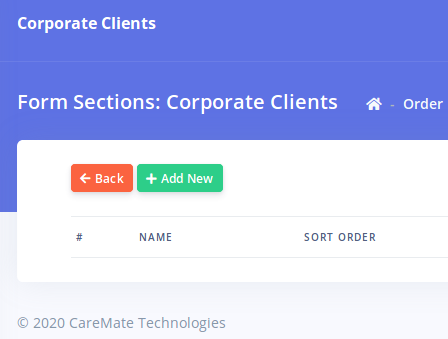
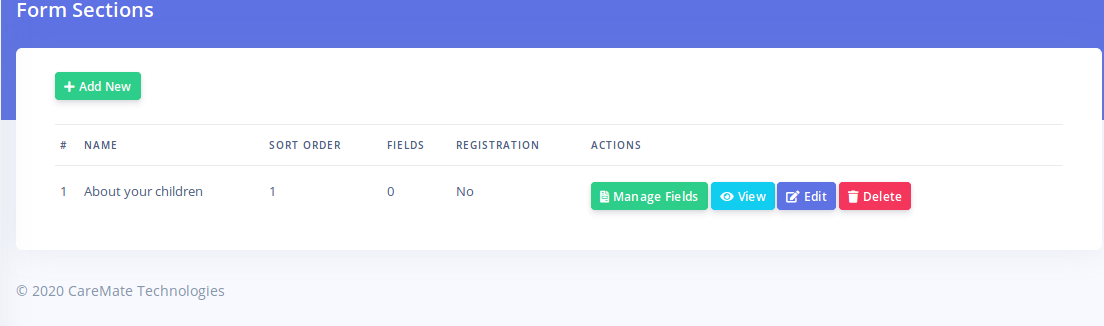
To create a new section, click on the 'Manage Sections' button for the Order Form you are modifying
Next, click on the 'Add New' button.
The Order Form Section creation page will open as shown below:
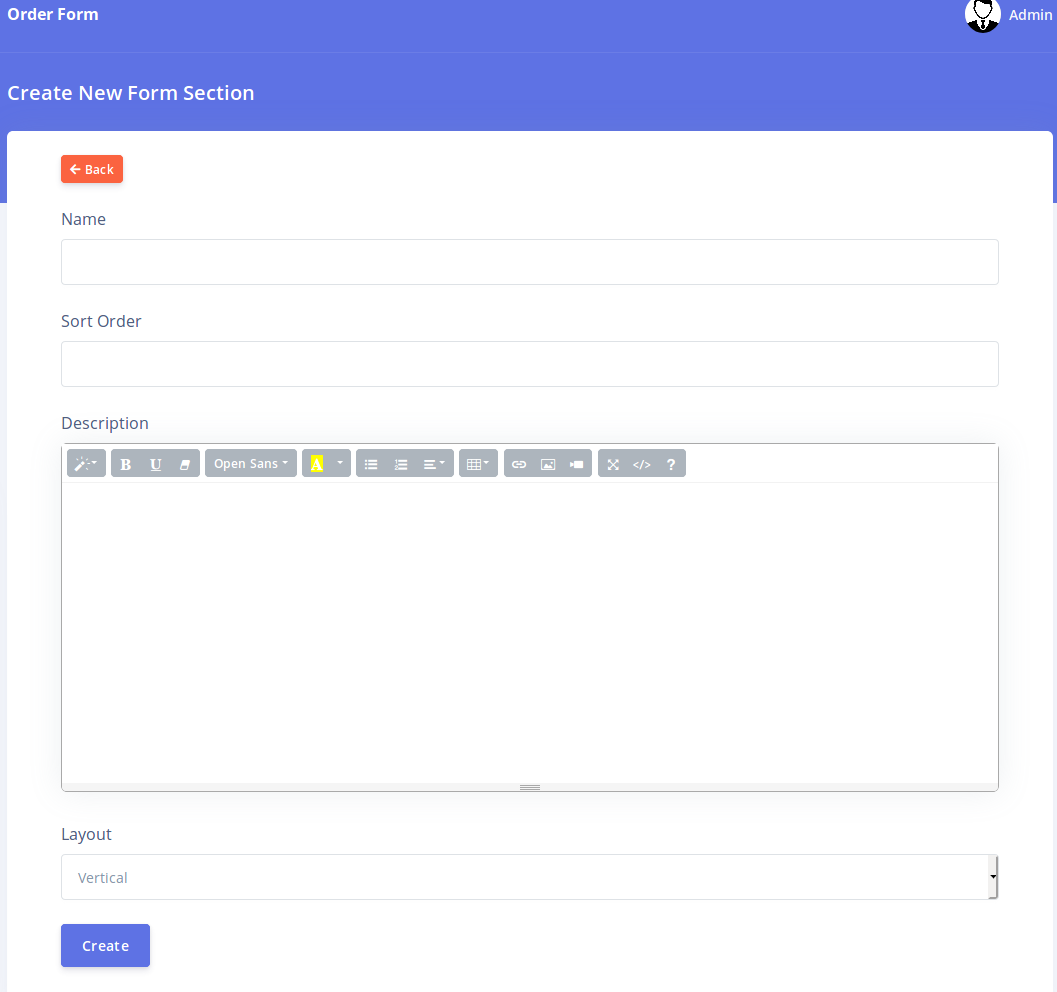
The different fields on this page are explained below:
-
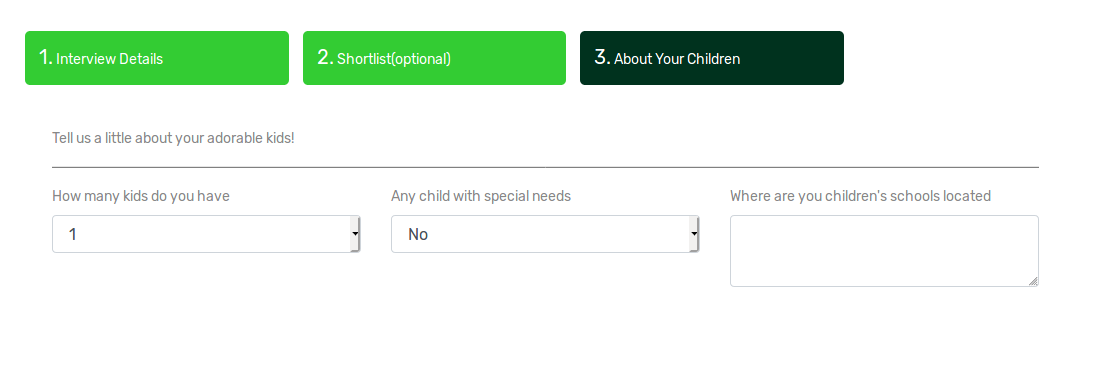
Name: This is the name of the section. Enter a name that is descriptive of this section. However, ensure that you do not make your name too long as this is what is displayed as the title of the form section on the order form as show below
We recommend you use just three or four words as your section name.
-
Sort Order: The sort order is a digit that controls the order of display of this section relative to the order sections on the same form. Sort orders must be an integer (e.g. 1,2,3). The sections are displayed in ascending order of the sort order. Hence, if you assign the number 1 as a sort order for a section, it will be the first section that is displayed after the 'Details' and 'Shortlist' (if enabled) sections.

We recommend you do not repeat section sort orders in a single form i.e. do not give two sections in the same form the same sort order number. This is to make sure your display order is predictable.
-
Description: This is descriptive text that explains how the fields in this section should be filled. This is displayed to employers when they navigate to this section in the order form.
-
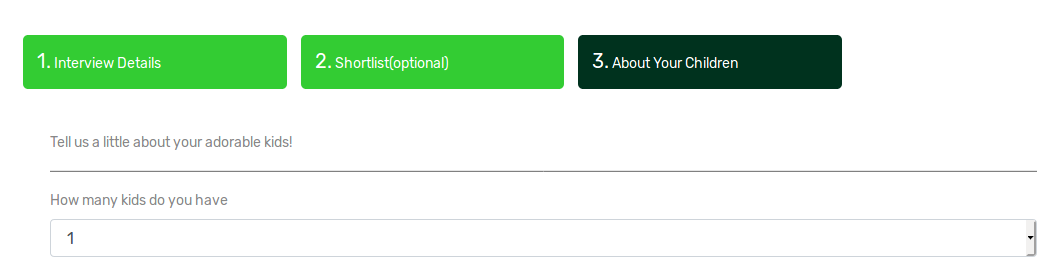
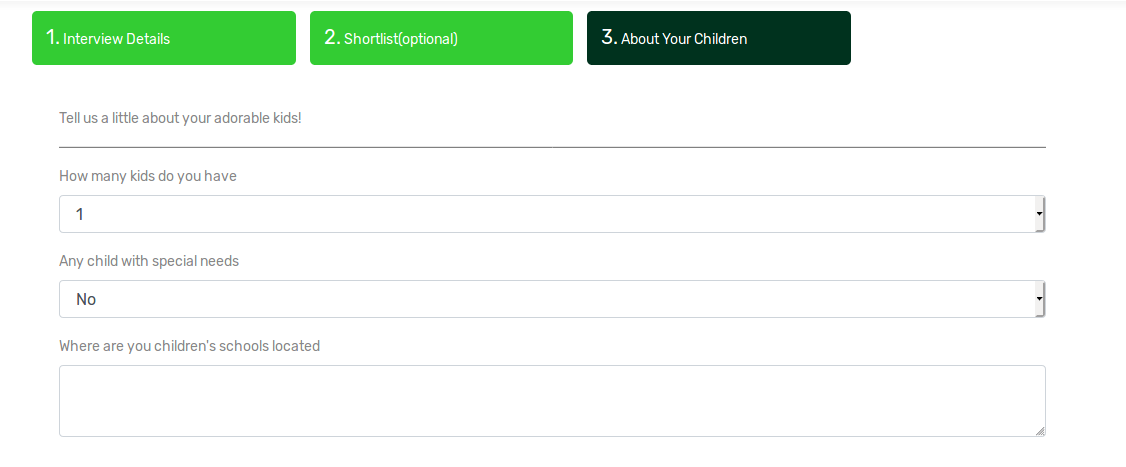
Layout: The layout field is used to define the order in which fields will be displayed on the form. The layout can either be 'Vertical' or 'Horizontal'. If set to 'Vertical' then the order fields will be laid out vertically on the form e.g.
However, if you set the layout to 'Horizontal', you can arrange the fields in that section in a grid format. Selecting the 'Horizontal' option will reveal the 'Column Width' option
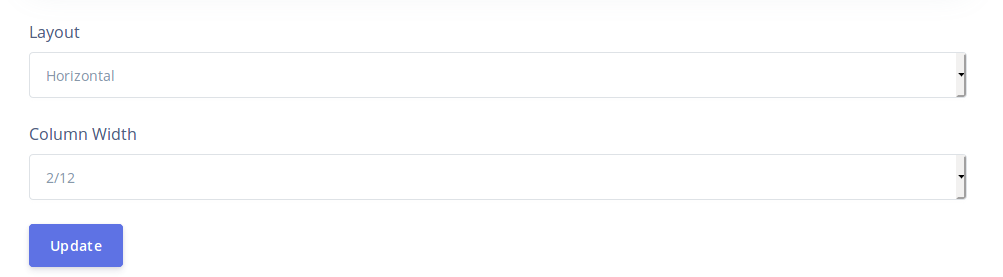
The grids are laid out in blocks of 12. You can specify how many blocks out of 12 each column in the section should occupy. For example, if you specify 6/12 as the column width, then each field will take up half of the space in the section as show below:
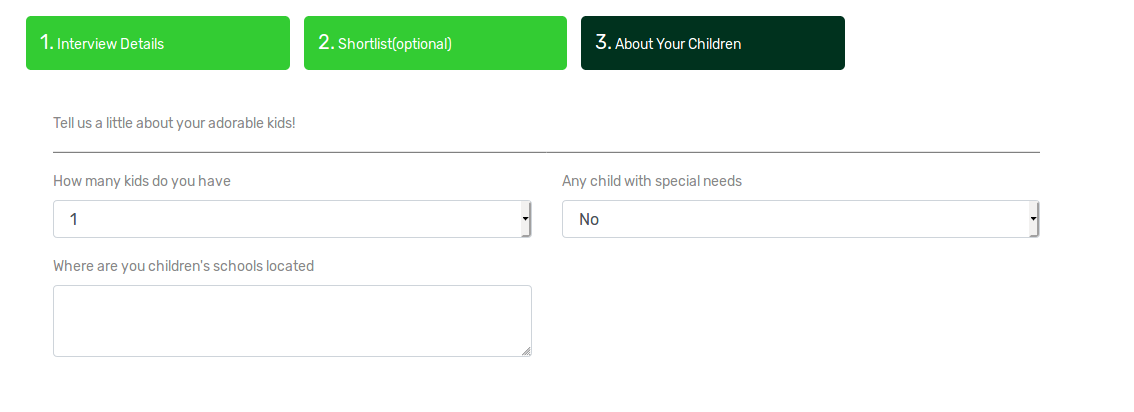
If you set to 4/12, then each field will occupy one third of the space in the section like below:
Creating Fields
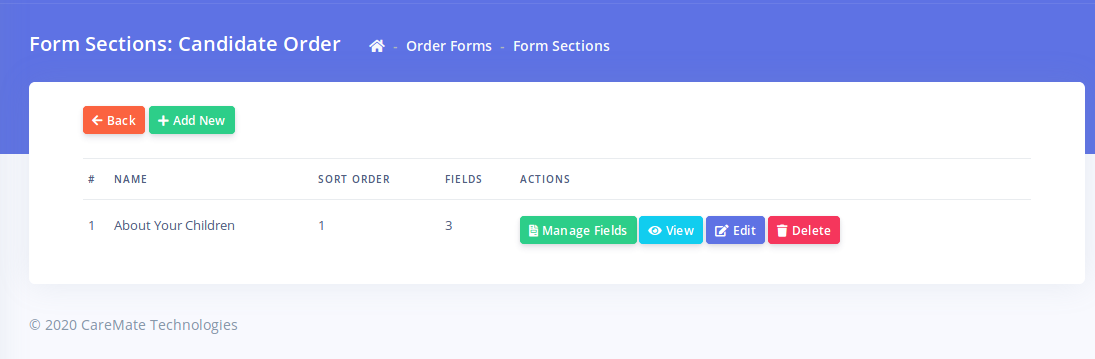
After you have successfully created your sections, you can then create fields. Each field (except the 'Label' field) represents a piece of data you wish to collect from an employer. To create or manage fields for a form section, click on the 'Manage Fields' button for that section:
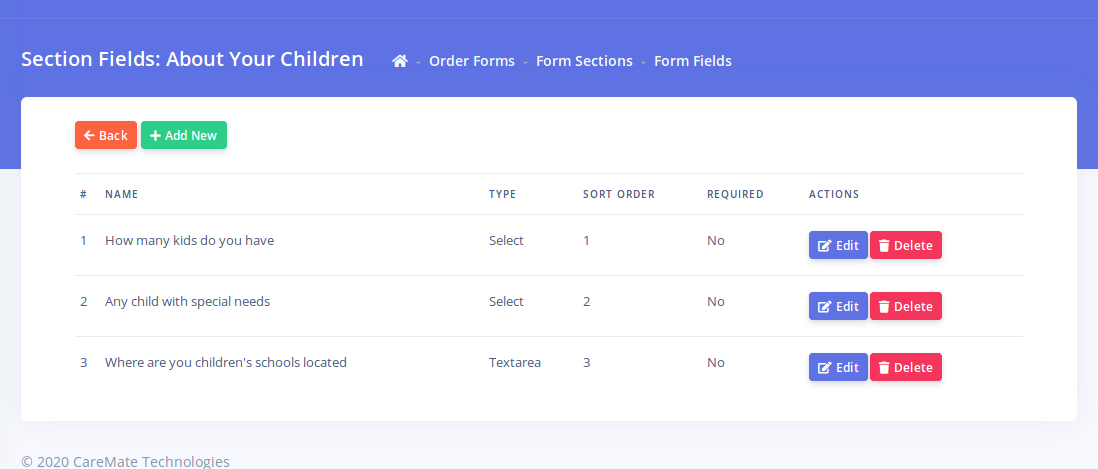
This brings up the list of all the fields in that section. You can see the field type, sort order and if the field is a required field or not.
Next click on the 'Add New' button. This will bring up the field creation page:
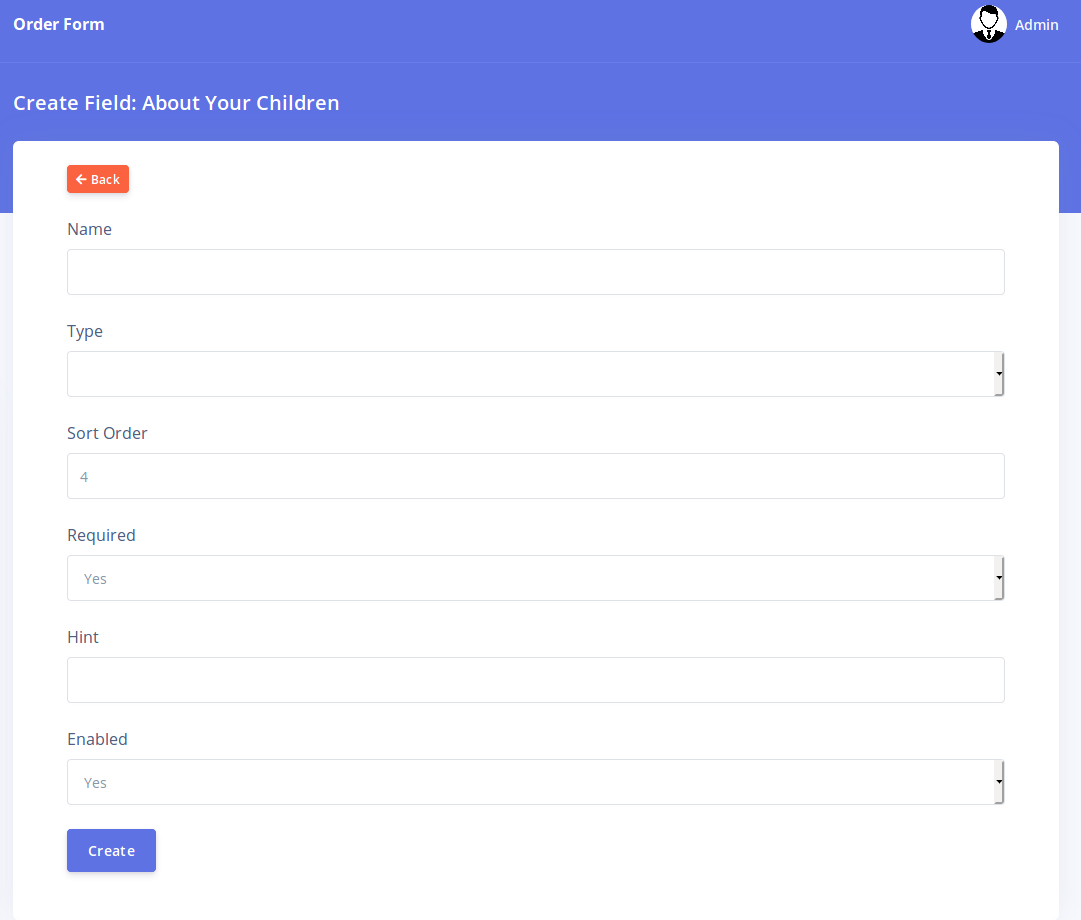
Each option in this page is described below:
-
Name: This is the title of the field. Please give each field a name that clearly describes the type of data that should be inputted into it.
-
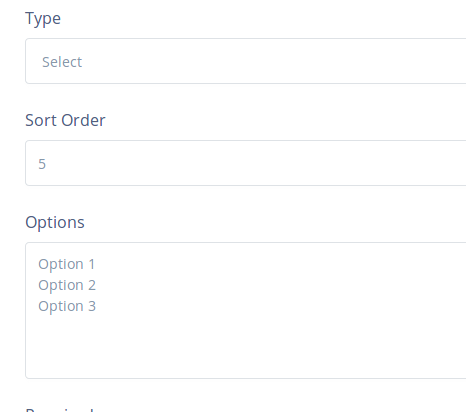
Type: This describes the nature of the Form field that will be created. The following type of fields are supported:
- Text: This accepts a single line of text e.g
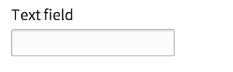
 Use this field type to collect small pieces of text.
-Textarea: This accepts multi-line paragraph text. e.g.
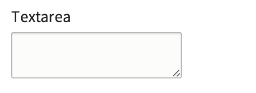
Use this field type to collect larger amount of text.
-Select: This creates a drop-down control that allows the user select from a list of options e.g.
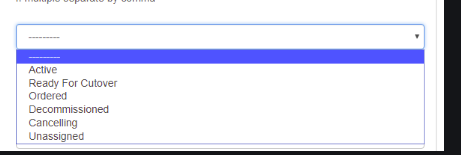
Use this option if you would like to restrict user input to a predefined set of options.
-Radio: This creates a list of options similar to the 'Select' above. However, for radio buttons, each option is displayed on the page without the user needing to click on the control e.g.

Use this option for smaller list of options.
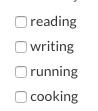
-Checkbox: Checkboxes are used to create 'Yes' or 'No' fields. If the user selects the option, its value is set to 'Yes'. If not selected, its value is set to 'No' e.g.
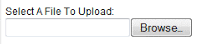
-File: This allows a user to upload a file e.g.
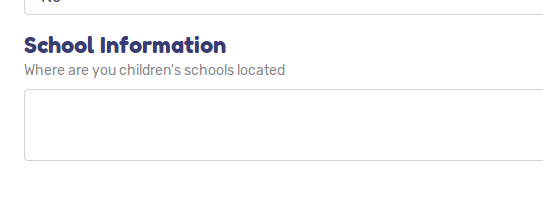
-Label: The label field is a special option that does not actually collect any data. This field type is simply used to create a heading withing form fields. This is very useful if you wish to separate fields within a form section. For example see the 'School Information' label below
-
Sort Order: This defines the placement of the field relative to others in the same section. The fields are arranged in ascending order. The sort order must be an integer. We recommend you do not repeat sort orders for fields in the same section.
-
Options: The options box is only visible if you select the 'Select' or 'Radio' field types. This box allows you to define the options that can be selected from. Please note that you need to enter each option on a new line e.g.
-
Required: This specifies if this field should be mandator. If set to 'Yes' then employers will not be able to submit the order form without filling this field.
-
Hint: This allows you to define a descriptive text that tells the user what type of data is expected for that field. Please note that this only works for Text and Texarea field types.
-
Enabled: This specifies if the field will be visible on the order form or not.
Once you have created all your sections and their associated fields, your order form should be ready for use!
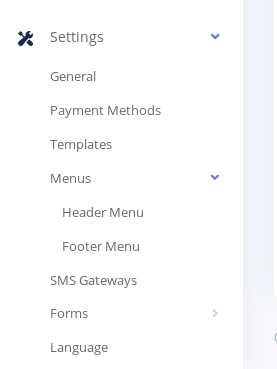
Note however that you will need to add your form to a menu in order for it to be visible on the site. You can add the form to the header or footer menu by going to 'Settings'-'Menu'. Click on the 'Header Menu' or 'Footer Menu' option.
One the menu editing page, click on the 'Order Forms' panel. You will see the list of all your order forms there. Click on the 'ADD' button for the form you wish to add to your menu.Â
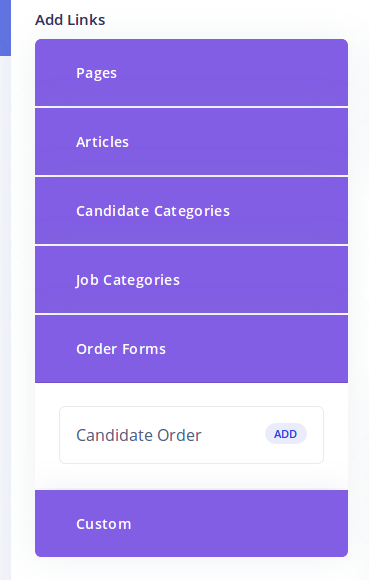
Your form should now be easy to locate by your employers. For more information on managing menus, please see the 'Managing Menus' help page
Managing Orders
Order are requests for your services placed by prospective employers. Orders can be created in two ways
- An employer visits your main site (the Frontend) and then fills an order form you created previously.
- You manually create an order on behalf of an employer from the admin area (the Backend)
Orders can have 4 different statuses. These are
-
Pending: These usually are orders which have not been attended to yet. It is the default status of all new orders submitted by employers from the Frontend
-
In Progress: These are orders that you have started processing. Setting the status to this informs the employer that their order is being worked on.
-
Completed: These are orders that have been concluded i.e. candidates have been paired with employers and payment has been received.
-
Cancelled: These are orders that were not successfully concluded for whatever reason.
It is important that you update an order as it progresses through the different stages. Employers can log into their account an view the status of their orders. They can also get notified via email as you update their orders.
Manually Creating An Order
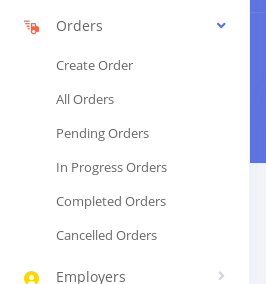
If you wish to manually create an order for an employer, click on the 'Orders'-'Create Order' link
This opens the Orders page and a dialog appears prompting you to select a form.

Select a form you have created previously from the dropdown option. Then Click on 'Proceed'. The order creation page will open
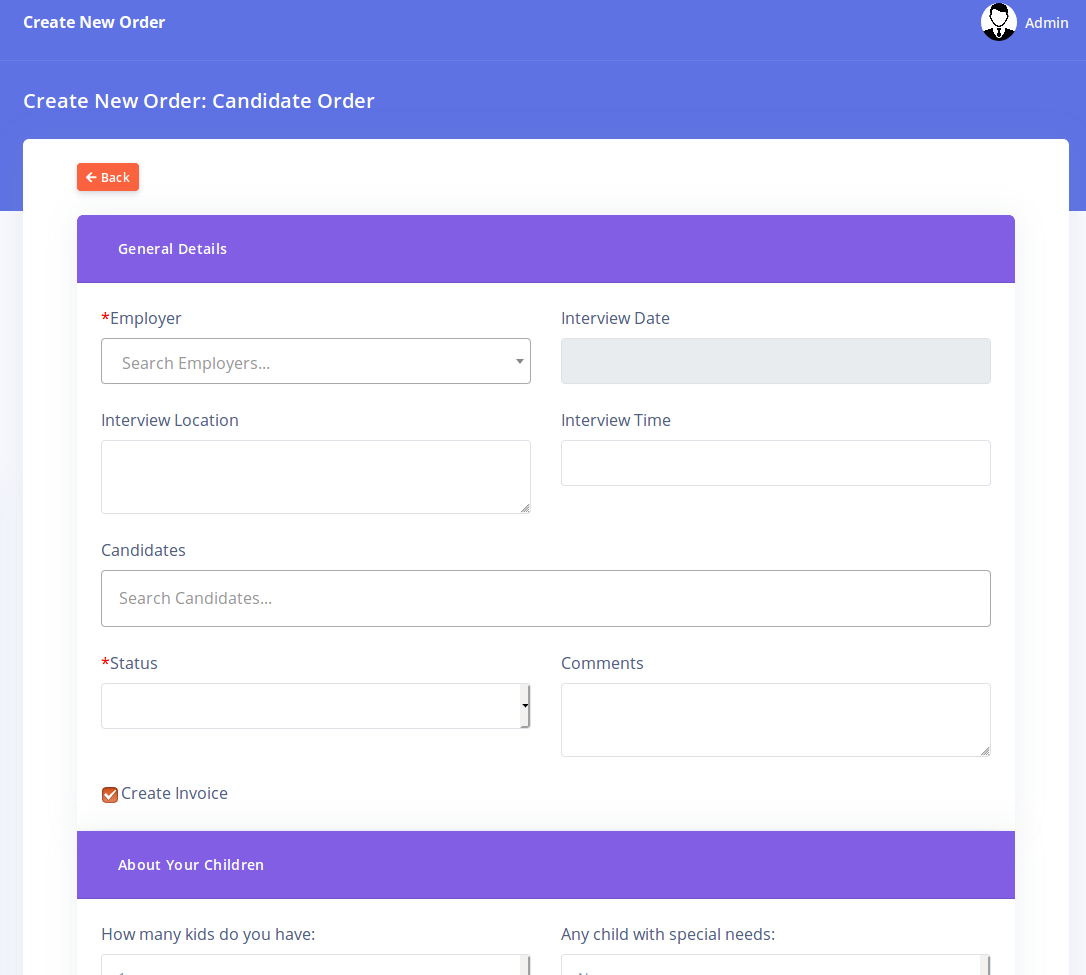
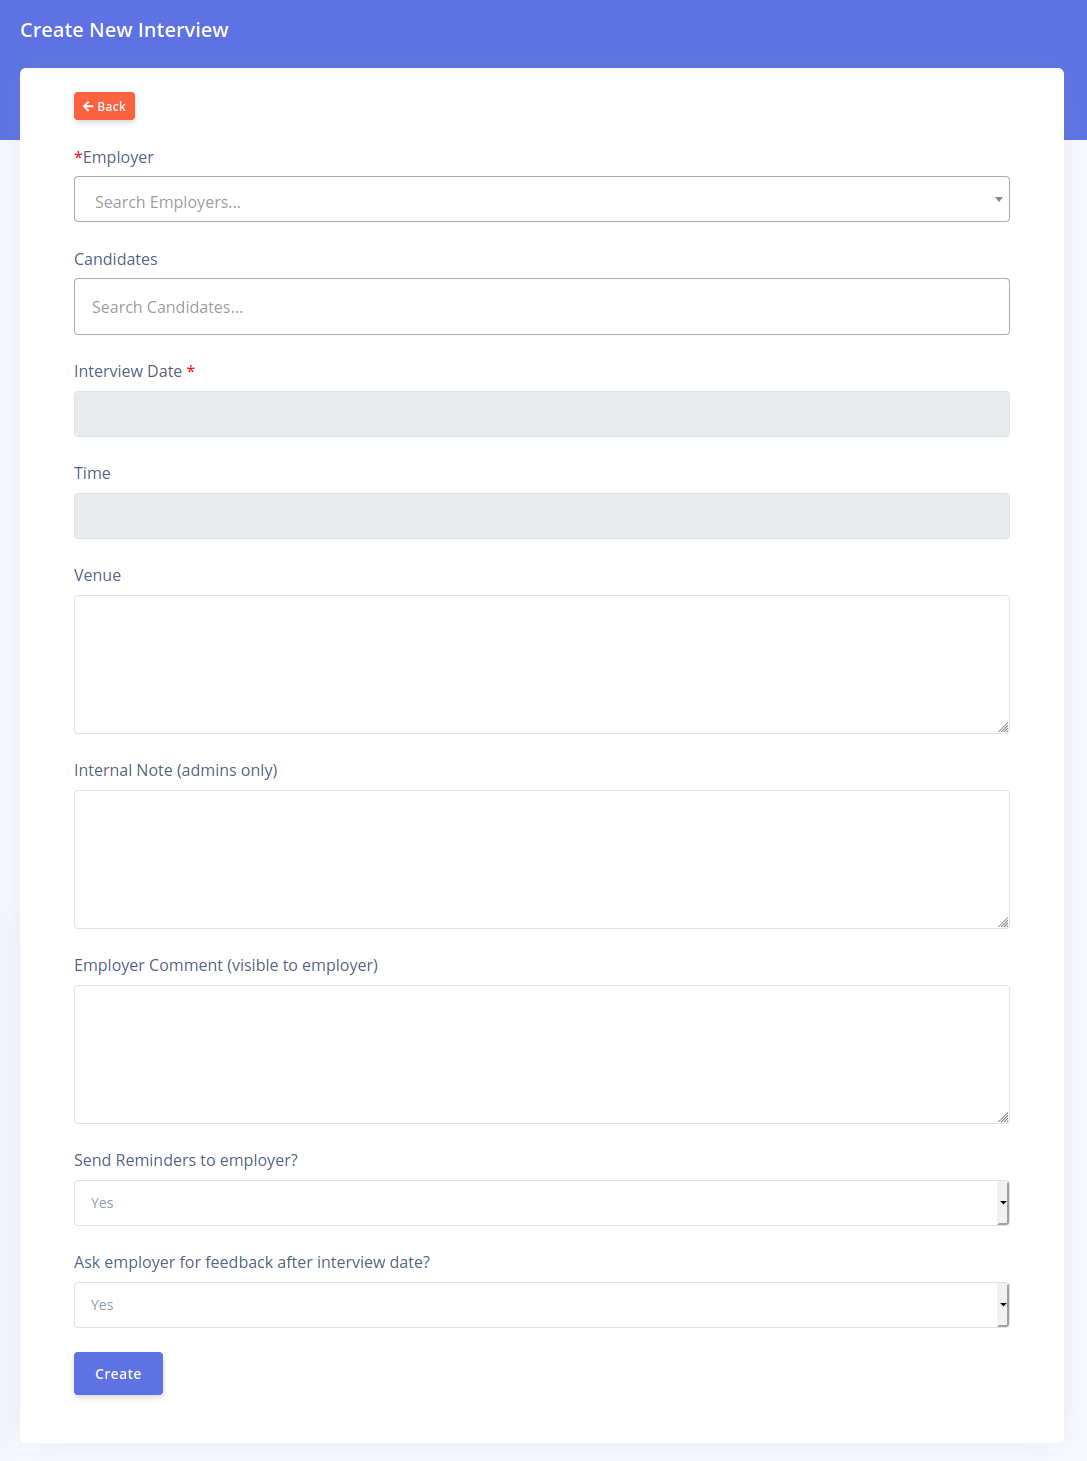
Fill in all the details required in order to create an order. Select your employer from the dropdown by typing either the name or email of the employer. You can also shortlist candidates for this order by typing the list of candidates in the 'Candidate' box. You can add as many candidates as you wish.
Note the 'Create' invoice checkbox. If selected, you can create an invoice automatically based on your 'Automatic invoice' settings (learn more about that here). Click on the 'Create' button in order to create your new order.
Managing Orders
To manage existing orders, click on any of the links (except 'Create Order') under the 'Orders' menu corresponding to the type of order you wish to view.
This brings up the corresponding list of orders
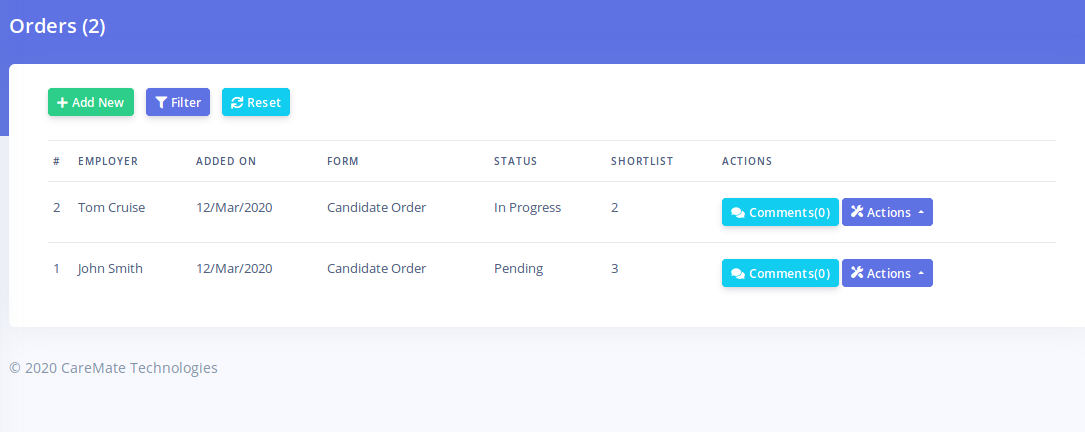
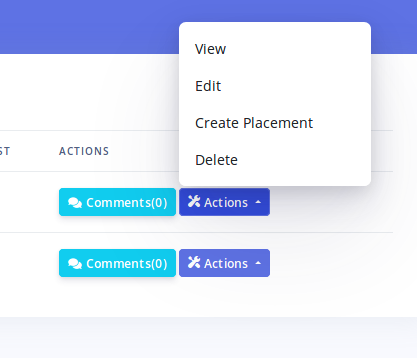
Each order has two buttons: 'Comments' and 'Actions'
The 'Comments' button leads to a page where you can manage all order comments for this order. Each order can have an unlimited number of comments. Comments can be created both by the Admin and the Employer. This provides an easy location where you can provide updates to the employer about their order.
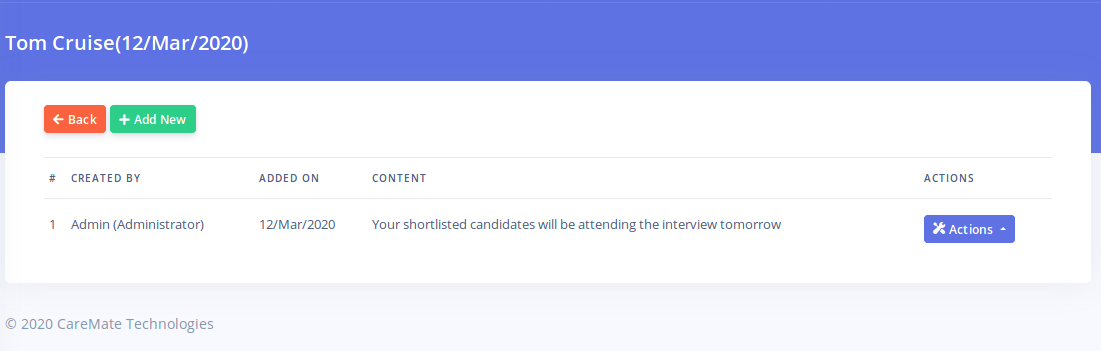
When you create a comment, the employer can get notified immediately via email. Click on the 'Add New' button on the comments page in order to add a new comment. You can also add attachments to your comments.
The 'Actions' button provides options for viewing, editing and deleting an order. There is also a 'Create Placement' button. This enables you easily create a 'Placement' record after an order has been completed successfully. See the 'Managing Placements' help page for more information on placements.
Clicking on the 'View' action option leads to the page were you can get a full view of the order
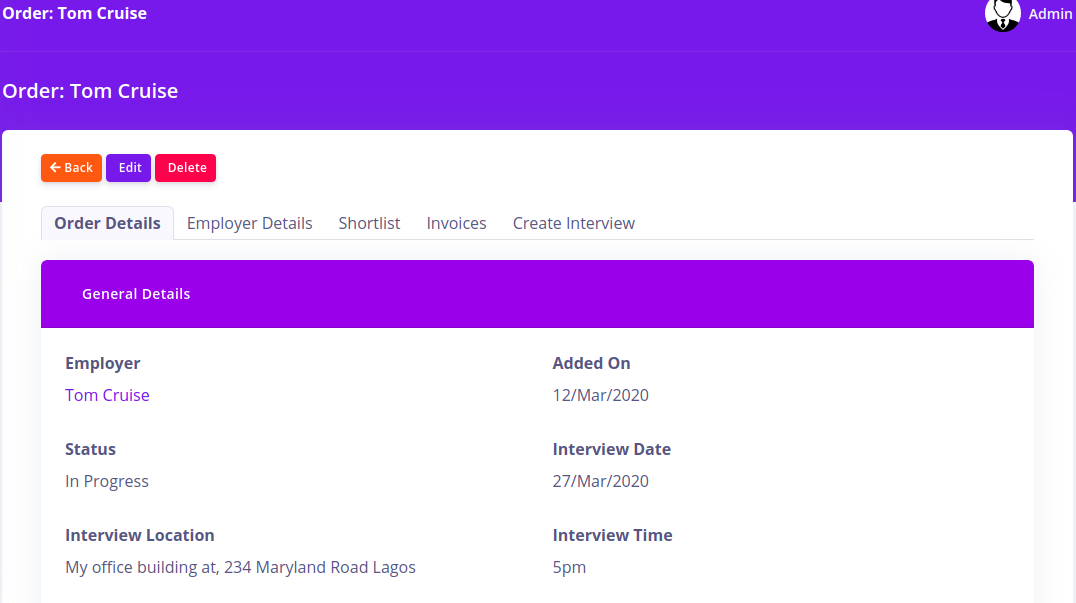
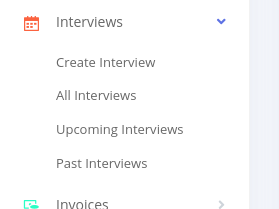
The order viewing page contains different tabs. There is the 'Order Details' tab which shows the specific details of this order, the 'Employer Details' tab which shows you the full details of the employer, the 'Shortlist' tab which shows you the candidates shortlisted for this order (if available), the 'Invoices' tab which shows invoices that were created for this order and the 'Create Interview' tab which enables you easily schedule an interview for the employer who placed this order (See the help page for managing interviews for more information).
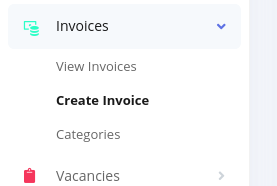
One thing to note about the 'Invoices' tab is that you can create new Invoices here. Invoices created using the 'Add new' button in this tab will be associated with this order only. We recommend you create Order related invoices this way as it helps you organize your invoices.
Employer Settings
Each employer on your CarePro portal will have an account. This account enables employers to be able to login and perform various actions e.g. viewing order statuses, upcoming interviews etc.
You can choose to allow employers to create accounts for themselves by registering on the Frontend. This is the default setting. If however for some reason you do not wish to allow employers register (e.g. you wish to create all employer accounts manually), you can disable employer registration. The setting to do this is available on the 'General Settings' page. You can open this page by going to 'Settings'-'General'

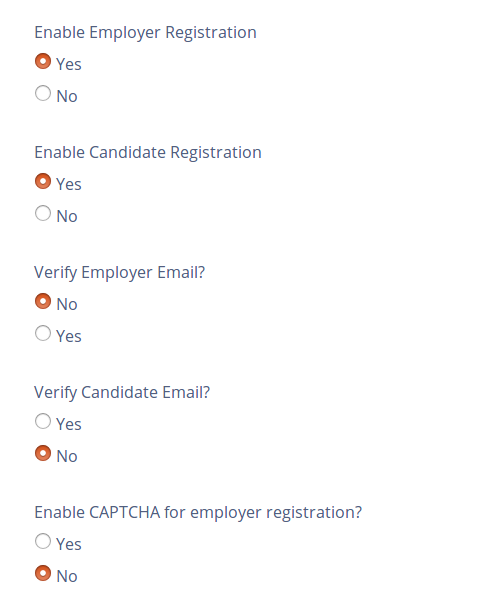
Scrolling down on the page reveals some options for employer registration
Important employer related setting to note here are
-
Enable employer registration: This controls if registration is enabled for employers. If set to 'No' then no employer will be able to register on the Frontend. You will however still be able to create accounts for employers on the backend and these employers will be able to login from the frontend as long as their accounts are marked 'Active'
-
Verify Employer Email: This enables only employers with verified emails to open accounts. This setting only takes effect if registration is enabled for employers. The system will send the employer a verification email. Only after clicking the email will an employer be able to complete their registration.
-
Enable CAPTCHA for employer registration: This forces employers to fill in a numeric code on an image (CAPTCHA) before they can complete their registration. This prevents robots from creating accounts on your portal.
Employer Profile Form
By default, the registration form for employers appears as below:
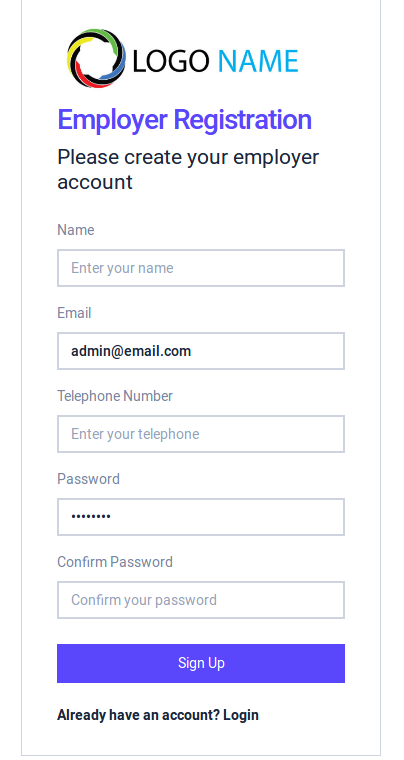
However, if you want every employer to supply more information during registration, you can add more fields to the employer registration form.
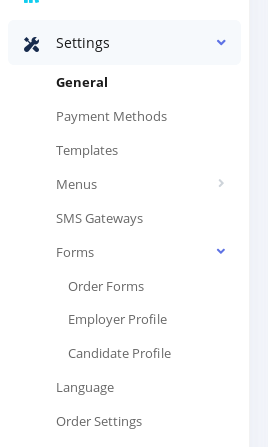
To manage custom fields for employer profiles, go to 'Settings'-'Forms'-'Employer Profile'
The employer profile form page opens as below
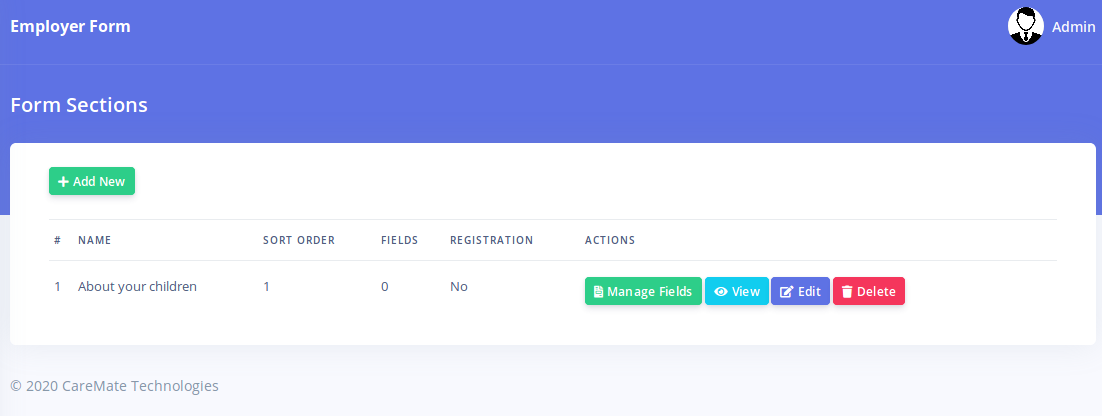
Each field must belong to a section. Sections allow you to group related fields and makes your form more organized. Click on the 'Add New' button to create a new section
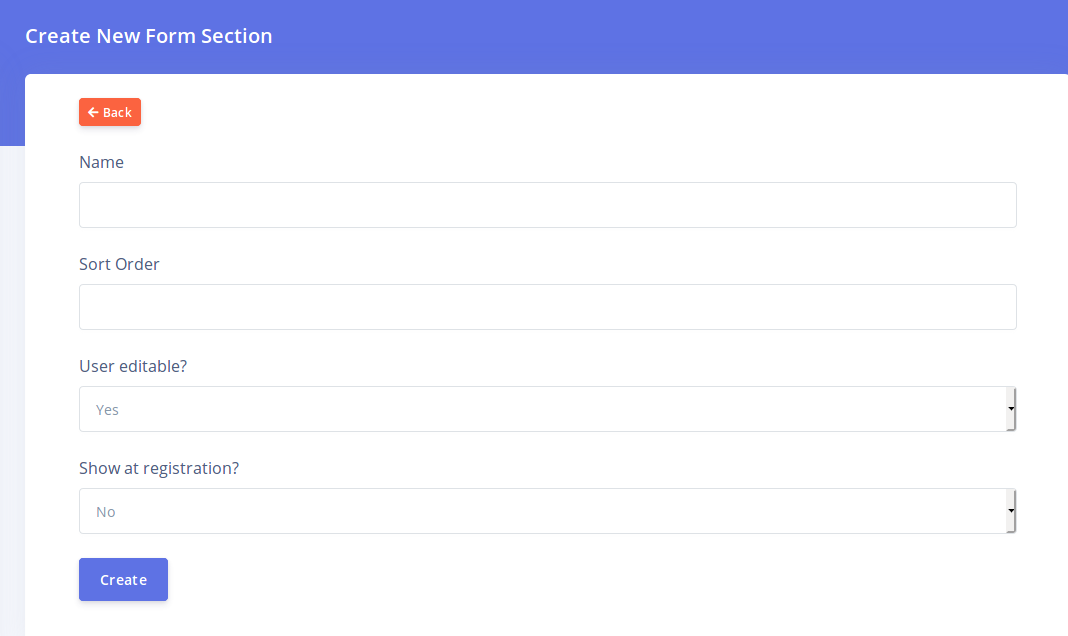
The different fields are explained below
-
Name: The name of the section. This will also be visible to employers. Choose a name that describes what type of information will be collected by the fields in this section
-
Sort Order: This controls the order of display of this section relative to other sections. Sections will be displayed in ascending order.
-
User Editable: This determines if the employer can make changes to the fields in this section. If set to 'No', then only the admin will be able to view and edit the fields in this section. Also, setting this to 'No' will hide this section and its field from the employer registration form.
-
Show at registration: This determine if this section and it's fields will be visible during registration. This option is only visible if 'User Editable' is set to 'Yes'. If you set this option to 'No' then employers will not see this section and its fields when they are registering for the first time. However, they will still see this section if they choose to update their account from their account's profile page.
Once you have created a section, you will be directed back to the section list page.
Click on the 'Manage Fields' button for a section in order to create fields for it. Creating fields here is similar to the process for creating order form fields.
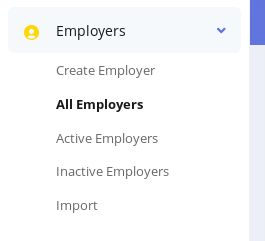
Managing Employers
Each employer on your site will have an account. You can manage all the accounts of employers by clicking on the 'Employers' menu option.
You can segment your employers as either 'Active' or 'Inactive'. You are at liberty to determine what you would term as an Active or Inactive employer. Typically though, you would term an 'Active' employer as one who currently has a candidate of yours in their employ or is in the process of hiring and candidate from you.
The employer listing page appears as below
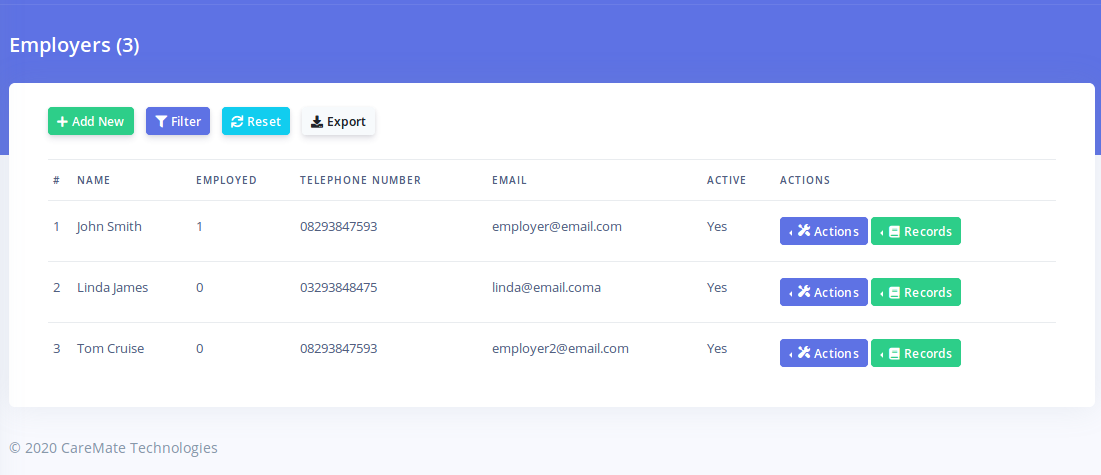
The 'Employed' column in the image above shows how many candidates that employer has every hired from you. This number is determined from the 'Placement' records that you create for the employer.
At the top of the list are some buttons. The 'Filter' button enables your to filter the list based on different criteria. The 'Export' button enables you export your list of employers into a csv file. Please note that the exported list will also be filtered based on your 'Filter' criteria used (if any).
The 'Actions' button for each employer enables you to view edit or delete an employer.
Employer Records
The 'Records' button for each employer displays a list of records associated with that employer
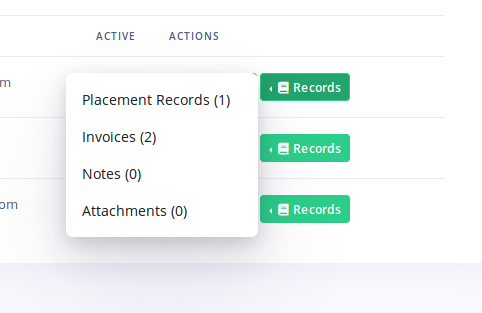
- Placement Records: These are the placement records you have created for this employer. A placement should be created every time an employer employs a candidate from you. You can create new placement records from this page.
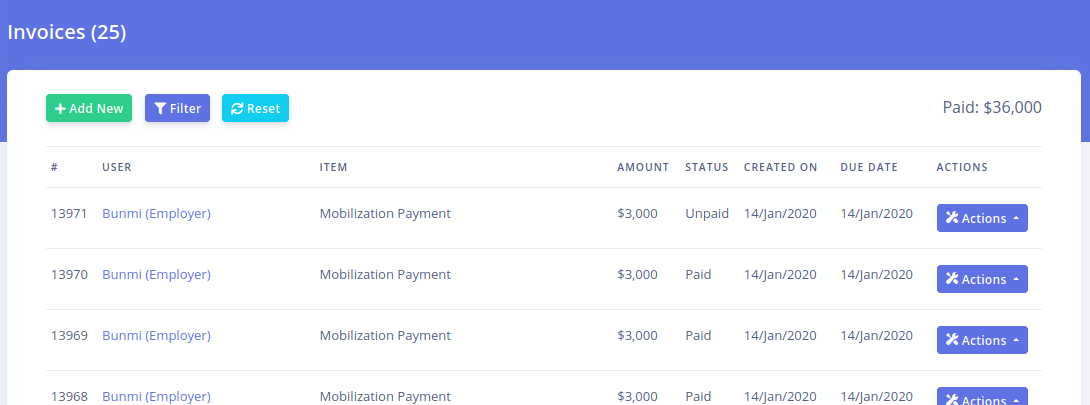
- Invoices: These are all the Invoices associated with this employer. This enables you view the payment history of each employer.
- Notes: Notes can be created for each employer. A note is an internal log containing any information you wish to retain about an employer. Typically, you should log every interaction your staff have with an employer such as Phone call, emails etc.
- Attachments: You can attach files to each employer. This is important for storing information like receipts, images etc.
Importing Employers
CarePro allows you to import employers into the system. This is very useful if you already have an existing database of Employers. An account will be created for each employer and login details can be emailed to them.
In order to import employers, go to 'Employers'-'Import'
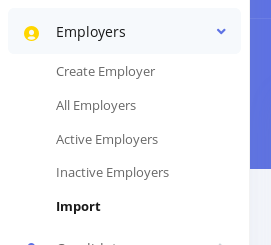
This brings up the import wizard as show below:
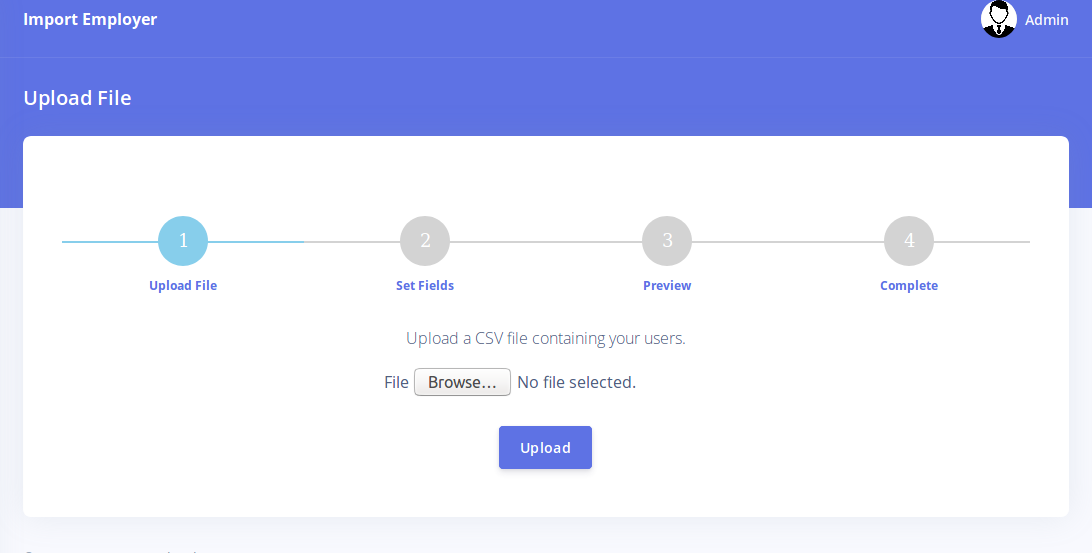
Click on the browse button in order to select a csv file from your hard drive. Please note that the import feature only accepts properly formatted CSV files. The CSV file should have the column names as the first line. Click on 'Upload' once you have selected the file.
The next step of the wizard is the 'Set Fields' step
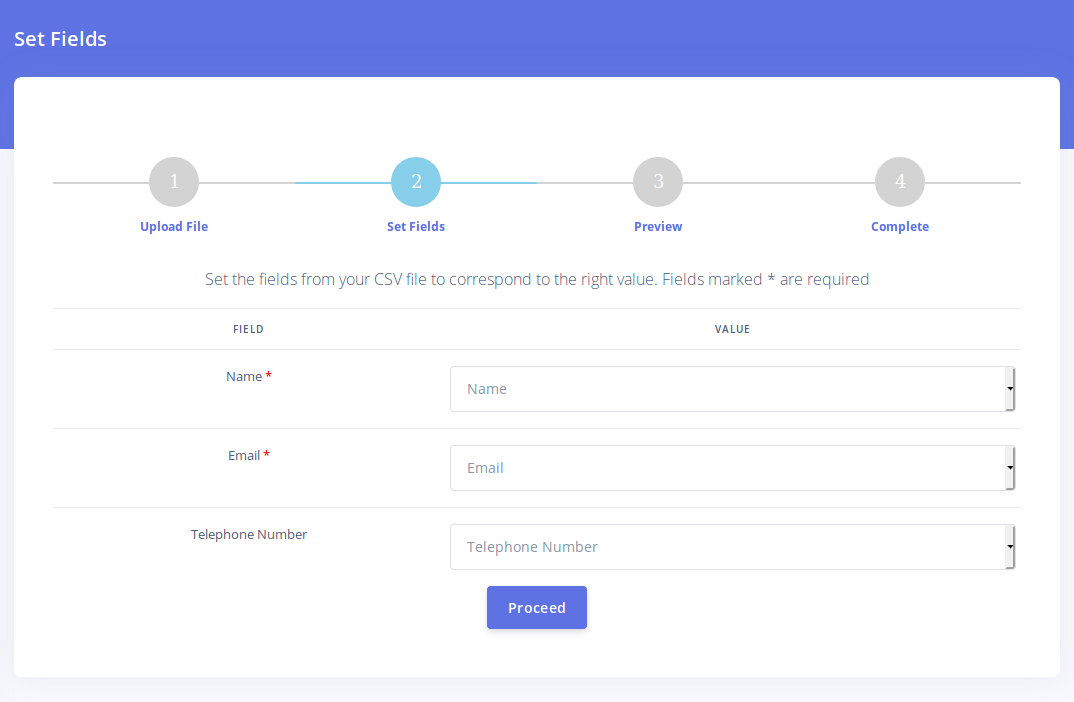
In this step, you need to map the fields in the CSV file with the fields CarePro expects to receive. The CarePro fields are on the left while the fields from the CSV file are in the Dropdowns on the right. If you have created custom employer profile fields, they will also display. Once you have mapped your fields properly, click on the 'Proceed' button.
The Preview step will come up. This shows a preview of how fields will be mapped based on your selection in the previous step.
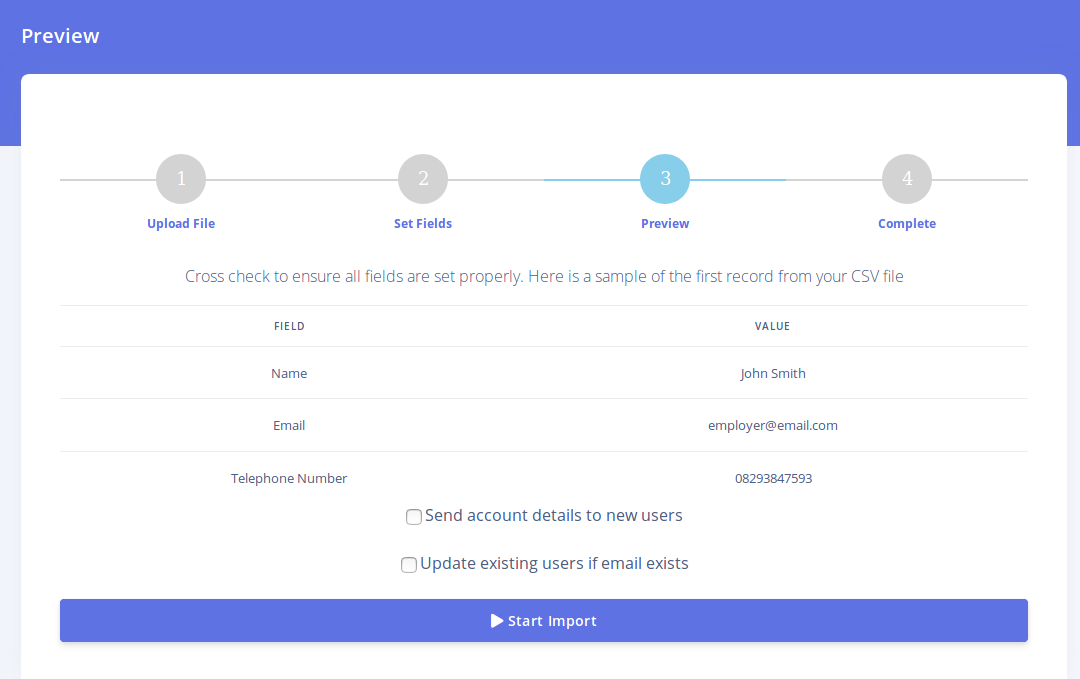
The 'Send account details to new users ' checkbox enables you to specify if users should recieve the login details to their new account once they get imported.
The 'Update existing users if email exists ' option will attempt to update user data if the email account already exists on the system.
Click the 'Start Import' button to complete your importation.
Candidate Settings
Each candidate on your CarePro portal will have an account. This account enables candidates to be able to login and perform various actions e.g. viewing employment history, taking tests, view upcoming interviews etc.
You can choose to allow candidates to create accounts for themselves by registering on the Frontend. This is the default setting. If however for some reason you do not wish to allow candidates register (e.g. you wish to create all candidate accounts manually), you can disable candidate registration. The setting to do this is available on the 'General Settings' page. You can open this page by going to 'Settings'-'General'
Scrolling down on the page reveals some options for candidate registration
Important candidate related setting to note here are
-
Enable candidate registration: This controls if registration is enabled for candidates. If set to 'No' then no candidate will be able to register on the Frontend. You will however still be able to create accounts for candidates on the backend and these candidates will be able to login from the frontend as long as their accounts are marked 'Active'
-
Verify Candidate Email: This enables only candidates with verified emails to open accounts. This setting only takes effect if registration is enabled for candidates. The system will send the candidate a verification email. Only after clicking the email will an candidate be able to complete their registration.
-
Enable CAPTCHA for candidate registration: This forces candidates to fill in a numeric code on an image (CAPTCHA) before they can complete their registration. This prevents robots from creating accounts on your portal.
Candidate Profile Form
By default, the registration form for candidates appears as below:
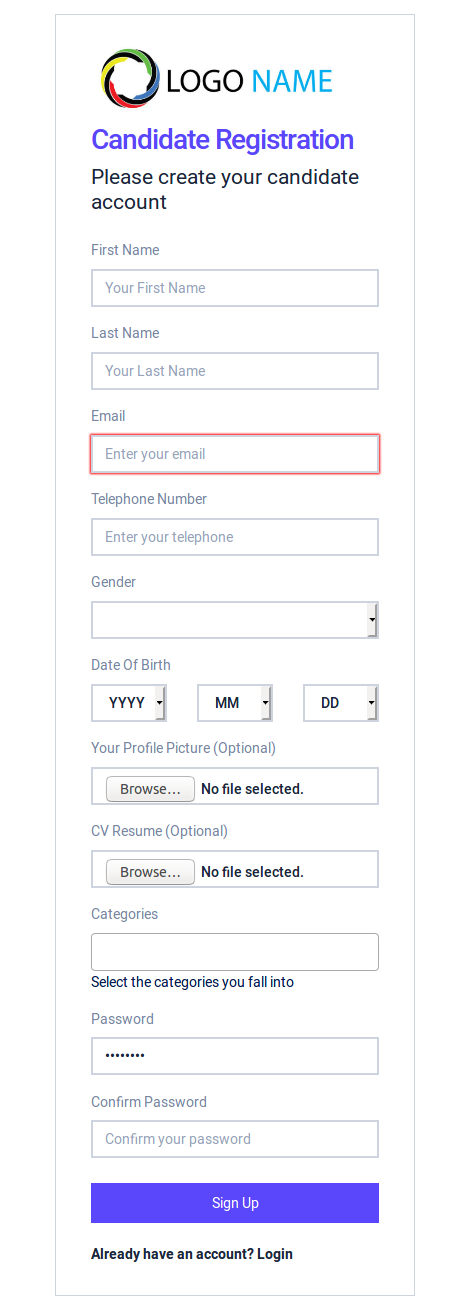
However, if you want every candidate to supply more information during registration, you can add more fields to the candidate registration form.
To manage custom fields for candidate profiles, go to 'Settings'-'Forms'-'Candidate Profile'
The candidate profile form page opens as below
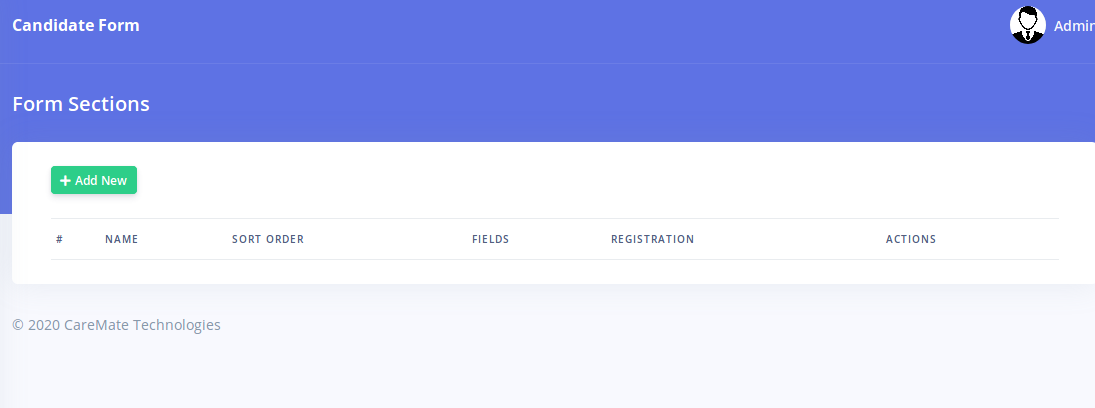
Each field must belong to a section. Sections allow you to group related fields and makes your form more organized. Click on the 'Add New' button to create a new section
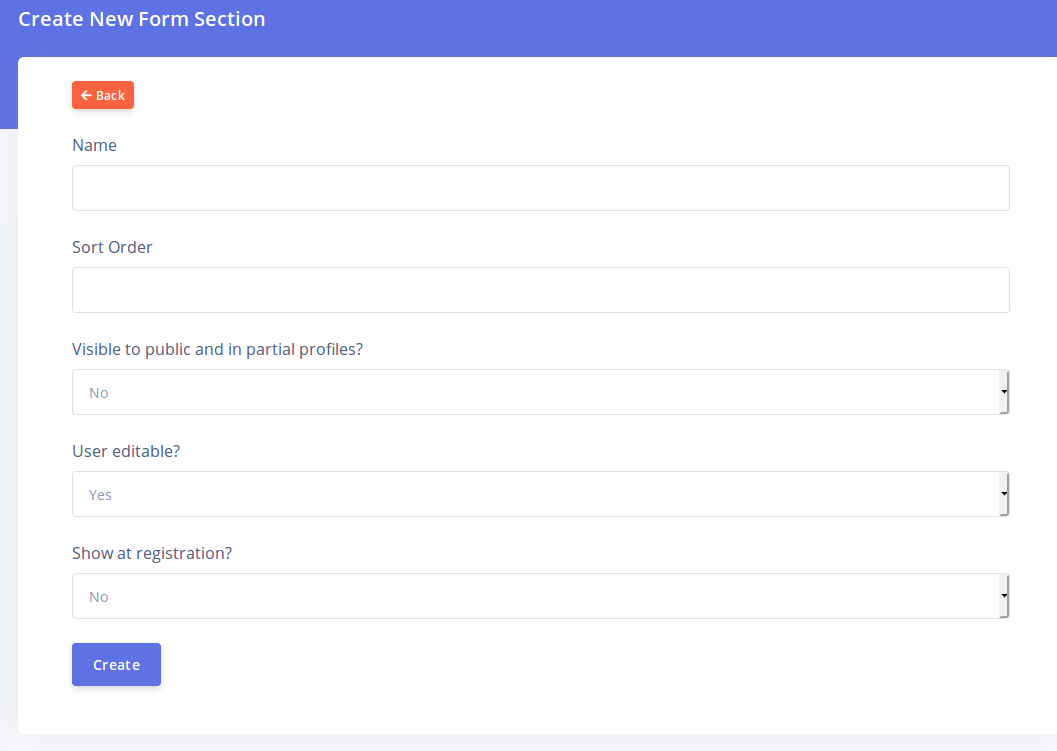
The different fields are explained below
-
Name: The name of the section. This will also be visible to candidates. Choose a name that describes what type of information will be collected by the fields in this section
-
Sort Order: This controls the order of display of this section relative to other sections. Sections will be displayed in ascending order.
-
Visible to public and in partial profiles: This determines if the data in this section should be viewable by employers while viewing the candidate's profile on the Frontend (if the candidate's visibility is set to public). It also determines if the section should be visible partial profiles i.e partial resume PDF downloads/emails.
-
User Editable: This determines if the candidate can make changes to the fields in this section. If set to 'No', then only the admin will be able to view and edit the fields in this section. Also, setting this to 'No' will hide this section and its field from the candidate registration form.
-
Show at registration: This determine if this section and it's fields will be visible during registration. This option is only visible if 'User Editable' is set to 'Yes'. If you set this option to 'No' then candidates will not see this section and its fields when they are registering for the first time. However, they will still see this section if they choose to update their account from their account's profile page.
Once you have created a section, you will be directed back to the section list page.
Click on the 'Manage Fields' button for a section in order to create fields for it. Creating fields here is similar to the process for creating order form fields. Please click here to read about field creation
Candidate Categories
CarePro allows you to create categories for candidates. This is especially useful if you run an agency that provides different categories of candidates. For example, if you run a domestic staffing agency that provides Nannies, Maids and Drivers, you can create each of these as a category. Categories can be added to the navigation of the main site which will make it easy for Employers to browse through the list of candidates that is relevant to them.
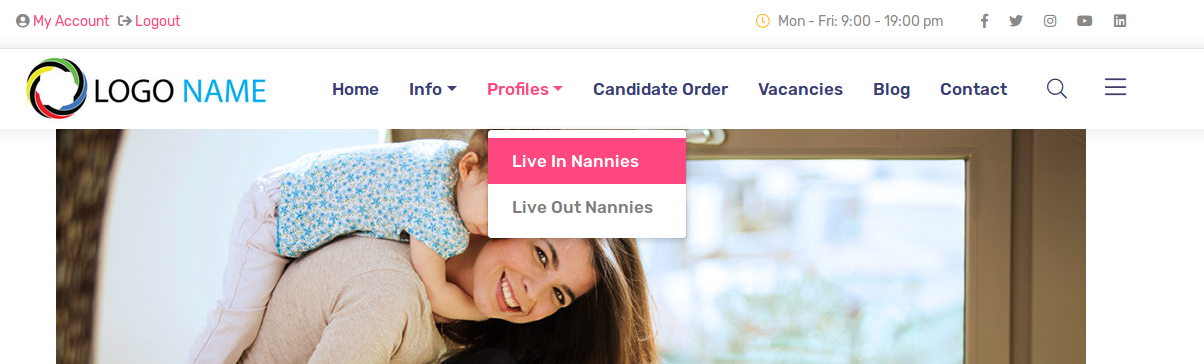
Here is and example of the navigation menu with categories added
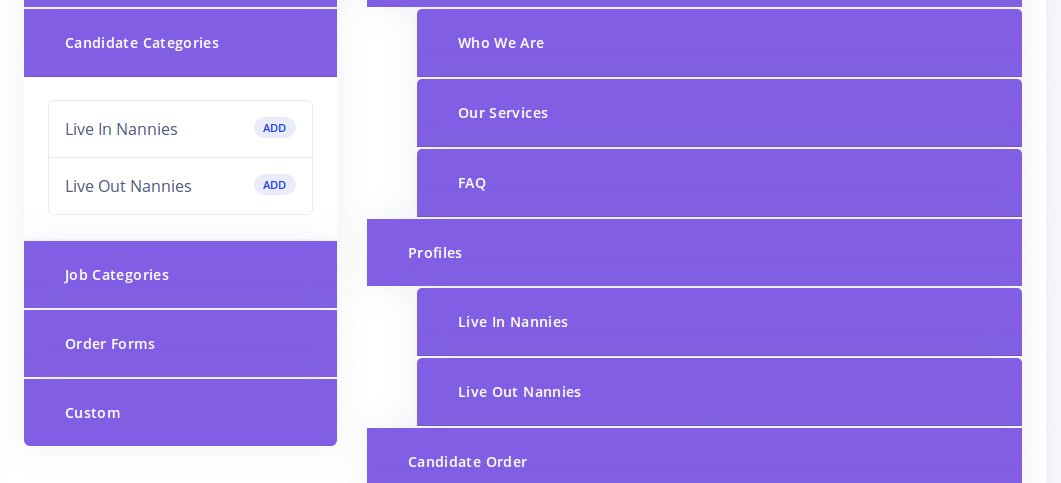
Here is how such menu appears on the Frontend
Candidates are able to select what categories they belong to during registration. You can also place candidates in different categories from the backend.
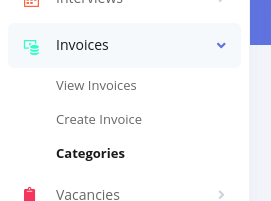
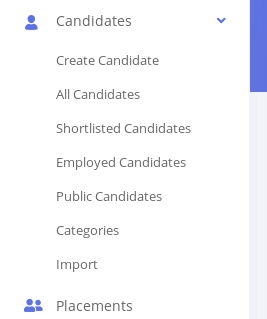
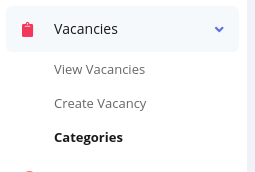
In order to manage categories, go to 'Candidate'-'Categories'
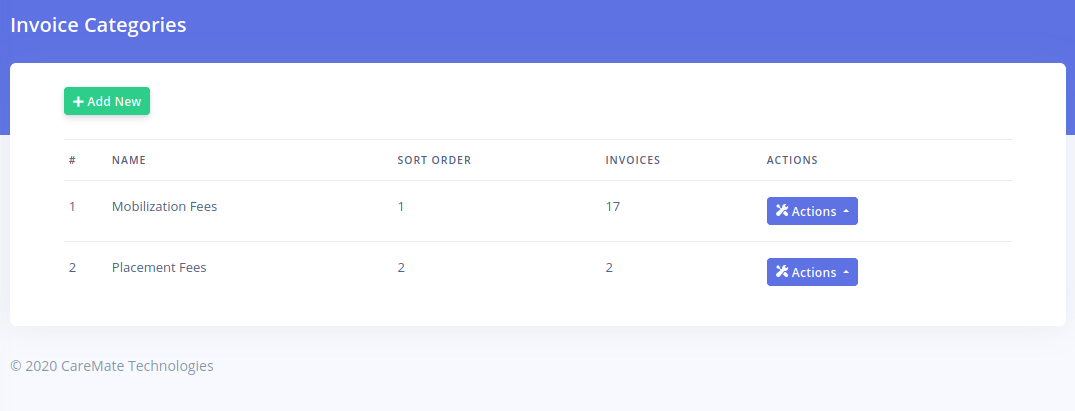
Click on the 'Actions' link to View, Edit or Delete a category. Click on 'Add New' to create a new category.
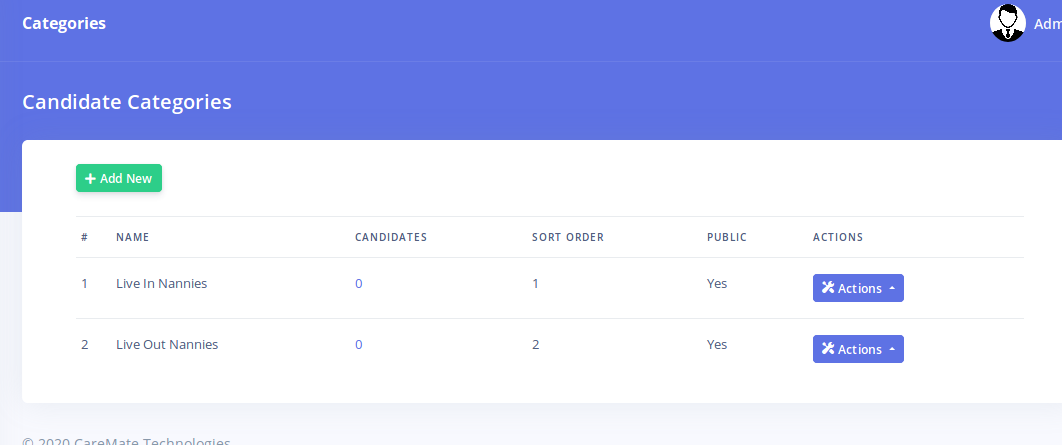
The page also shows the total number of candidates that are assigned to each category. The sort order controls the display of categories on the registration form.
Managing Candidates
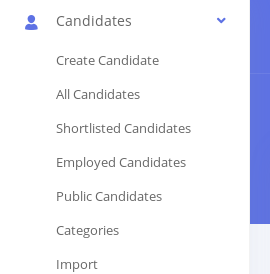
Each candidate on your CarePro portal will have an account. You can manage all the accounts of employers by clicking on the 'Candidates' menu option.
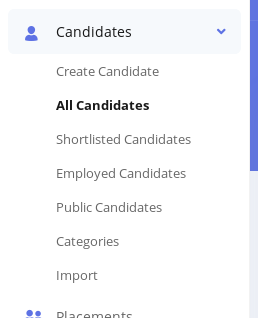
This reveals these links for sorting your candidates:
- All Candidates: This displays all the candidates on your portal
- Shortlisted Candidates: This displays all candidates that have been marked as shortlisted. You can set this option for candidates that have high employment prospects.
- Employed Candidates: This is meant to display candidates that are currently employed through your organization. Please note that you will need to manually flag a candidate as employed by editing their profile.
- Public Candidates: These are candidates that are visible on the Frontend to employers for shortlisting. By default when a candidate registers, they are set as Private i.e. employers can not see them. If however you wish for a candidate to appear for shortlisting, you can set them as public and view them on this list as well.
Clicking on any of these links will reveal the candidate list as shown below:
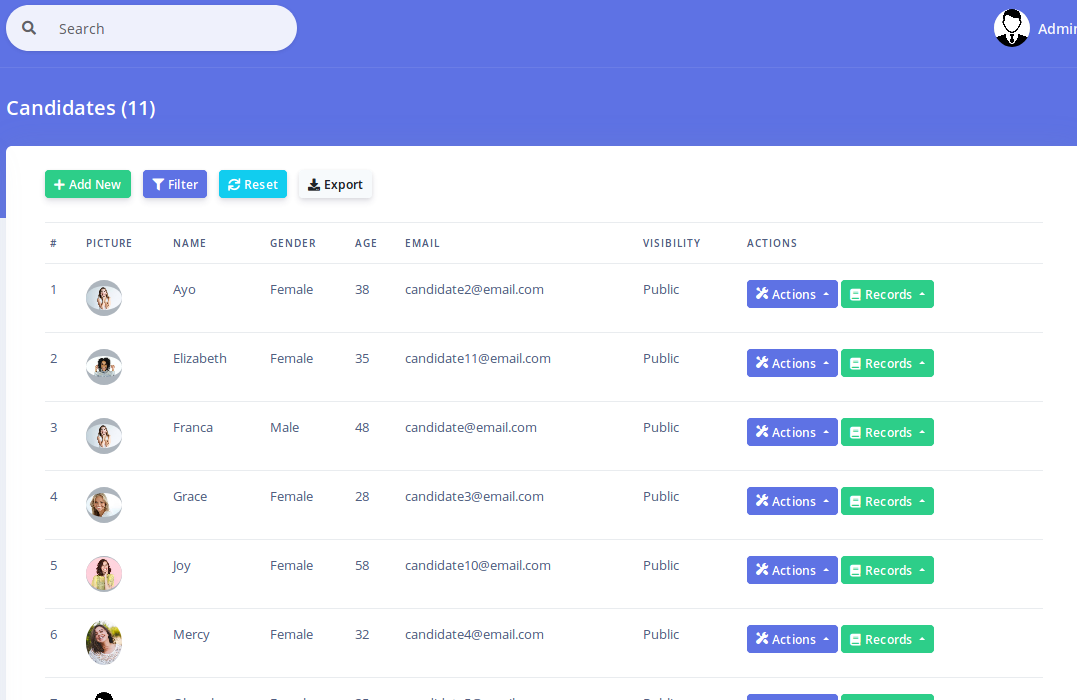
The buttons at the top of the list enable you to Add a new candidate, Filter the list, Reset the list and Export the current list to a csv file respectively.
The list displays the candidate's name (and display name if different from the regular name), gender, age, email and visibility. Visibility refers to if a candidate is Public or Private as explained above.
The 'Actions' button allows you to perform various actions on each candidate
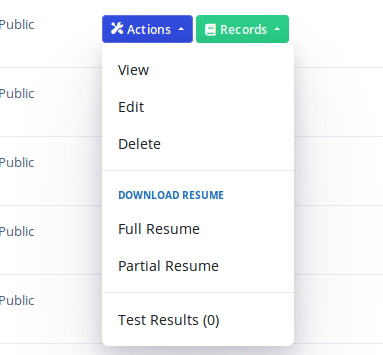
The View, Edit and Delete options, allow you to display, modify or completely remove a candidate respectively. The 'Download Resume' section allows you to download a PDF document containing the candidates details. Resumes can be 'Full' or 'Partial'. A partial resume will only contain the candidates basic information but exclude sensitive details such as Name, Email, Telephone. Also, partial resume's will not contain custom candidate profile sections that have the 'Visible to public and in partial profiles' option set to 'No' (see the Candidate Profile Form help page for more information).
The 'Test Results' option enables you to view results of all the Tests that a candidate has taken.
The 'Records' option enables you to view various records for a candidate
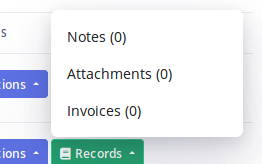
- Invoices: These are all the Invoices associated with this candidate. This enables you view the payment history of each candidate.
- Notes: Notes can be created for each candidate. A note is an internal
log containing any information you wish to retain about a candidate.
Typically, you should log every interaction your staff have with a candidate such as Phone call, emails etc.
- Attachments: You can attach files to each candidate. This is important for storing information like medical records, guarantor forms etc.
Importing Candidates
If you already have a list of candidates, you can create accounts easily for all of them by using the candidate import feature
The candidate import feature works identically to the employer import feature. Please refer to the 'Importing Employers' page for more information
Managing Placements
CarePro allows you to keep track of all your placement records. Placements occur whenever an employer successfully hires a candidate from your agency.
To manage placements, click on the 'Placements' menu option
The placement listing page opens up and appears as below:
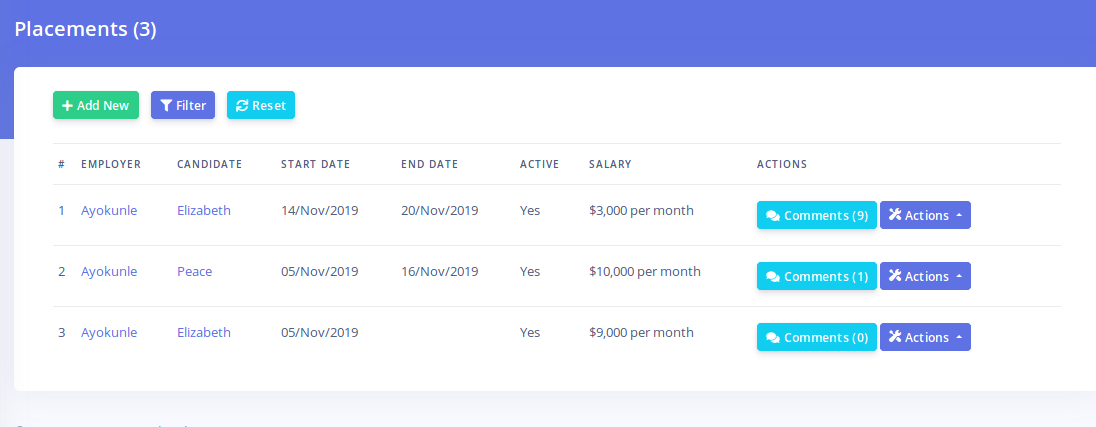
The buttons at the top enable you to create placements, filter results and reset the list respectively.
The listing displays the hiring Employer, the Candidate hired, the starting date of the employment, the termination date (if applicable), if the employment is active or not (i.e. is the candidate still in the employ of the employer) and the salary being paid to the candidate.
The 'Comments' button lead to the page were you can log and view comments for each particular placement. The 'Actions' button produces options for viewing, editing and deleting the placement.
To add a new placement, click on the 'Add New' button. This brings up the placement creation form
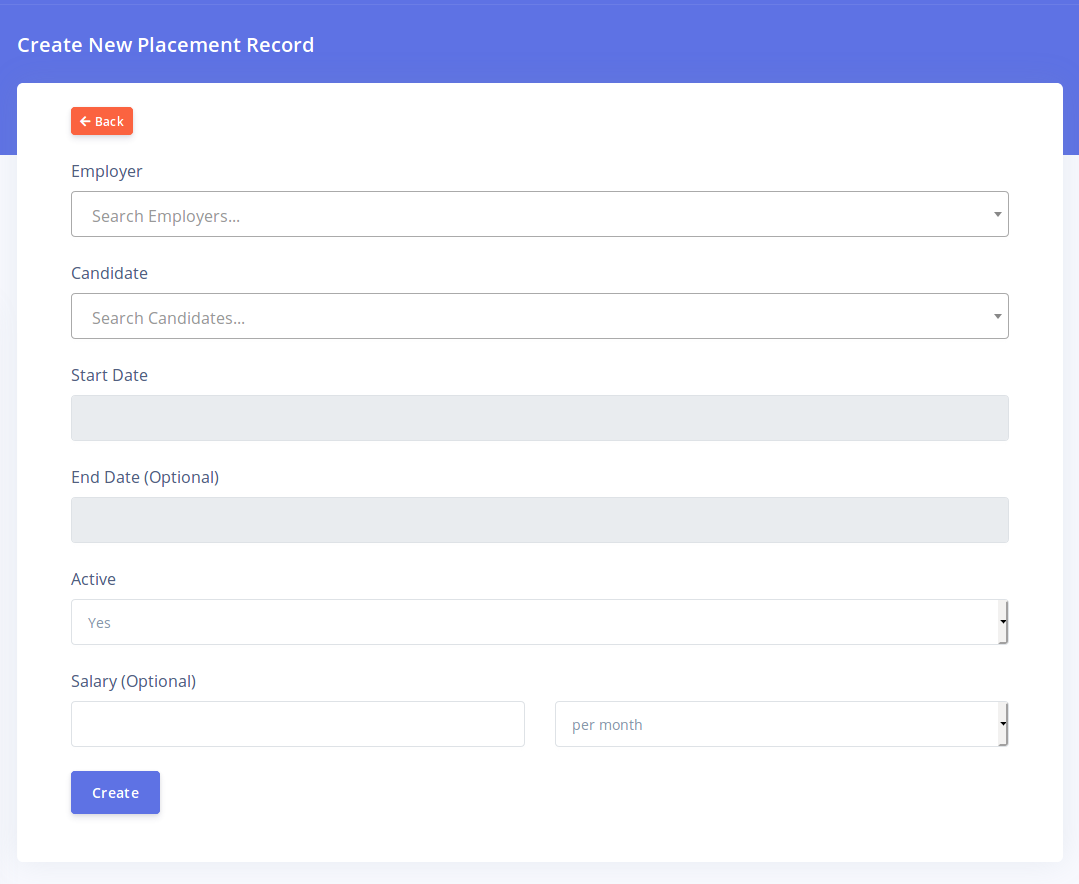
Select the employer by typing the employer's name or email address. Select the correct record from the dropdown that appears. Do the same to select a candidate.
You must specify the start date for the placement. Clicking that field will bring up the datepicker to choose the appropriate date.
The End Date is optional. You'll usually skip this when creating a placement but you'll want to update it if editing the placement record after the employment is concluded.
The 'Active' option lets you specify if the employment is ongoing or not. It is important you set this as you would frequently want to filter placement records based on this criterion.
The salary field is optional. This field can only contain figures. Specify if the salary is being logged as a monthly or annual salary.
Click on 'Create' once you are done with the form.
Managing Placements for an Employer
If you wish to view placement records from a single employer, then navigate to the employer's name on the employer listing page and click on the 'Records' button
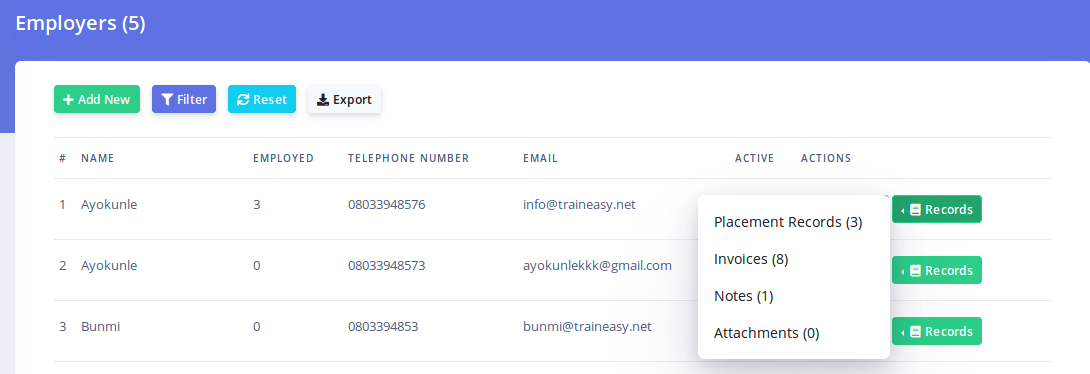
You will see the 'Placement Records' option. Clicking this leads to listing of placements made only to this employer.
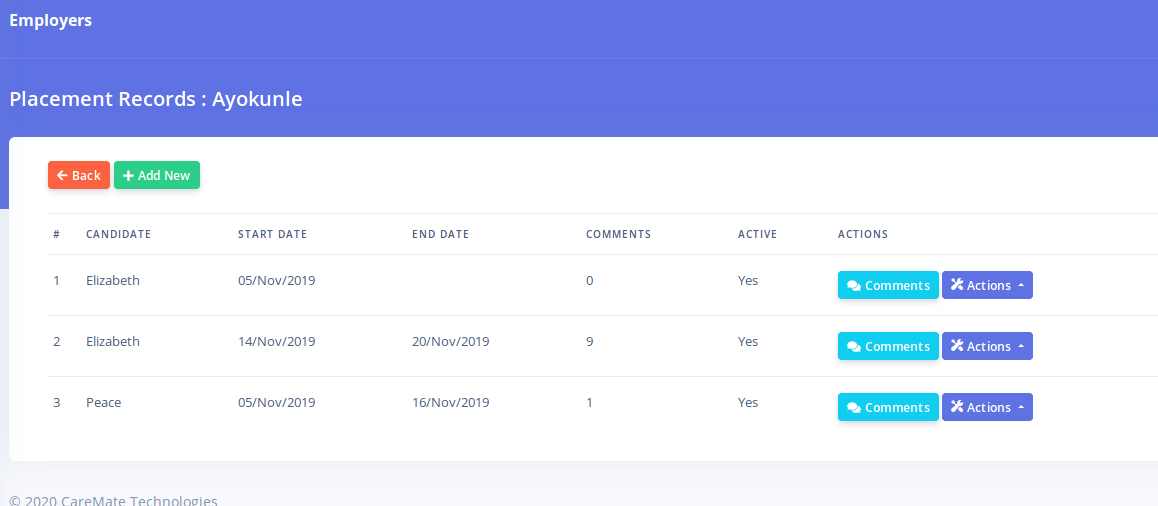
You can add new records for this employer as well as manage comments.
Placement Comments
Each placement record can contain an unlimited number of comments. Comments can be created by either the Administrator or the Employer. However, candidates can not view or make comments on their employment.
To manage the comments for a placement, click on the 'Comments' button
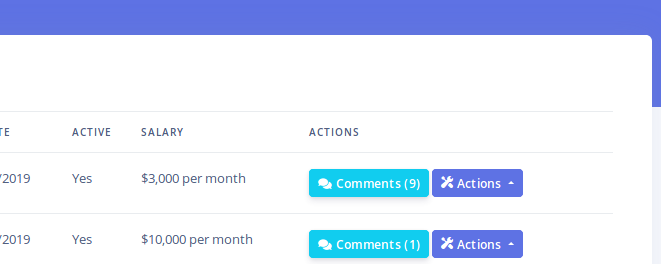
This button also displays the total number of comments for that placement in brackets.
Clicking this button opens the comment listing page
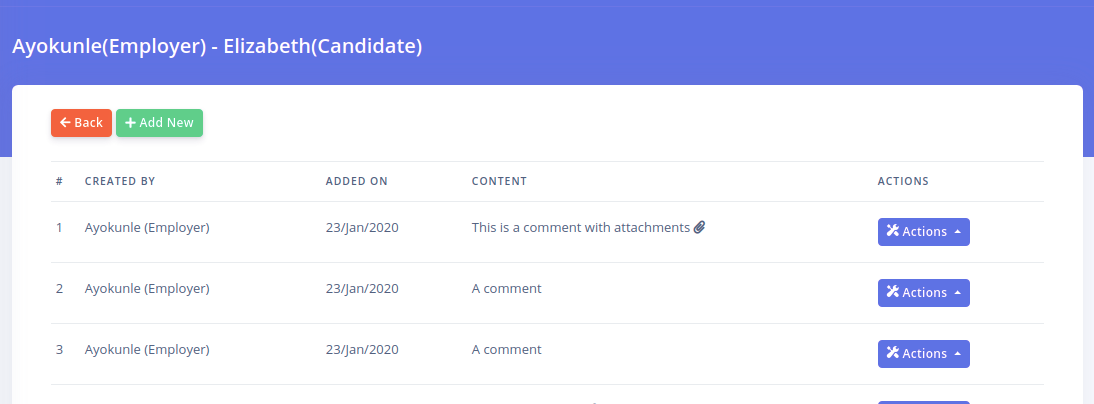
The listing page shows who created the comment, the date it was added and a snippet of the content. The paperclip icon beside the content shows if there are any attachments to the comment. Click on the 'Actions' button to view options for viewing, editing or deleting a comment.
Click on the 'Add New' button to create a new comment
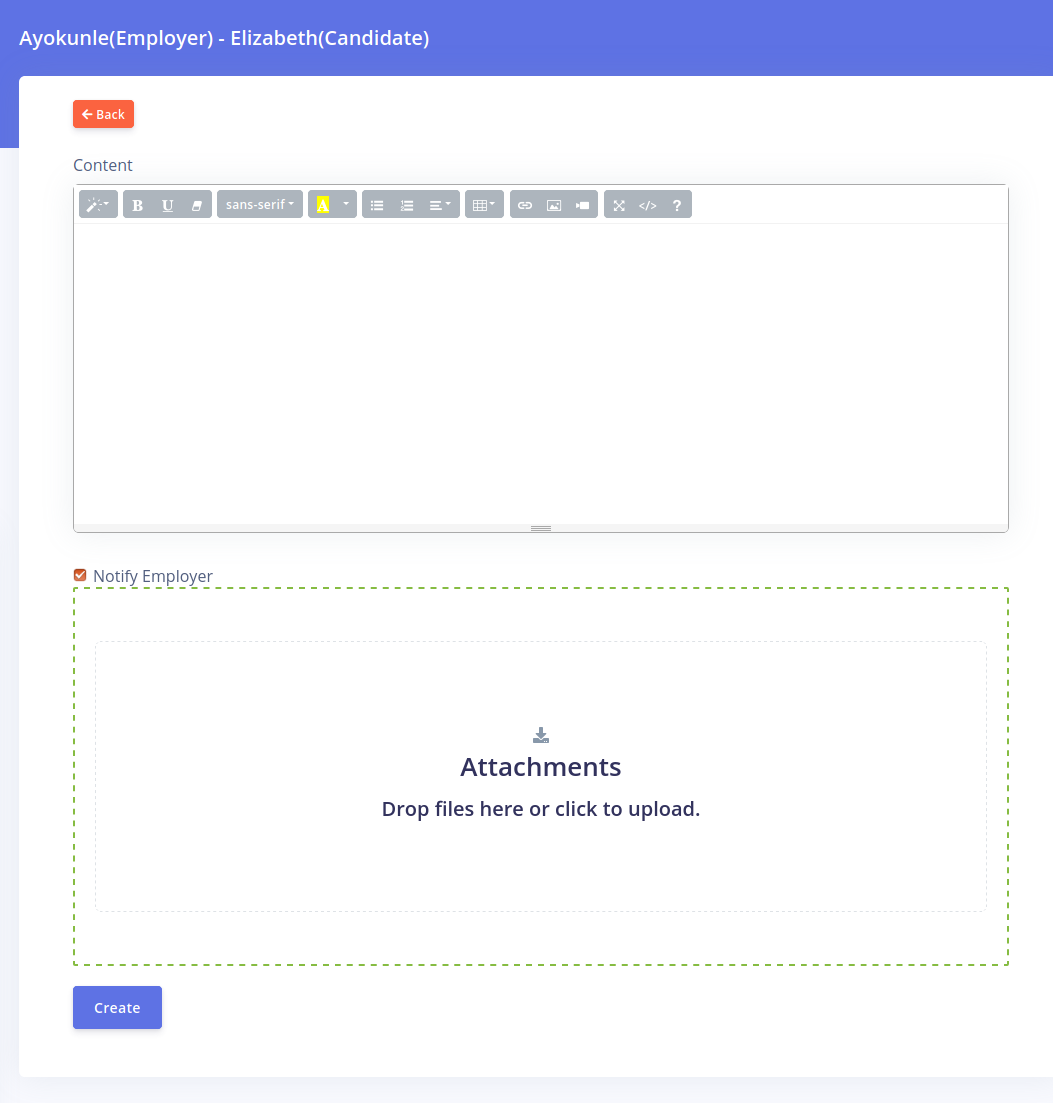
You can type in a comment by filling the text editor. You can also upload multiple attachments to a comment.
Notifications
If you select the 'Notify Employer' checkbox, Employers will receive an email notification whenever a new comment is created . This option is only available when creating a comment and not when editing one.
Creating Vacancies
CarePro's 'Vacancies' feature is a very useful tool for your candidate sourcing efforts. With this feature, you can post job vacancies to your frontend and receive applications from interested candidates.
To create a new vacancy, click on the 'Create Vacancy' button
The vacancy creation page opens as shown below:
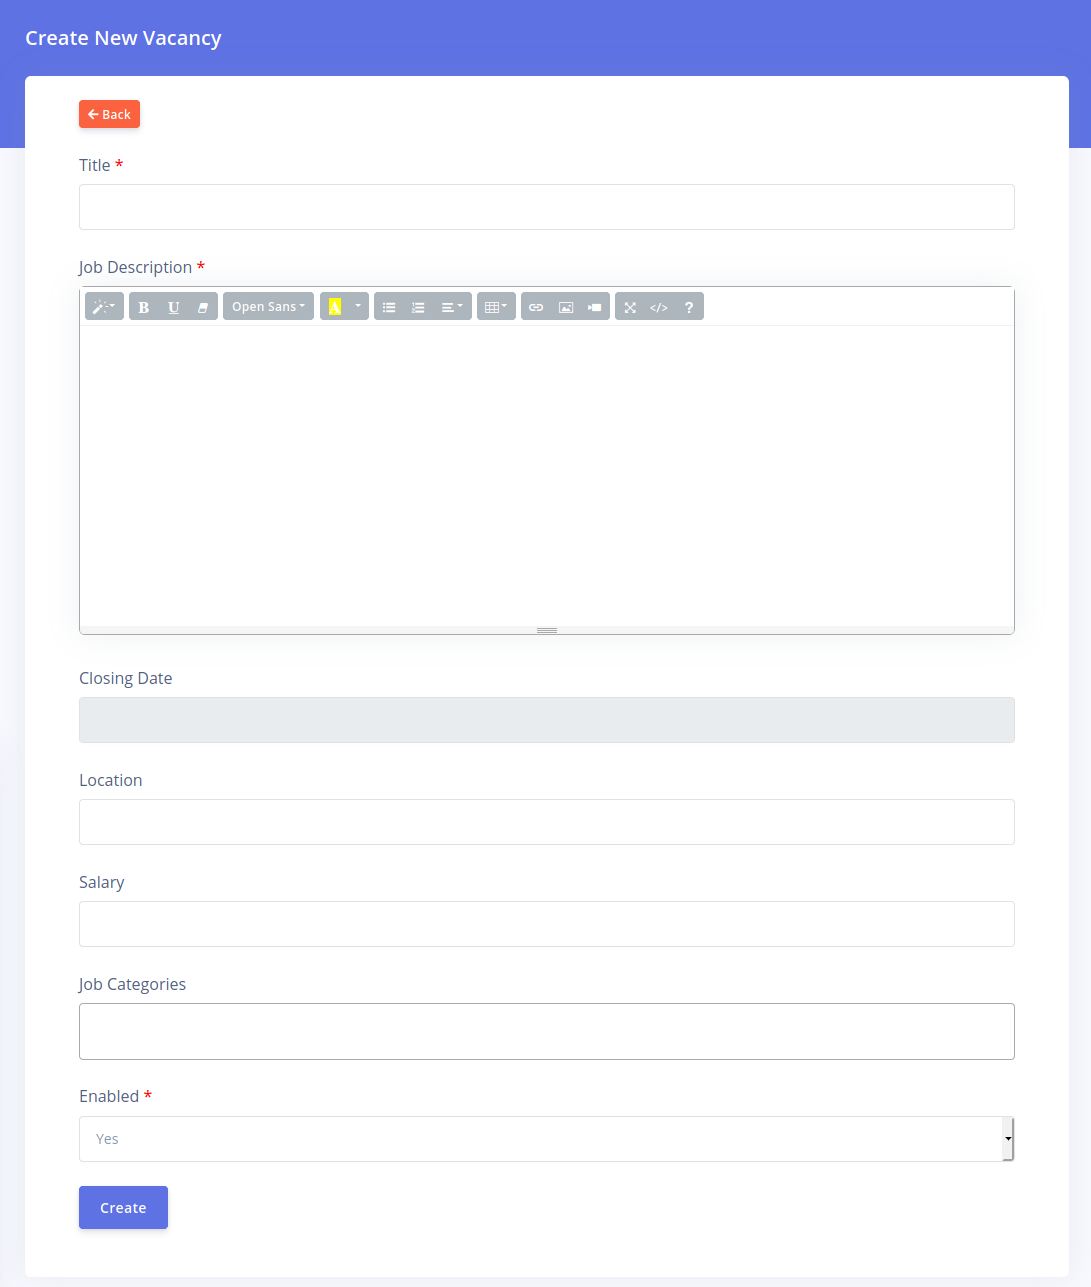
The fields on this page are describe below:
- Title: Enter a good descriptive title of the job vacancy
- Job Description: Enter the full job description in the field
- Closing Date: If the vacancy has a closing date, set it here. Vacancies will not display on the Frontend if they are past the set closing date. If you want the vacancy to be visible indefinitely then leave this field blank.
- Location: Enter a the location of the Job. You do not need to specify the full address. You can specify just the city, town, local government area e.t.c. This helps candidates make better decisions about their interest in the position.
- Salary: Enter in the salary being offered for this vacancy.
- Job Categories: You can specify what categories this vacancy falls into. A vacancy can belong to more than one category. This helps candidates sort through positions to find the ones they are interested in.
- Enabled: Sets the status of the vacancy. If set to no, then the vacancy will not be visible on the Frontend.
Click on the 'Create' button to add your new vacancy.
Managing Vacancies
To view the list of all available vacancies, click on the 'View Vacancies' menu option
This brings up the list of all the vacancies on your portal
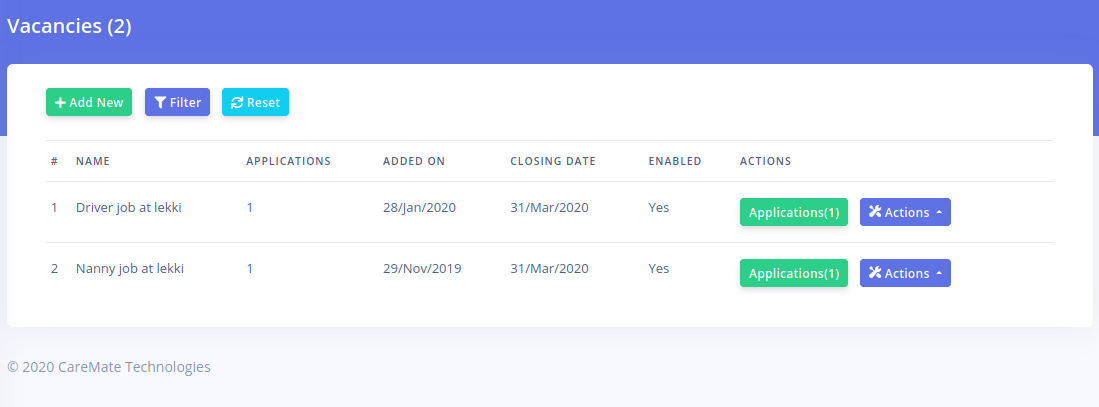
The buttons at the top of the list enables you to create a new vacancy, filter the list of vacancies and reset the list respectively.
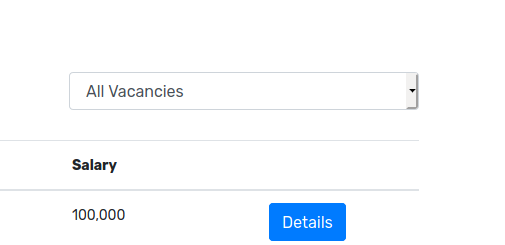
Clicking on the 'Filter' button reveals options for filtering the vacancies based on different factors:
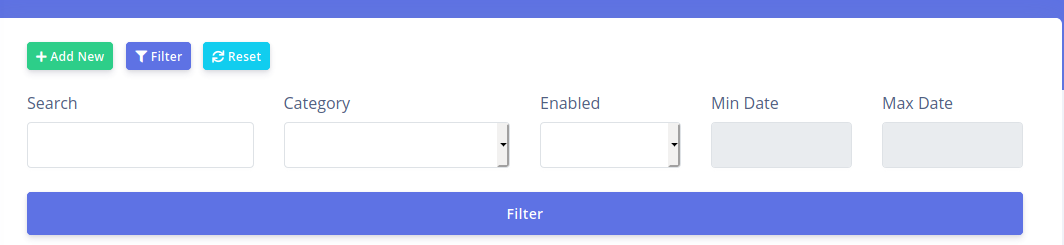
You can search for vacancies based on title and description, you can filter based on vacancy category, you can filter based on enabled status or you can filter based on the creation date of the vacancy.
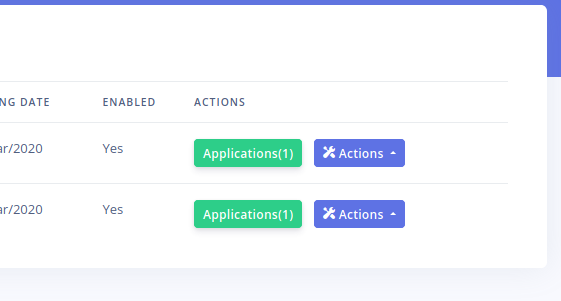
The 'Applications' column displays the total number of applications that have been submitted for that vacancy.
Each vacancy record has two buttons: 'Applications' and 'Actions'. Clicking the 'Applications' button will open the page that displays all applications submitted for this vacancy. The 'Actions' button reveals options for viewing, editing and deleting a vacancy.
Managing Applications
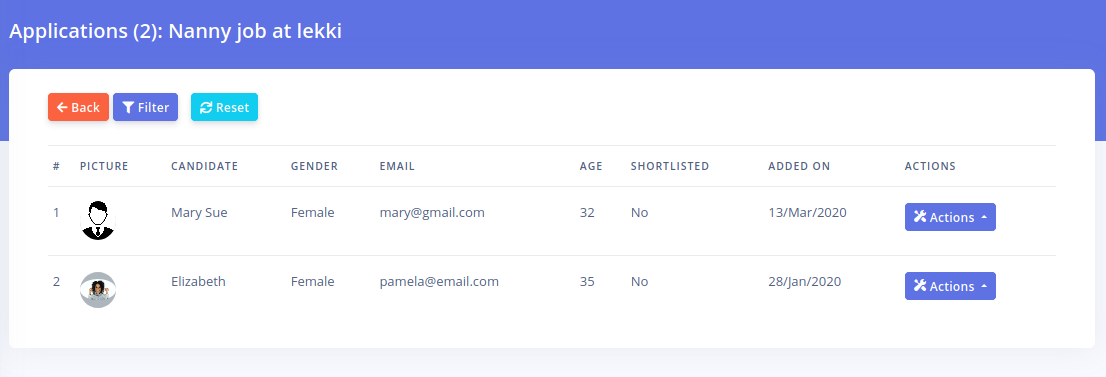
To view all applications that have been submitted for a vacancy, click on the 'Applications' button for the vacancy:
This button also shows you the total number of applications that have been submitted for the vacancy.
Clicking the button opens the applications listing like shown below:
The filter button above the application listing page allows you filter the applications based on different factors. Clicking it reveals the following panel:
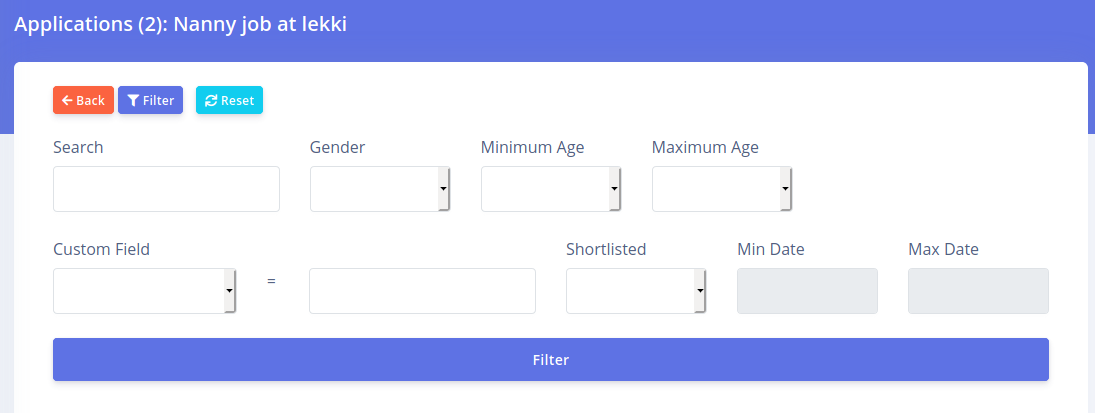
You can filter applications by
- Search: Search for a specific application using name or email
- Gender: Filter by applicant Gender
- Minimum Age: Set the minimum of the applicants you would like to view
- Maximum Age: Set the maximum age to the applicants you would like to view
- Custom Field: This allows you to search through any candidate profile fields you have created previously. For example you could create a profile field called 'Religion' and enter in the expected result here. This will search for only applicants matching the religion you specify here.
- Shortlisted: You can shortlist applicants for a position. This is an easy way to mark applicants that have strong prospects for the position. This dropdown enables you display only shortlisted candidates
- Min & Max Dates: These data selector fields will enable you filter applications that were submitted within a specific time period. This is especially useful if you have a long running vacancy listing or a listing with no closing date.
The 'Actions' button for each application listing presents the following options
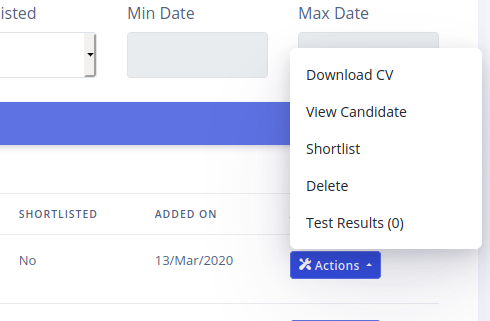
Each option is described below:
- Download CV: This downloads the CV uploaded by the candidate. This CV will be in the same format submitted by the candidate so it can be a PDF, Word document etc.
- View Candidate: This enables you to view the candidate's profile.
- Shortlist: Use this to shortlist the candidate. If the candidate is already shortlisted, the link will change to 'Remove from shortlist' and will enable you remove the candidate from the shortlist.
- Delete: This removes the candidate's application. Note that this does not delete the candidate's account on the portal.
- Test Results: Use this to view all tests the candidate has taken. The number in brackets shows how many tests (if any) the candidate has taken already.
Vacancy Categories
Vacancies can be assigned to categories. Categories help you sort out your vacancies and make it easier for candidates to find the job they are interested in.
You can create as many categories as you want.
To manage your vacancy categories, go to 'Vacancies'-'Categories'
The list that displays will appear as below
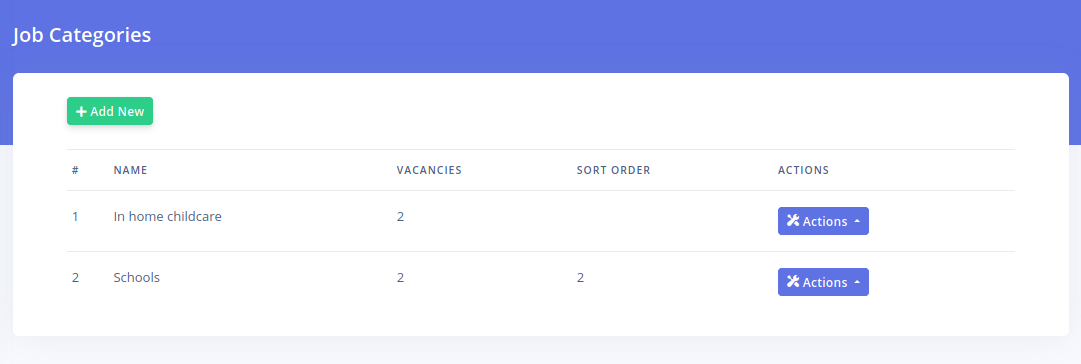
You see the total count of vacancies that have been assigned to the category.
Also note that a vacancy can be assigned to more than one category.
The 'Actions' button gives you options to view, edit and delete the category. Please note that deleting a category does not delete the vacancies that have been assigned to it.
Click on the 'Add New' button to create your category.

The name field reveals the name of the category. The Sort order field controls the order of display of the category relative to others in the drop-down menu on the job listing page on the Frontend
Creating Tests
CarePro comes with a powerful computer based testing feature. This feature was designed to make it easy for you to screen your candidates by having them take secure online examinations. Please note that only candidates can take tests and not employers.
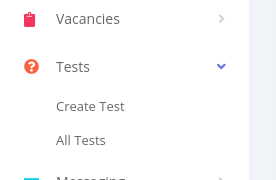
To create a test, click on the 'Tests'-'Create Test' link
The test creation page will open as below:
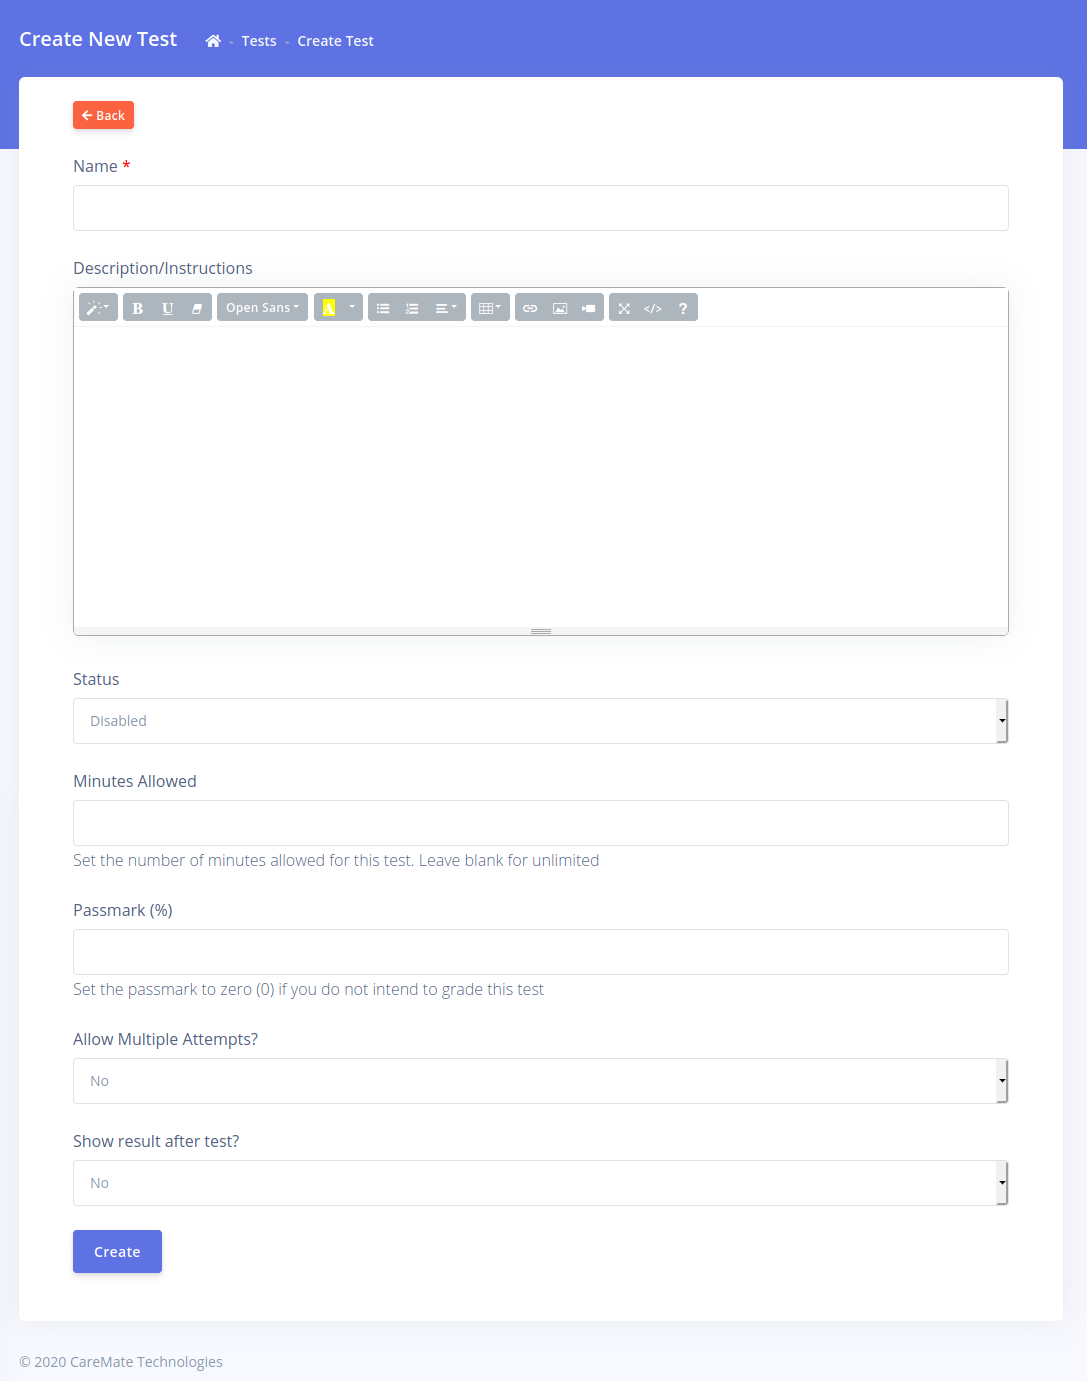
The fields on this page are explained below:
- Name: This is the name of the Test that will be visible to the candidate.
- Description/Instructions: This field enables you to detail what this test is about. You could add information like who the test is targeted at, the importance of the test, resources needed before attempting the test e.t.c. This information will be displayed to the candidate before they start the test.
- Status: This controls if candidates can take the test or not. If disabled, the test will not appear on the frontend and candidates will not be able to take it.
- Minutes Allowed: Specify how many minutes are allowed for the test. Leave blank if you do not want to restrict timing for the test.
- Passmark (%): Set the minimum score a candidate must have in order to pass this test. This score must be in percentage format as all tests are graded this way.
- Allow Multiple Attempts: Use this to indicate whether or not you want candidates to only be able to take this test multiple time. If set to 'No' then a candidate will only be able to have one attempt for the test. If you wish for a specific candidate to be able to retake a test, you will need to delete their test attempt (covered later).
- Show result after test: This determines if candidates can view test results and their grade after they have completed their test. If set to 'Yes' then candidates will be informed if they scored above the passmark or not. This however will not show candidates what questions they failed or passed.
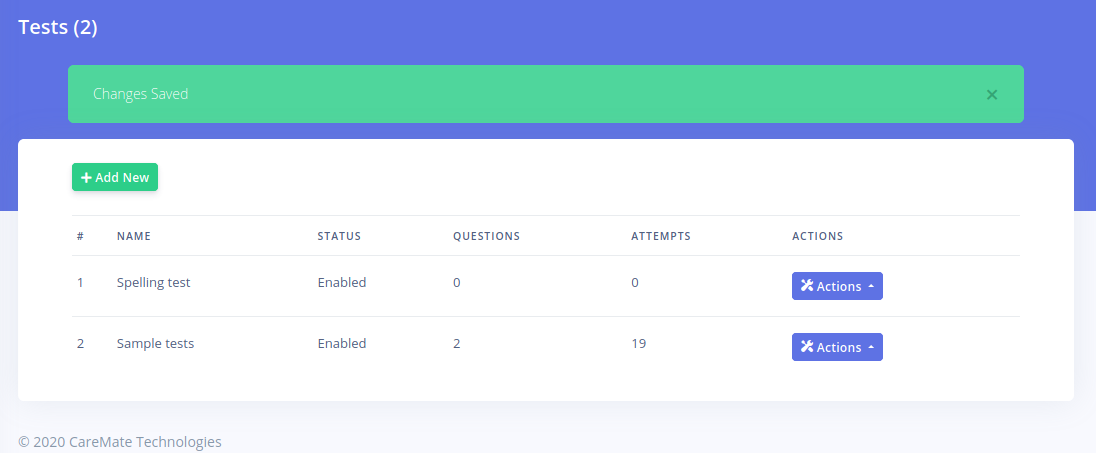
Click on the 'Create' Button to add your new test. Once your test is added, your will be redirected back to the Test list page
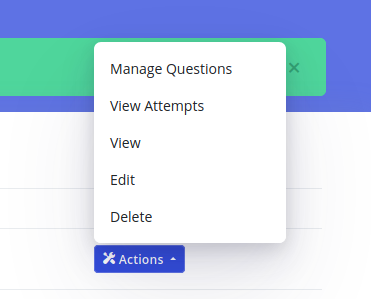
Next, you need to add questions to your test. Test are multiple choice in nature. Click on the 'Actions' option and the following options are revealed
Click on the 'Manage Questions' option. This leads to the Test Question page for this test
Click on the 'Add New' button to add a question. The following page opens
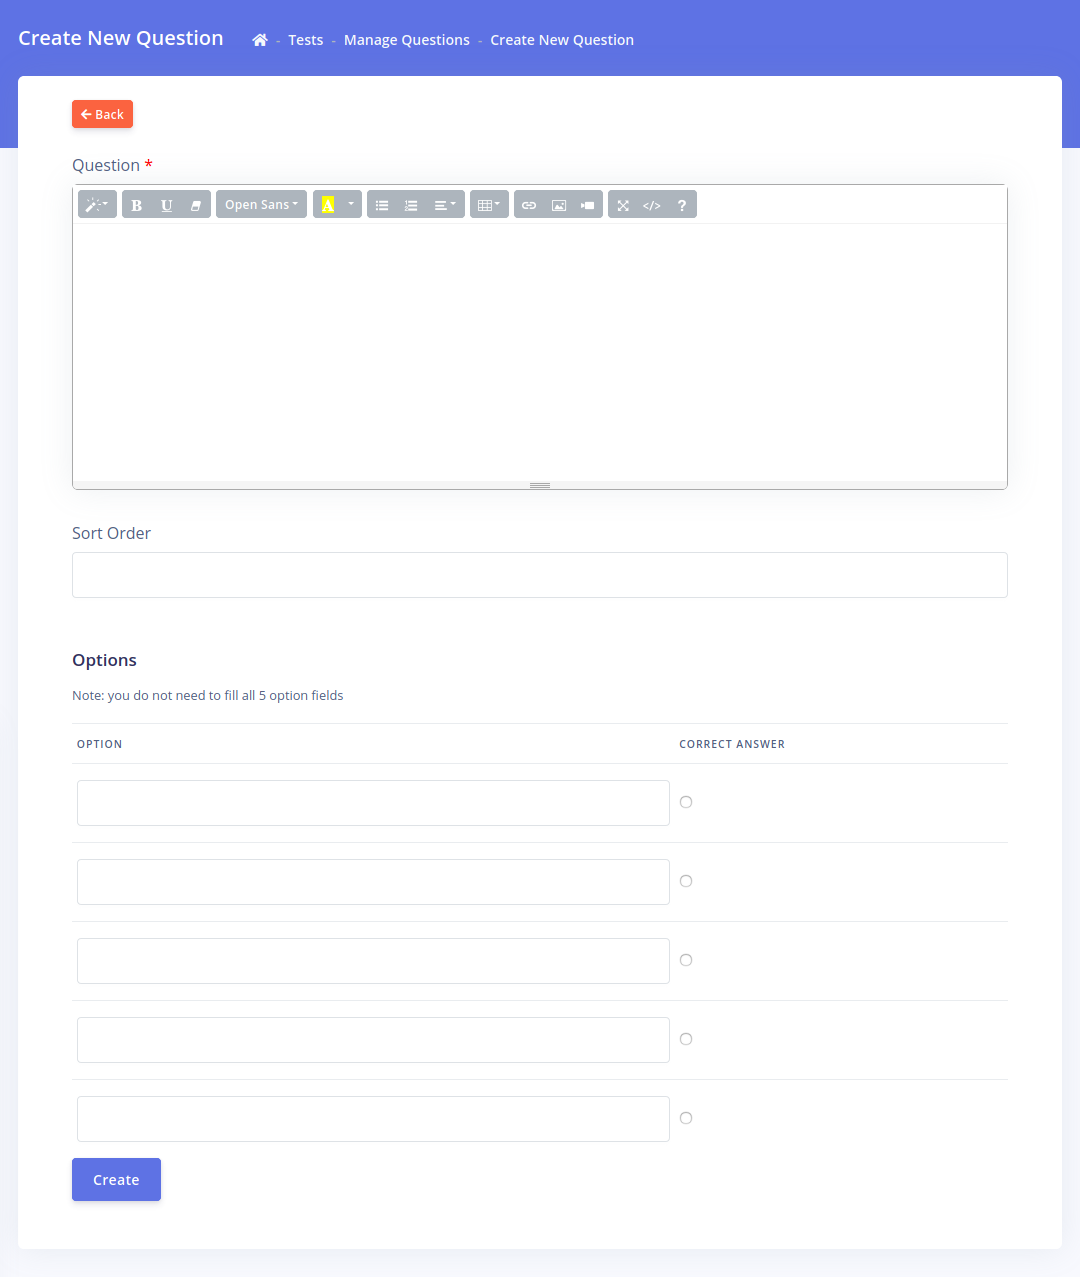
Type in the question into the 'Question' text editor.
The 'Sort Order' field determines the position of this question relative to others.
The 'Options' section is where you get to write the available options for this question that the candidates can choose from. By default, 5 boxes are provided which allow you to add a maximum of 5 options. Please not that you do not have to fill all 5 options. Options that don't contain any text will be ignored.
The 'Correct Answer' column allows you to specify what option out of the ones you supply is correct. It is mandatory you specify what option is correct before submitting the form.
Click on the 'Create' button to save your question.
Once saved, you can modify your question and even add more than 5 options by editing it

Clicking on the 'Edit' option of the 'Actions' button will option the question editing page as below:
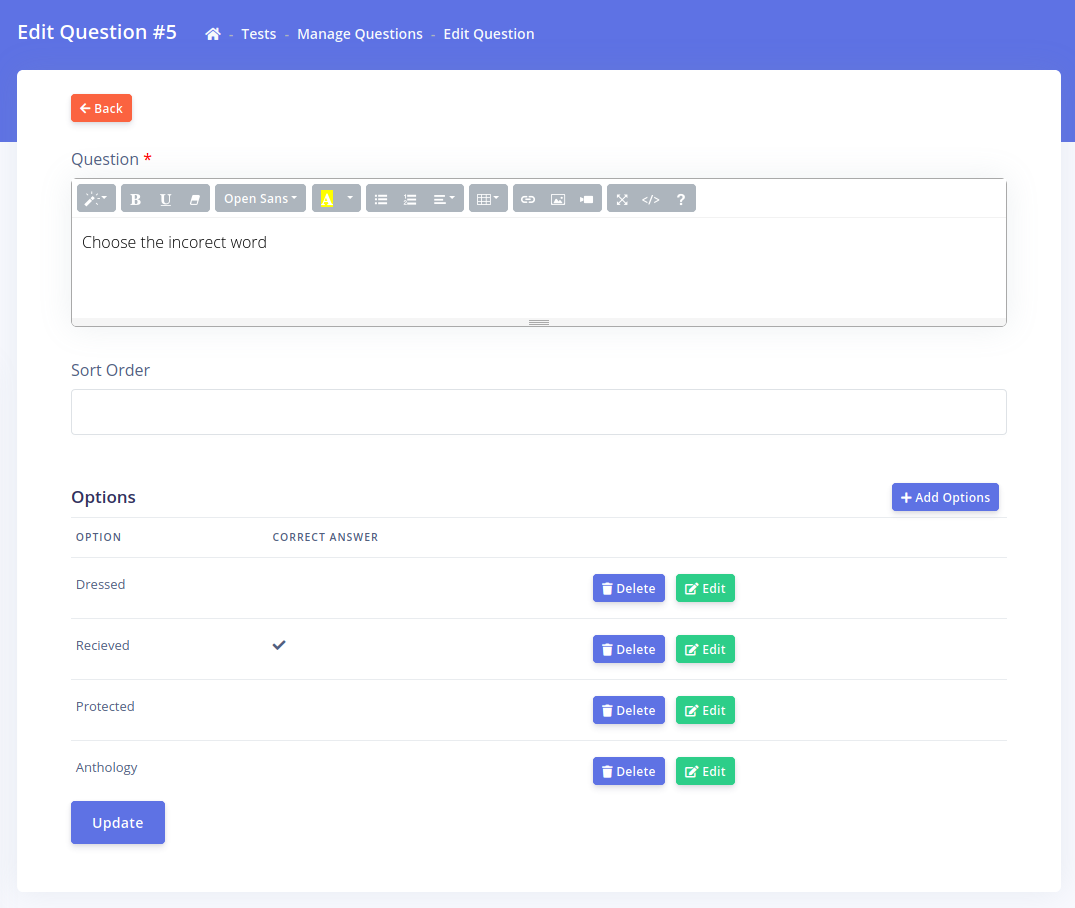
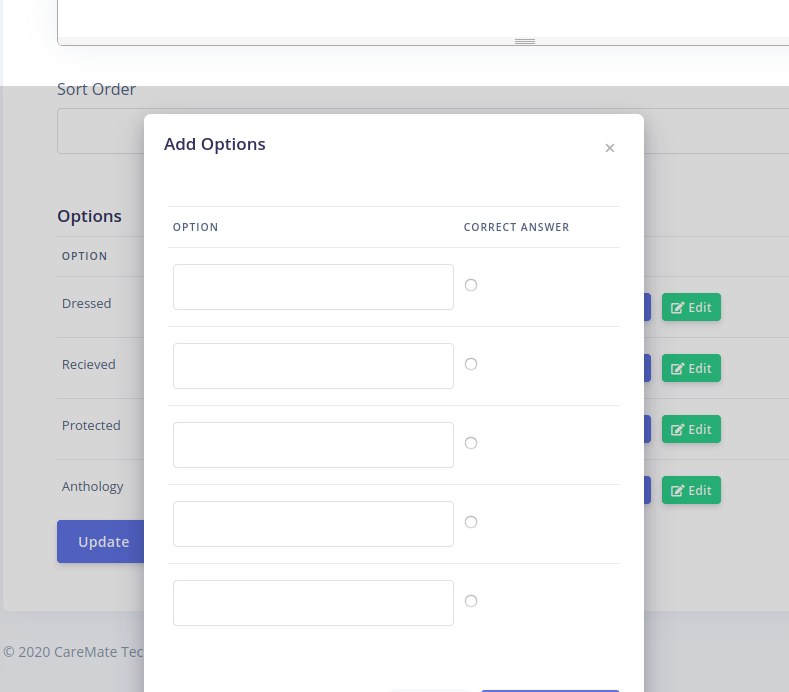
You can delete and option or edit it. Click on the 'Add Options' button to add more options. A popup dialog will appear that you can supply your options to
Managing Tests & Attempts
In order to manage your existing tests, click on the 'All Tests' link
This opens the test list page
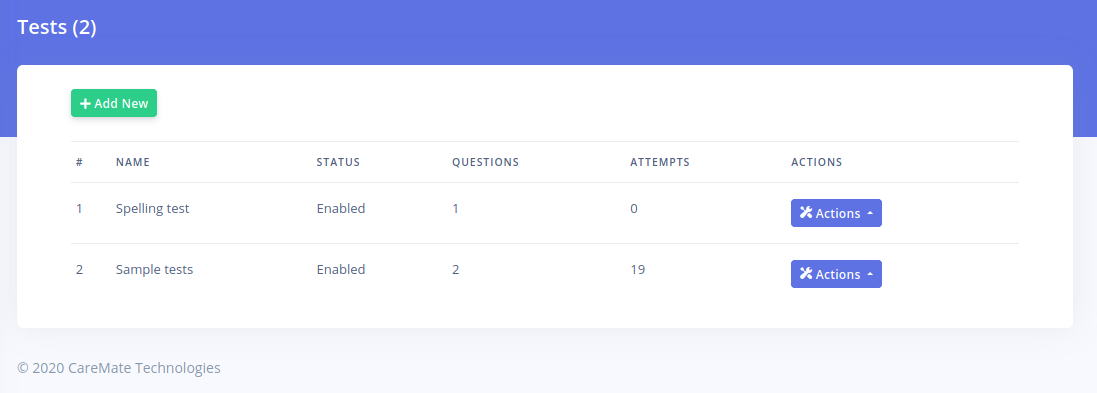
The columns on the list show the status of the test, how many questions a test has and how many attempts have been made to take the test.
To view all test attempts, click on the 'Actions' button. This brings up the following options
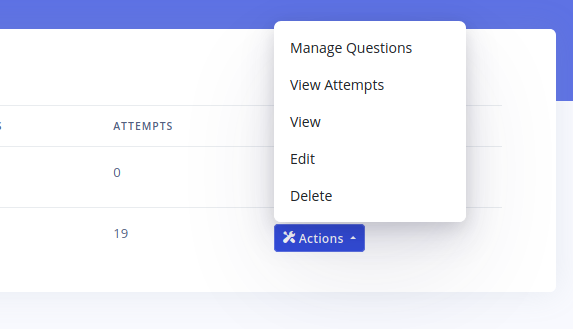
Clicking on the 'Manage Questions' option shows all questions for this test. The View, Edit and Delete options enable you to view the test information, edit the test details and settings and delete the test. Please note that deleting a test also deletes all attempts made on the test by candidates.
To view test attempts, click on the 'View Attempts' link. This brings up the page showing all the attempts made
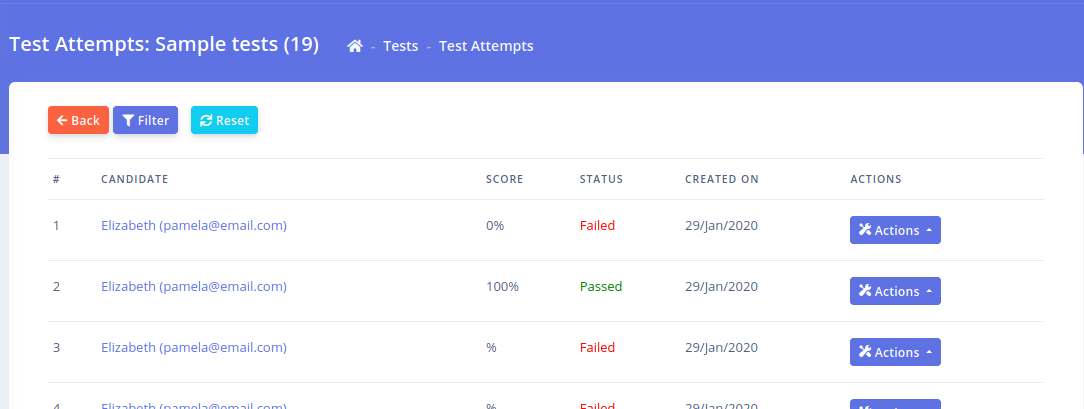
Please note that, if you allow candidates to make multiple attempts, then you may see different entries for the same student.
Clicking the 'Filter' button at the top of the list reveals important options for filtering test results
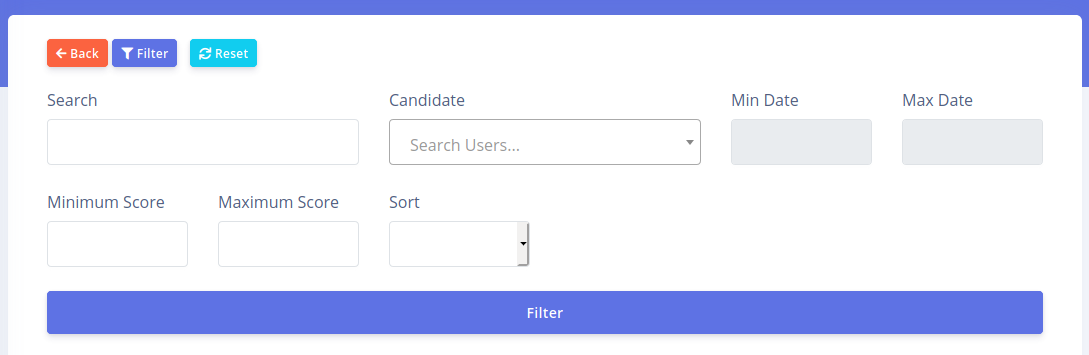
You can search for a candidate, select a specify candidate, filter buy minimum and maximum dates, filter by minimum and maximum scores and you can also sort the list by highest or lowest scrore.
The 'Actions' button for each test attempt reveals the following options

Click on the 'View Results' option to view all the questions answered and options selected by the student.
Clicking on the 'Delete' option removes only that attempt entry. This does not remove the student's account or any other record. You might want to delete an attempt if the test does not allow multiple attempts but you would like the student take the test again.
Creating Email Messages
CarePro comes with a powerful emailing feature that enables you send out instant or scheduled messages with various types of attachments. It also supports message templates that enable you easily send common email content to users.
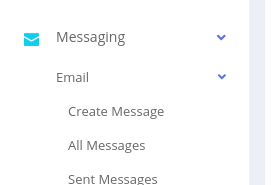
To create a new message, go to 'Messaging'-'Email'-'Create Message'
This brings up the screen for creating a message
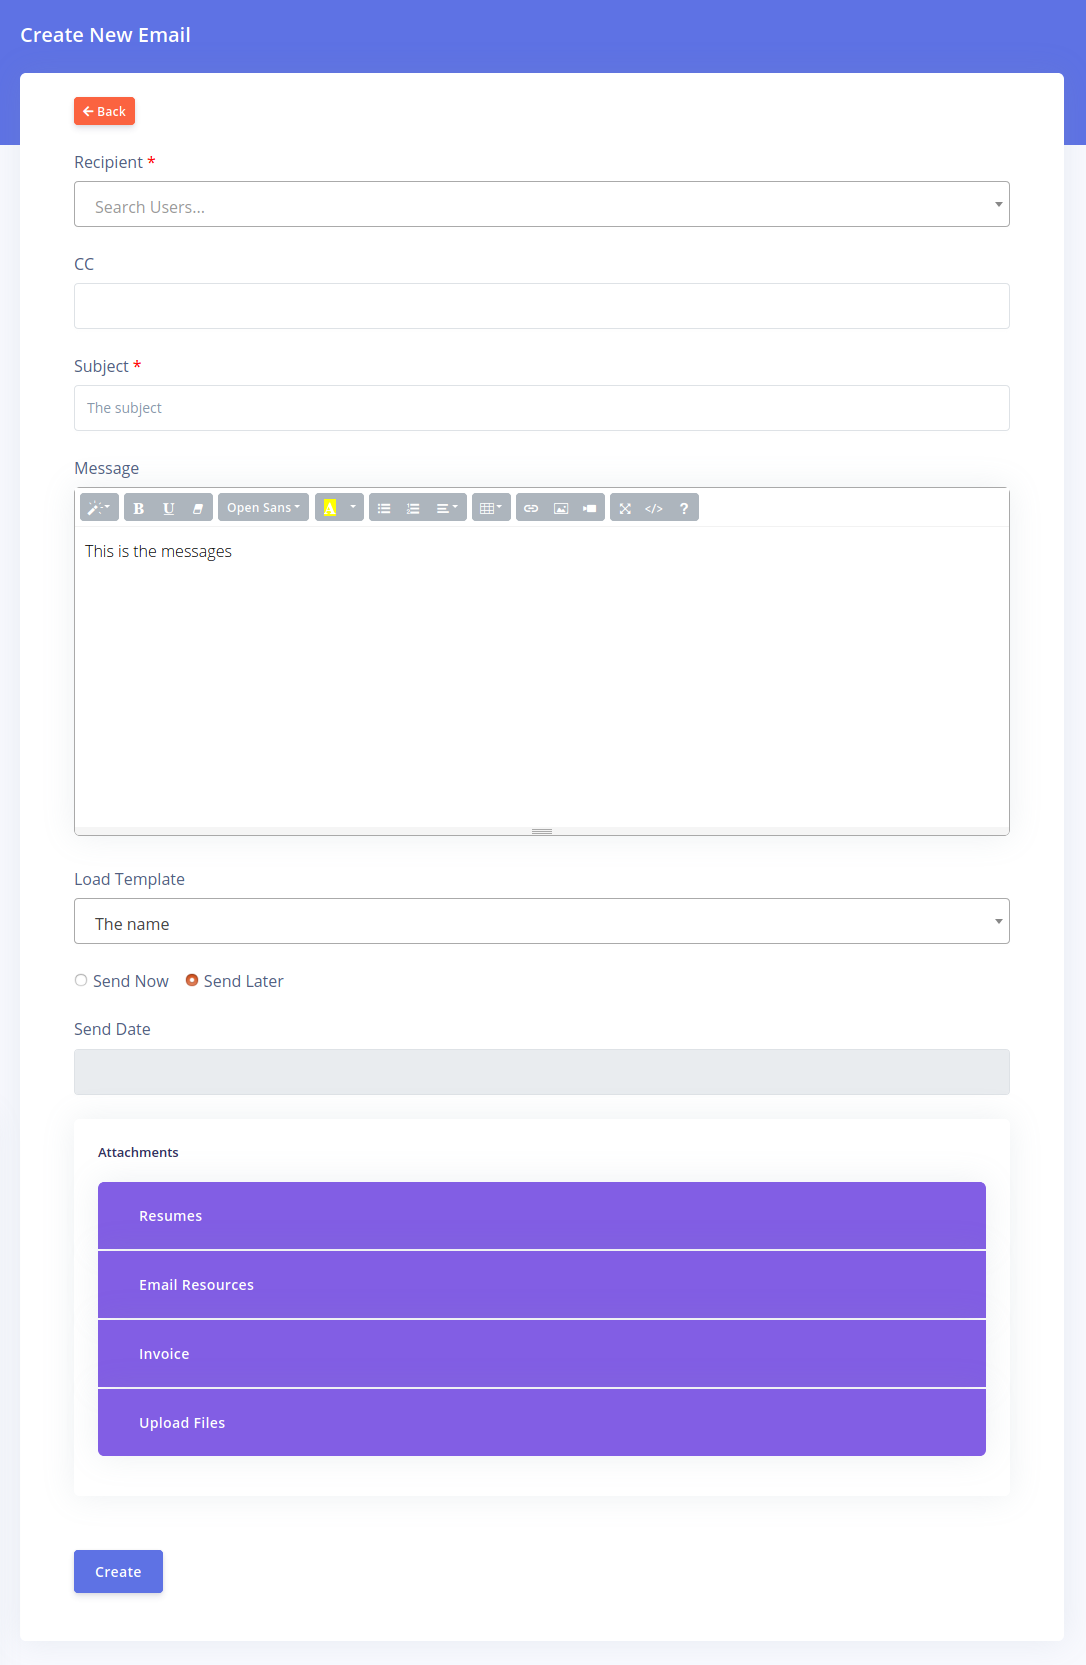
The fields in this page are described below:
- Recipient: Messages are sent to users that already exist on the platform. Click on the dropdown and start typing the name or email of a user. Users can either be employers or candidates.
- CC: you can send a copy of the email to any email address. You can type multiple email addresses here. Each email must be separated by a comma.
- Subject: Enter the subject of the email here.
- Message: Enter in the full content of the email here.
- Load Template: This dropdown displays the list of email templates you have created. Selecting a template from this list automatically loads it's content into the 'Subject' and 'Message' fields.
- Send Now: Select this option if you wish for the message to be sent immediately.
- Send Later: Select this option if you wish for the message to be sent at a scheduled date. If you select this option, the 'Send Date' field will become visible below it.
- Send Date: Specify the date you would like this message to to be sent. Please note that messages are sent at midnight of the date you specify.
ATTACHMENTS
One of the main features of the messaging feature is to enable you easily send special attachments generated by or stored on the portal. The various panels of the 'Attachments' section are explained below
- Resumes: This enables you to easily send resumes of candidates to employers. Resumes are generated based on the candidate's profile on the system and not their uploaded CVs.
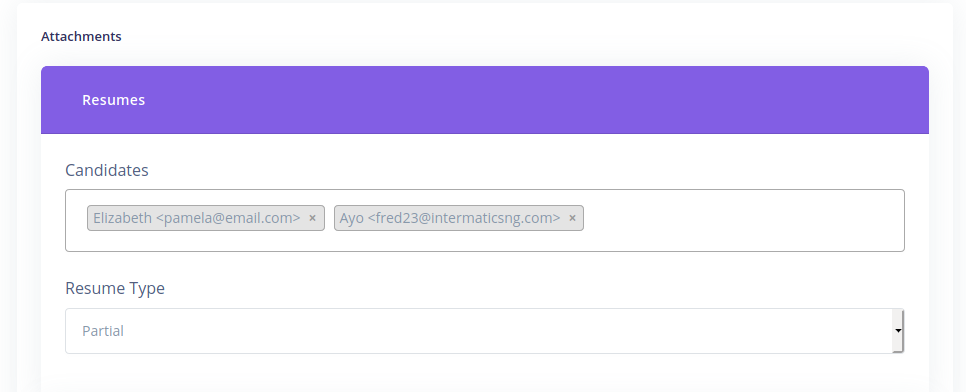
The 'Candidates' dropdown enables you to search for a candidate using their name or email. Start typing the name of a candidate and select the candidate from the dropdown. You can add as many candidates as you wish. The 'Resume Type' field enables you specify if you wish for the generated Resume to be full or partial. Partial Resumes will exclude candidate profile sections that have the 'Visible to public and in partial profiles?' option set to 'No'.
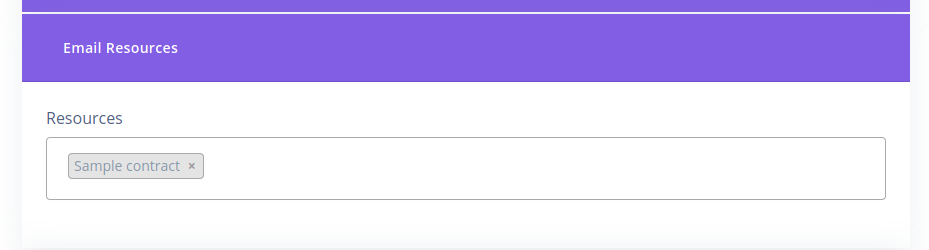
- Email Resources: Email resources are files you have uploaded previously for easy reuse in email messages. Select as many files you wish to add to this list and they will be attached to the sent email.
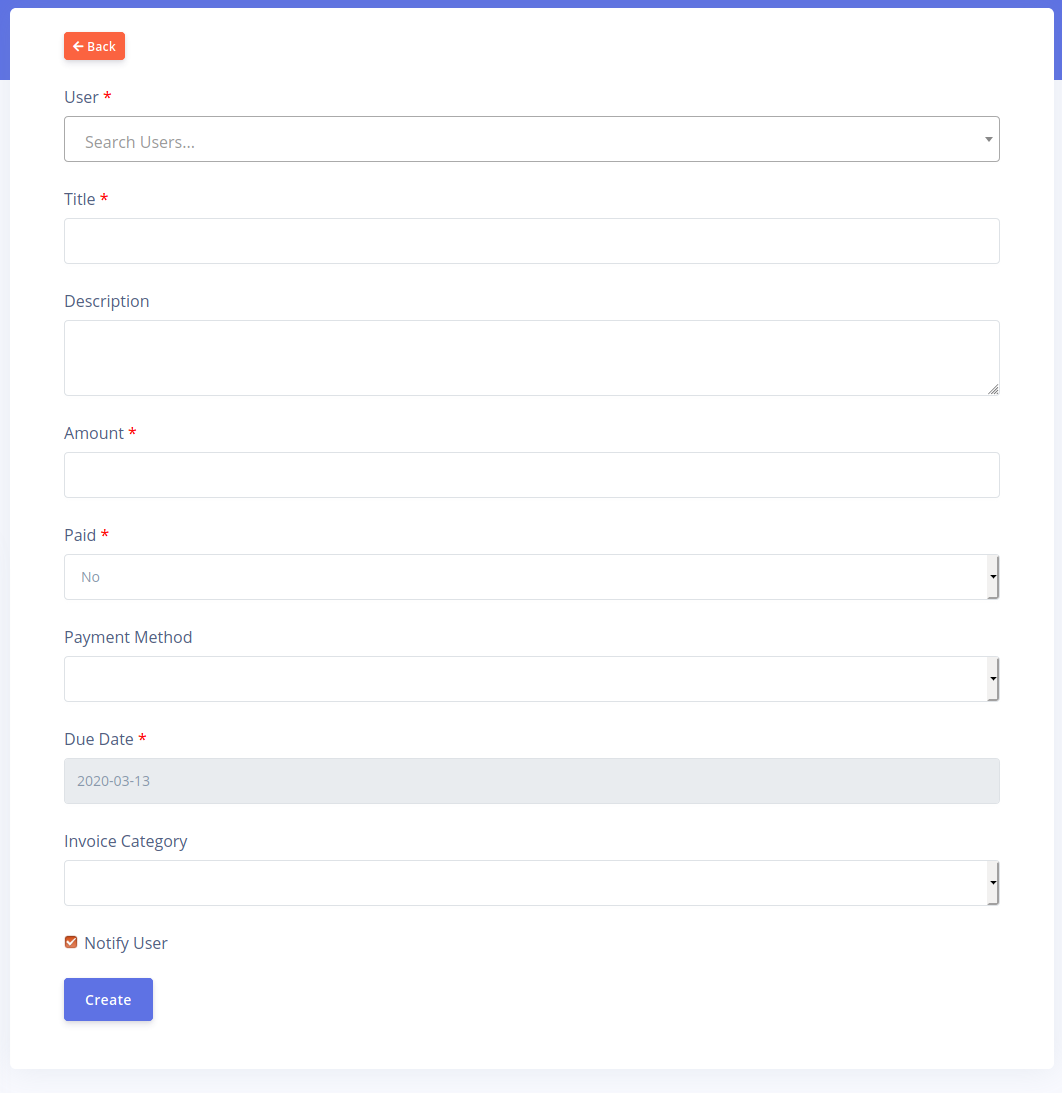
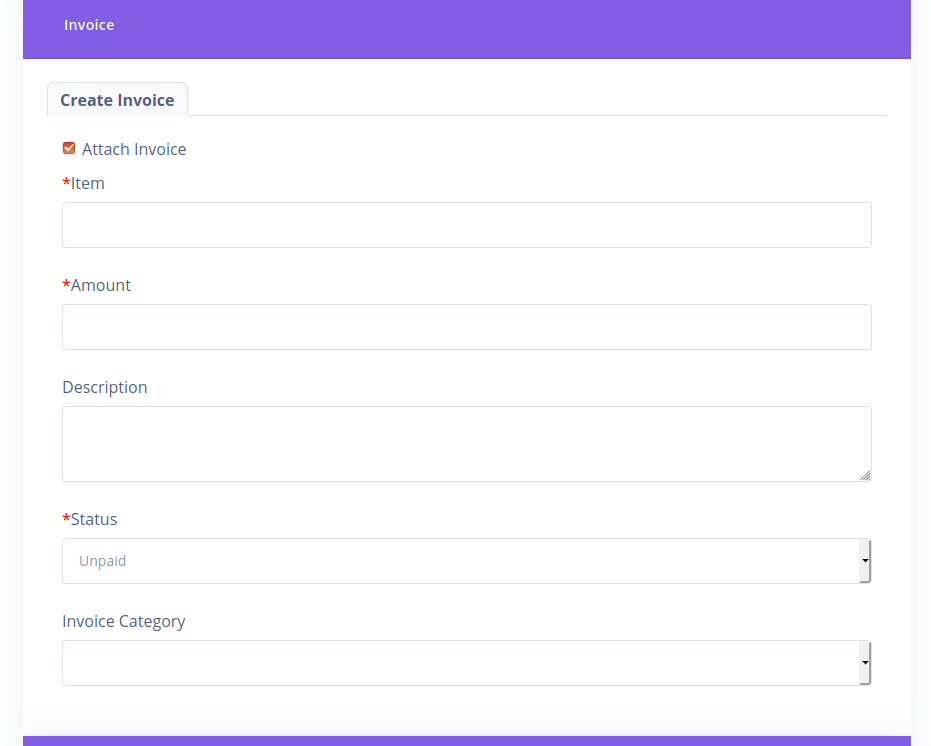
- Invoice: This allows you to generate an invoice and attach it automatically to the email. A PDF version of the invoice will be attached to the email and a link for online payment will also be attached automatically.
- Upload Files: You can use this to easily upload attachments from you computer for this email alone

Click on the 'Create' button to create your message.
Viewing Email Messages
To view you list of messages, click on the 'Messageing'-'Email' menu option
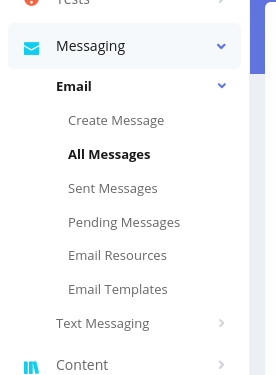
You can view 'All Messages', 'Sent Messages' or 'Pending Messages'. Pending messages are scheduled messages that have not been sent yet.
Clicking any of these options brings up the message list as shown below
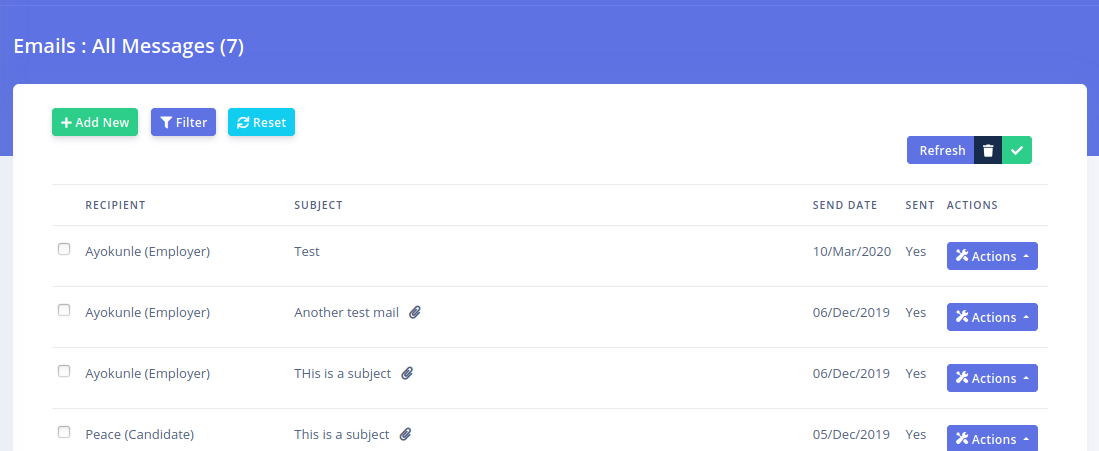
The list contains the following columns
- Recipient: The user who the message was sent to
- Subject: The subject of the message. If you see a paper clip icon beside the subject, it indicates that the message contained at least one attachment.
- Send date: The date the message was sent or will be sent.
- Sent: Indicates if the message has been sent or not.
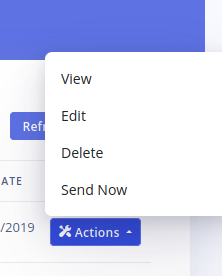
The 'Actions' button beside each message enables you view, edit, delete or send a message.
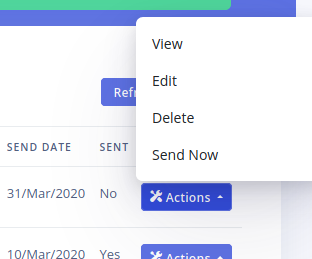
Please note that the 'Edit' and 'Send Now' options will only be available if the message has not been sent yet. The 'Send Now' option will send the message immediately irrespective of its send date.
The 'Filter' option at the top of the list gives you options for filtering the message list
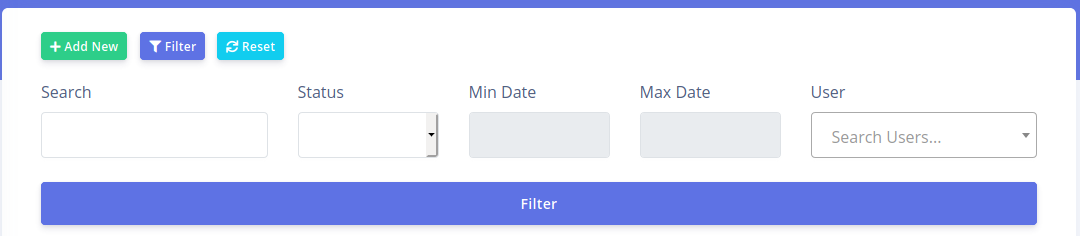
You can search based on recipient's name, message subject or content. You can filter based on send status, send dates (min or max) as well as selecting a specify user to filter based on.
Managing Email Resources
The 'Email Resources' feature is designed to make it easy to reuse common files in messages sent to employers or candidates. You need to upload these files first before they can be uses in your emails.
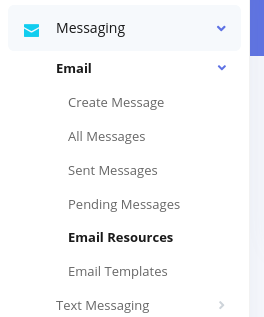
To get started, click on the 'Messaging'-'Email'-'Email Resources' menu option
This brings up the list of resources
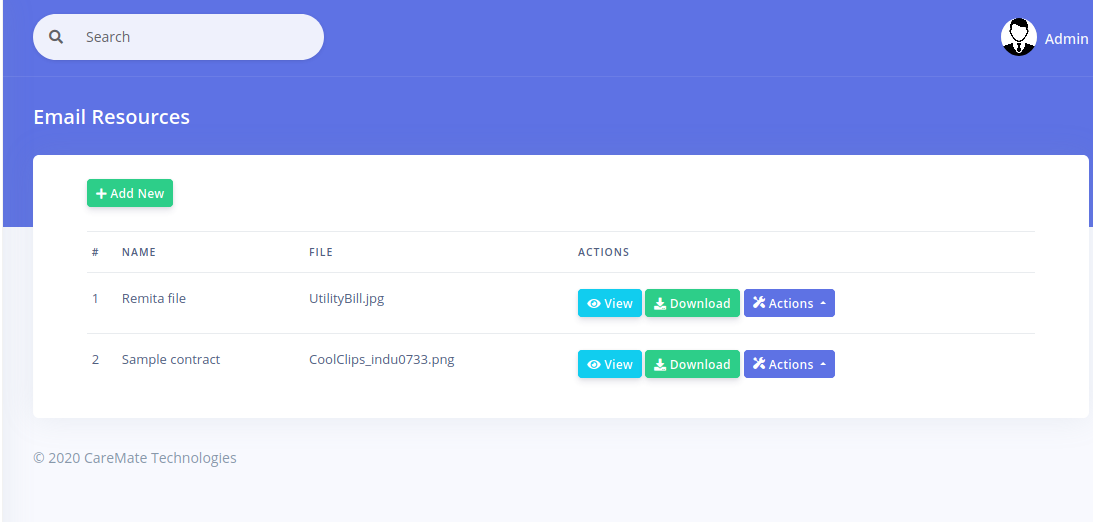
The 'Name' of the resource is the name you choose to give it for internal reference. The 'File' column lists the name of the uploaded file. This is the name that will be used when the file is attached to the email. The 'Search' box at the top can be used to easily find a particular file.
Under the 'Actions' column are options for Viewing, Downloading and Managing a resource. Note that you can only View the file online if it is an image.
Click on the 'Add New' button to create a new resource
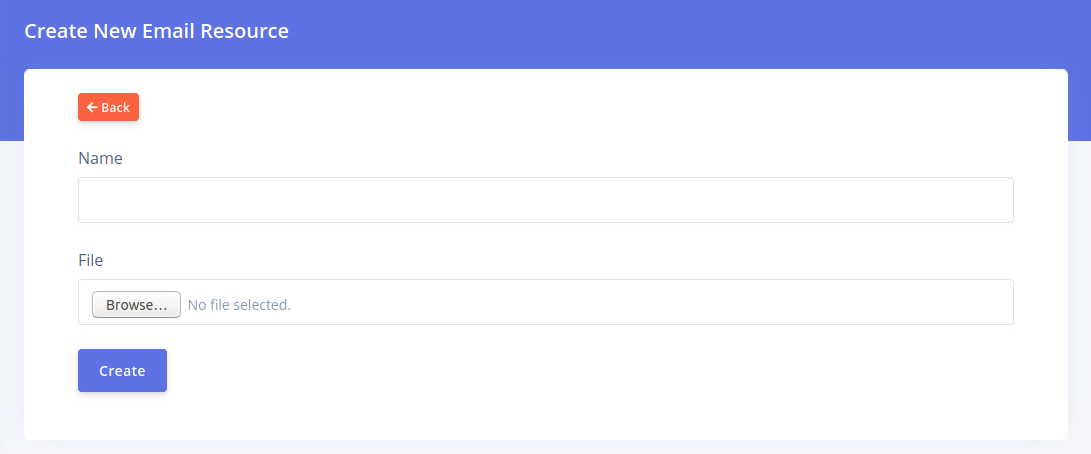
Enter the name of the resource and select the file from your computer. Click on the 'Create' button to add your resource.
Managing Email Templates
Email Templates allow you to create reusable messages that can be easily sent to candidates or employers.
To manage your templates, click on the 'Messaging'-'Emails'-'Email Templates' menu option.
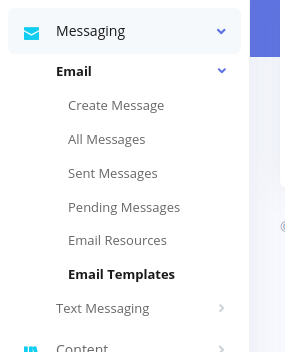
This brings up the list of templates
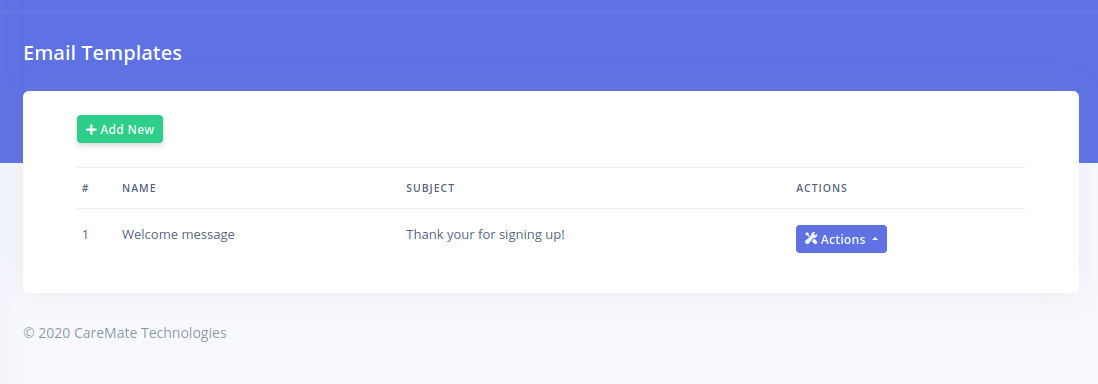
The name is the internal reference used to identify this template. The subject is the actual email subject loaded on the email editor. The 'Actions' button gives you options to view, edit and delete a template.
Please note that the content of email templates can be edited before sending.
To create a new template, click on the 'Add New' button. This brings up the following page
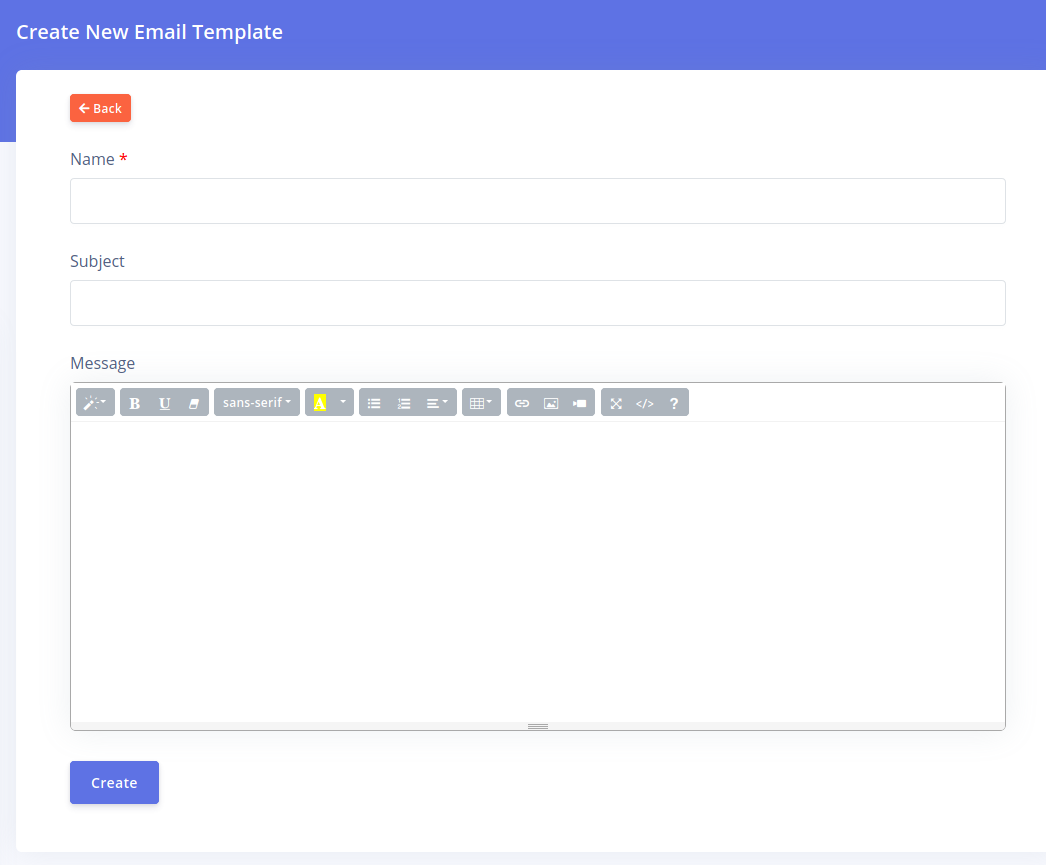
The 'Name' field is for internal identification of the template. The Subject and Message fields are the main email creation items. Click on 'Create' once you have composed the message.
Creating Text Messages
CarePro comes with a powerful text messaging feature that enables you send SMS text messages to employers or candidates.
Unlike the Emailing feature which was designed for sending messages to single users, our Text Messaging feature is designed for sending bulk messages to multiple candidates or employers.
CarePro supports multiple SMS gateways, you can configure and enable your gateways of choice and send messages via your preferred gateway during creation. Please note that you will need to fund your account with your selected gateway before you can send messages. SMS Gateways can be configured on the 'Settings'-'SMS Gateways' page.
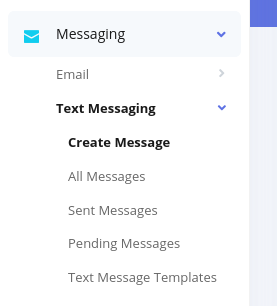
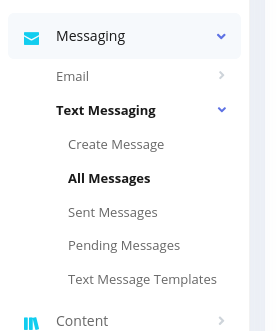
To create a new text message, click on the 'Messaging'-'Text Messages'-'Create Message' menu option
This brings up the message creation page
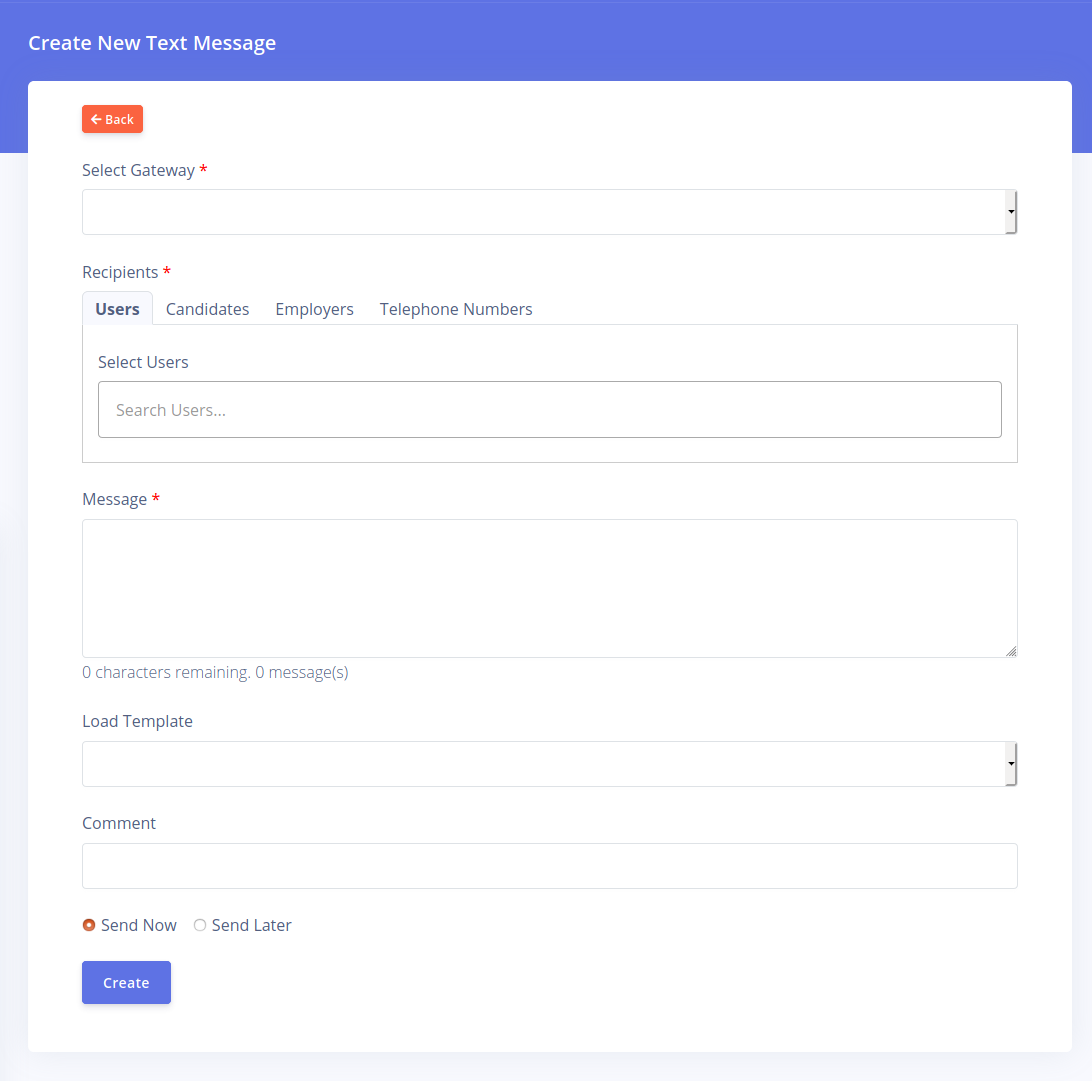
The various sections of the message creation page are explained below:
- Select Gateway: This enables you to select your preferred gateway from a dropdown list. Please note that your gateway must be enabled before it can be available on this list. Your selected gateway will be used for sending this message only.
- Recipients: This section gives you different tabs for specifying who will be receiving this message.
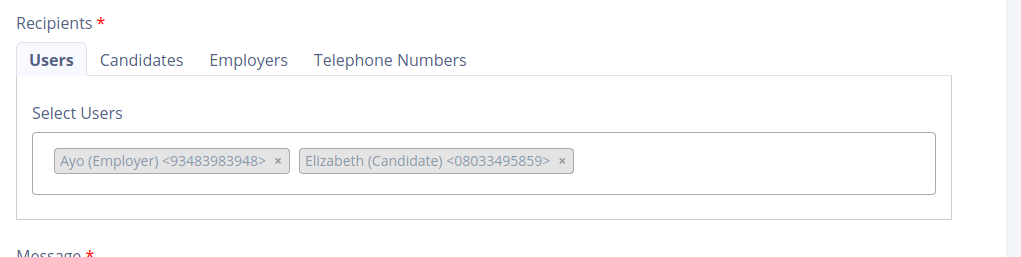
The 'Users' tab allows you to select multiple users. Users can either be employers or candidates. Start typing the name or email address of a user and select your preferred option from the list. You can select as many users as you wish.
The 'Candidates' tab enables you to send to all candidates or to specific categories of candidates.
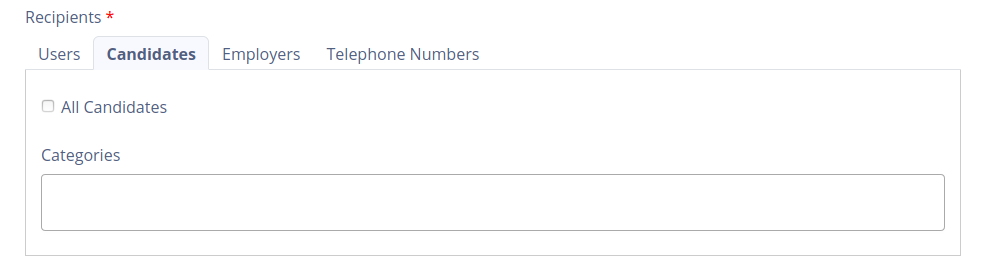
To send to candidates within a category, start typing the category name in the 'Categories' dropdown. Select your preferred option from the list. Select the 'All Candidates' checkbox to send to all candidates on the system.
The 'Employers' tab allows you to send to all employers

The 'Telephone Numbers' tab allows you to enter in specific telephone numbers to send messages to. These numbers do not have to belong to any user on the system.
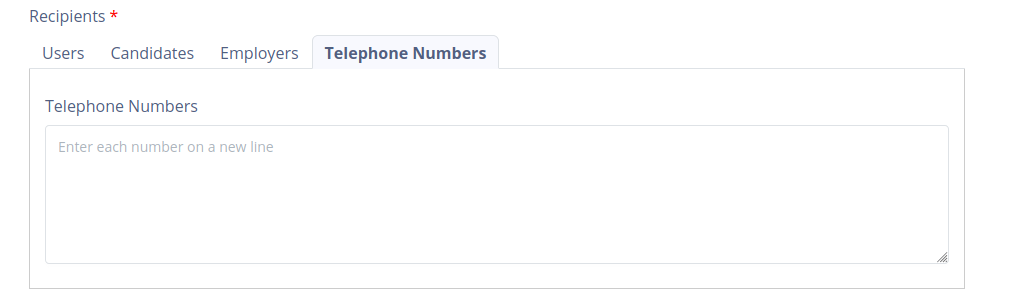
Please note that each telephone number needs to be entered on a new line.
- The 'Message' box is where you type in the actual text message that will be sent
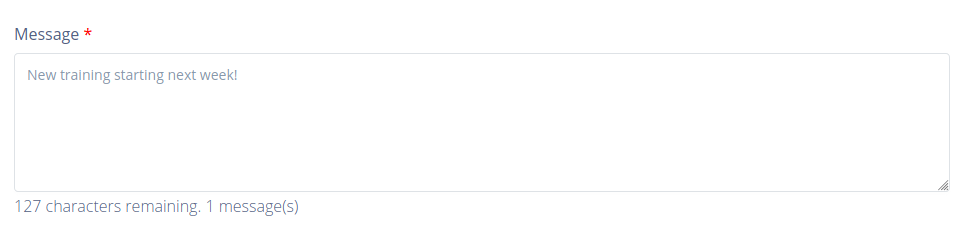
The character counter beneath the text box tells you how many character remain for the page you are on. Text messages are divided into multiple pages of 160 characters each. Note that, depending on your gateway, composing messages for more than one page will usually attract extra costs.
- The 'Load Template' box allows you to load a Text message template you have created previously.
- Comment: This field allows you to specify a comment for this message for internal reference only. The comment is not attached to the actual message send the recipients.
- The 'Send Now' and 'Send Later' options allows you to specify if you want the message to go out immediately or at a specified date respectively. Selecting the 'Send Later' option will reveal the 'Send Date' box which can be used for selecting a date.
Click on the 'Create' button to create your text message once you are done.
Managing Text Messages
To view your list of existing text messages, click on the 'Messaging'-'Text Messaging'-'All Messages' link
You can also click on the 'Sent Messages' or 'Pending Messages' option. These will display only messages that have been sent or those that are scheduled for a future date respectively.
The message list appears as below:
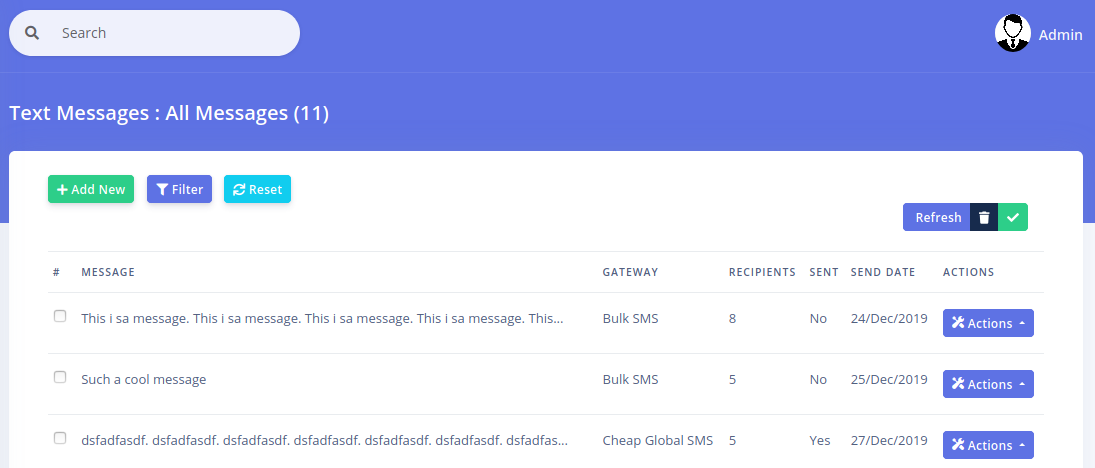
The 'Message' column displays a snippet of the message. The 'Gateway' column shows the selected gateway for this message. The Recipients column shows the total number of recipients for this message. The 'Sent' column indicates if the message has been sent or not. The 'Send Date' column shows the date the message will be sent out.
The 'Actions' column is displays options for viewing, editing or deleting a message
There is also a 'Send Now' option that will be visible if the message has not been sent yet. The 'Edit' option is also only available for unsent messages.
Clicking the 'Filter' option reveals options for filtering the message list
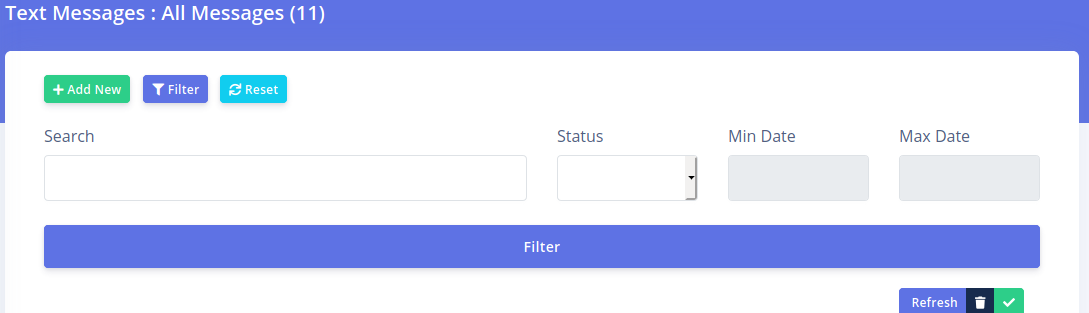
You can filter based on the message content, its sent status and it's send date.
Text Message Templates
You can create templates for your text messages. These allow you to easily reuse common messages that you would send often to users.
To Manage text messaging templates, go to 'Messaging'-'Text Messaging'-'Text Message Templates'
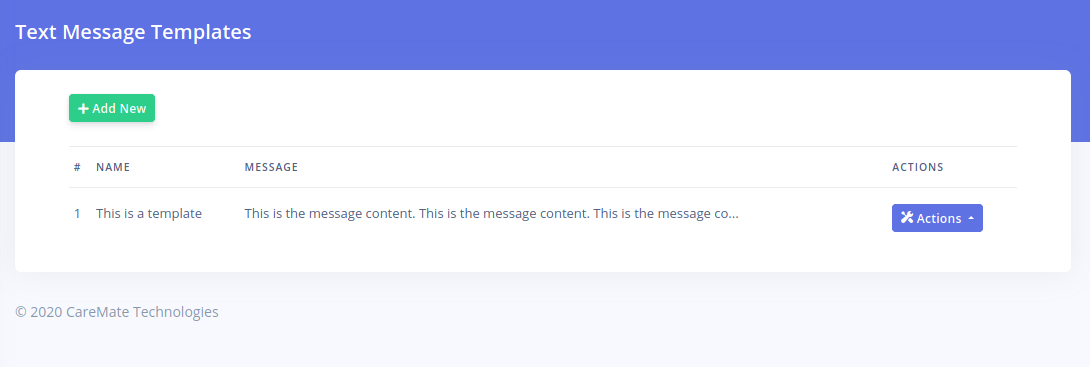
The list displays the name of the template and a snippet of it's content. The 'Actions' button give you options for viewing, editing and deleting a template.
Click on the 'Add New' button to create a new template
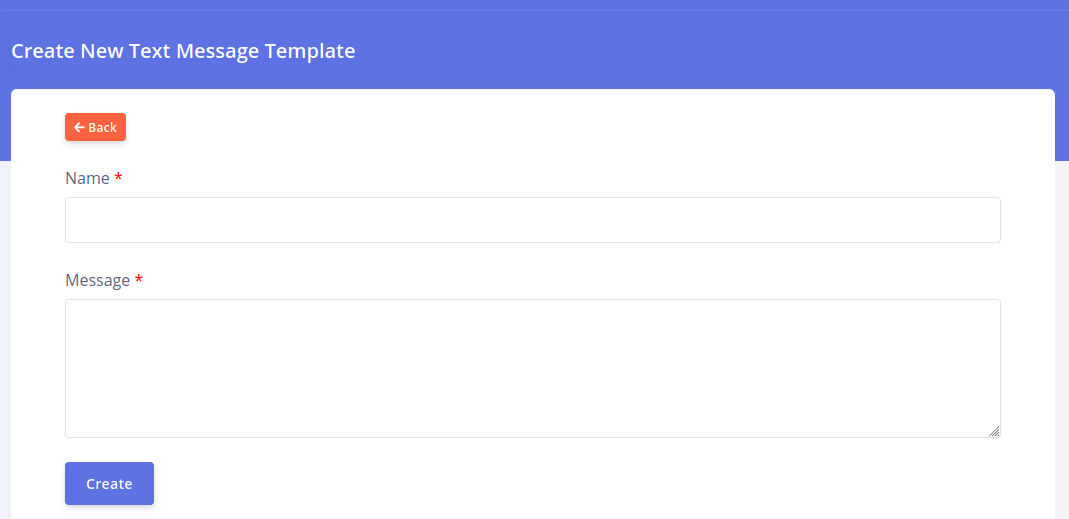
Enter your the Name and the Message. The name is simply for identification of the template while the message is the content that is actually loaded into the text message text box during the creation of a text message.
Note that a text message template content can be modified after it is selected for creating a message.
Managing Articles
CarePro articles are static pages of content that you would like to create to add information to your portal. Typically, you would use them to create pages like 'About Us', 'Vision', 'Mission' etc. Articles can be placed on the navigation menu for easy location by your visitors.
To manage your articles, click on the 'Content'-'Articles'-'Manage Articles' menu option
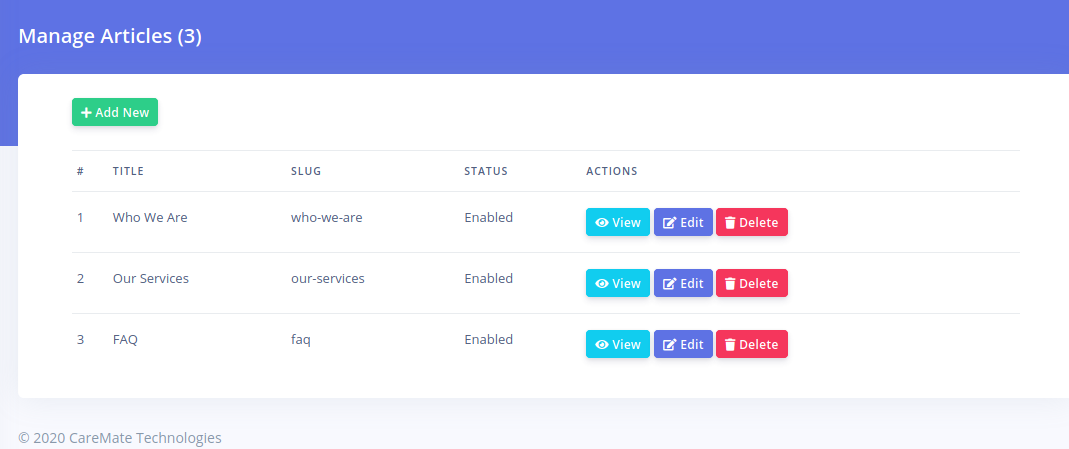
The list of existing articles will be displayed. To create a new article, click on the 'Add New' button
This opens the article creation page

The fields on this page are described below:
- Title: This is the main heading of the article as it would appear on your site.
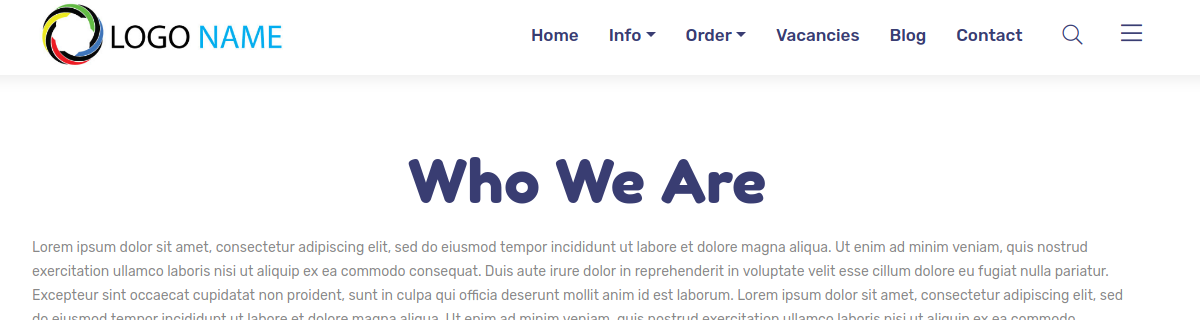
This will also be used as the browser title if the 'Meta Title' field is left blank
- Content: This will hold the text content of the article
- Slug: This is the Url identifier for the article e.g. htttps://yourportal.com/who-we-are. You can safely leave this blank and it will be generated automatically from the article title you specify.
- Meta Title: This contains the browser title for the article. If left blank, the article title will be used instead. This field is especially useful for Search Engine Optimization (SEO).
- Meta Description: This Contains the page description visible to search engines. The content of this field will not be visible while viewing the article in the browser but is very useful when optimizing the page for search engines.
- Enabled: Specify if the article can be viewed or not.
Click on the 'Create' button when done.
Managing Blog Posts
CarePro comes with a blogging feature that enables you maintain an easy to use blog on your portal. The blog comes with categories and scheduling posts.
Managing Blog Categories
Blog posts can be organized into categories. It is recommended that you create your blog categories first before you start creating posts. To manage your categories, go to 'Content-'Blog'-'Manage Categories'

This brings up the list of existing categories
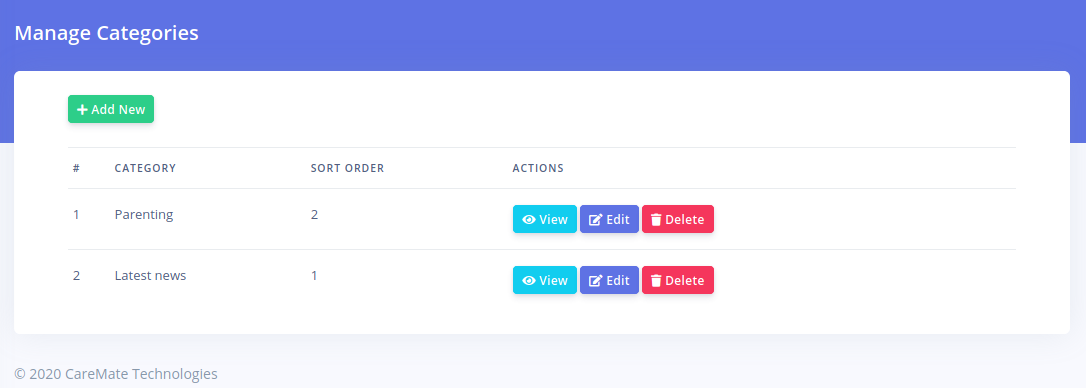
To add a new category, click on the 'Add New' button
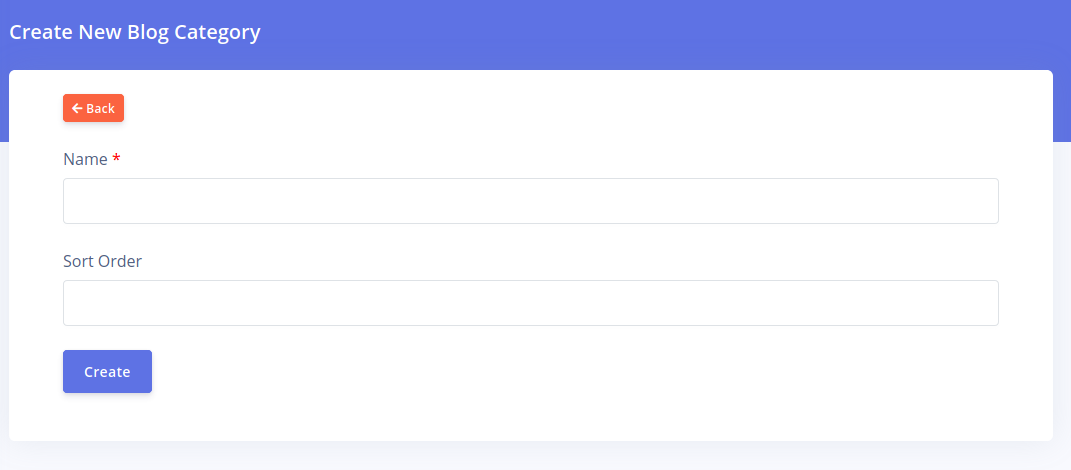
Fill in the name and sort order of the category. The sort order is a number that determines the position of the category on the blog listing page in ascending order.
Managing Posts
Blog posts are news-like entries that you add continuously to your site. To manage your blog posts, click on the 'Content'-'Blog'-'Manage Posts' option

This brings up the list of all blog posts.
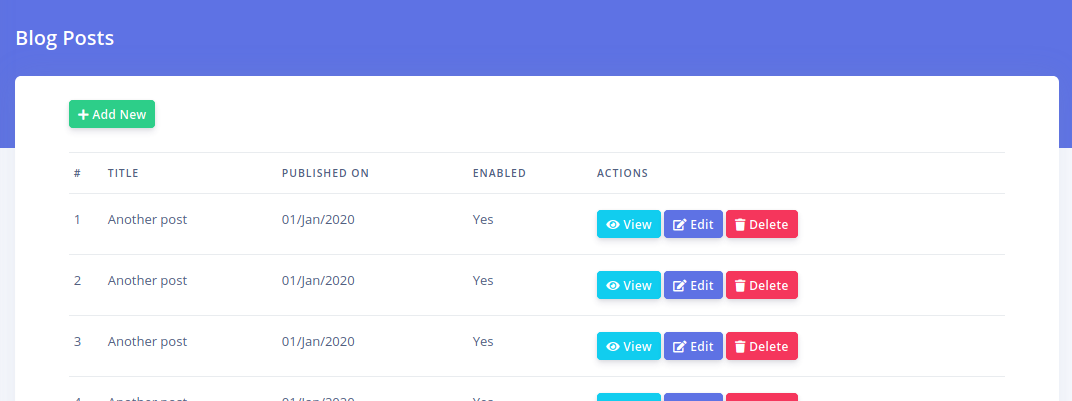
This list shows the title of the post and its publish date. It also shows if the post is enabled or not. Disabled posts are not visible on the frontend.
Click on the 'Add New' button to create a new post

Each field presented on this form is described below:
- Title: This is the main title of the blog post
- Content: This is the main content of the blog post
- Published on: This is the date you want the post to go live. Please note that if you set a future date as the publish date, then the post will not be visible on the frontend until that date.
- Categories: Select the categories that this post should belong to. You need to have already created the category as described above. You can assign a post to multiple categories.
- Enabled: Specify if the post should be visible or not.You would usually make a post disabled if you are still working on its content.
- Cover Image: Select an image from your computer that will serve as the main image displayed for this post on the blog listing page.
- Meta Title: This is the browser page title for this post. If left blank, the post's title will be used. This field is especially useful for search engine optimization purposes.
- Meta Description: This is the internal description for this post visible to search engines. This field is useful for search engine optimization.
Click on the 'Create' button to add your new post.
General Settings
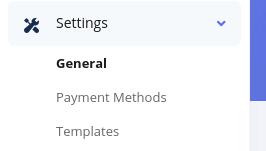
To set General Settings for your portal, go to 'Settings'-'General'
Each field listed on this page is described below:
- Site Name: This serves as the name of the site. It usually corresponds to your company name.
- Homepage Title: This is the browser title of the homepage. This title is very important for search engine optimization. You would usually enter text that briefly lists your main services e.g. 'Nanny services, Elderly care, Baby sitters in Lagos'
- Homepage Meta Description Tag: This field is very useful for search engine optimization. It is usually the text that search engines display when your website appears in search engine result pages. Write a short paragraph that briefly describes your services. We recommend you keep the length between 50â160 characters.
- Site Email: This is the default email address that the system uses to send out emails. It is not displayed on users on the frontend but they will see it if they receive an email from the portal. Ensure you use a functional email otherwise you may not receive replies from users.
- Contact Address: Enter your company's contact address here. This is displayed on the 'Contact Us' page of the portal.
- Telephone number: Enter your company's telephone number here. This is displayed on the 'Contact Us' page of the website.
- Contact Email: This should contain your company's contact email. This is displayed on the 'Contact Us' page of the website.
- Enable Employer Registration: Specify if you want employers to be able to register on the site. If you disable this, you can still manually create employers from the backend.
- Enable Candidate Registration: Specify if you want candidates to be able to register on the site. If you
disable this, you can still manually create candidates from the backend.
- Header Scripts: In this box, you can place code that should go to the 'Head' section of all your site's frontend pages. Such code could include Google analytics code, Live chat code, Facebook advertising pixel e.t.c
- Footer Scripts: In this box you can place code that should go before the closing </body> tag of all your site's pages.
- Currency Symbol: Enter in the currency symbol to be used on your site. Whatever symbol you enter here will be prepended to all prices that are displayed on your portal.
- Currency Name (plural): Enter the name of your currency in plural form and lowercase e.g. dollars, pounds, rand, naira etc.
- Disqus Shortcode: This field is for enabling comments in your blog. If you wish to enable commenting, you'll need to get a shortname from https://disqus.com
- Currency Code: Enter the 3 character currency code for your currency in capital letters e.g. USD, NGN, GBP etc.
- Verify Employer Email?: This determines if employers will need to verify their email addresses before they can create accounts on the portal.
- Verify Candidate Email?: This determines if candidates need to verify their email addresses before they can create accounts on the platform.
- Enable CAPTCHA for employer registration?: If enabled, this prevents registration spam by requiring employers to fill in characters displayed on an image before they can register.
- Enable CAPTCHA for candidate registration?: If enabled, this prevents registration spam by requiring candidates to fill in characters displayed on an image before they can register.
Order Settings
Before you start accepting orders on your CarePro portal, you should setup some basic order settings. These define a few options for how orders should be placed on your site.
To open the order settings page, go to 'Settings'-'Order Settings'
This opens the following page:
Each option presented in this page is explained below:
-
Enable Shortlist: This specifies if you would like Employers to be able to shortlist candidates while they are placing their orders. If you set this to 'No' , then the shortlist option will not be visible on the site. However, you will still be able shortlist candidates if you are creating orders manually from the backend.
-
Require billing address during checkout: This specifies if you would like to force users to submit their billing addresses during checkout. This is needed if you are using certain payment gateways that may require it.
Candidate Profile Form
By default, the registration form for candidates appears as below:
However, if you want every candidate to supply more information during registration, you can add more fields to the candidate registration form.
To manage custom fields for candidate profiles, go to 'Settings'-'Forms'-'Candidate Profile'
The candidate profile form page opens as below
Each field must belong to a section. Sections allow you to group related fields and makes your form more organized. Click on the 'Add New' button to create a new section
The different fields are explained below
-
Name: The name of the section. This will also be visible to candidates. Choose a name that describes what type of information will be collected by the fields in this section
-
Sort Order: This controls the order of display of this section relative to other sections. Sections will be displayed in ascending order.
-
Visible to public and in partial profiles: This determines if the data in this section should be viewable by employers while viewing the candidate's profile on the Frontend (if the candidate's visibility is set to public). It also determines if the section should be visible partial profiles i.e partial resume PDF downloads/emails.
-
User Editable: This determines if the candidate can make changes to the fields in this section. If set to 'No', then only the admin will be able to view and edit the fields in this section. Also, setting this to 'No' will hide this section and its field from the candidate registration form.
-
Show at registration: This determine if this section and it's fields will be visible during registration. This option is only visible if 'User Editable' is set to 'Yes'. If you set this option to 'No' then candidates will not see this section and its fields when they are registering for the first time. However, they will still see this section if they choose to update their account from their account's profile page.
Once you have created a section, you will be directed back to the section list page.
Click on the 'Manage Fields' button for a section in order to create fields for it. Creating fields here is similar to the process for creating order form fields. Please click here to read about field creation
Employer Profile Form
By default, the registration form for employers appears as below:
However, if you want every employer to supply more information during registration, you can add more fields to the employer registration form.
To manage custom fields for employer profiles, go to 'Settings'-'Forms'-'Employer Profile'
The employer profile form page opens as below
Each field must belong to a section. Sections allow you to group related fields and makes your form more organized. Click on the 'Add New' button to create a new section
The different fields are explained below
-
Name: The name of the section. This will also be visible to employers. Choose a name that describes what type of information will be collected by the fields in this section
-
Sort Order: This controls the order of display of this section relative to other sections. Sections will be displayed in ascending order.
-
User Editable: This determines if the employer can make changes to the fields in this section. If set to 'No', then only the admin will be able to view and edit the fields in this section. Also, setting this to 'No' will hide this section and its field from the employer registration form.
-
Show at registration: This determine if this section and it's fields will be visible during registration. This option is only visible if 'User Editable' is set to 'Yes'. If you set this option to 'No' then employers will not see this section and its fields when they are registering for the first time. However, they will still see this section if they choose to update their account from their account's profile page.
Once you have created a section, you will be directed back to the section list page.
Click on the 'Manage Fields' button for a section in order to create fields for it. Creating fields here is similar to the process for creating order form fields. Please click here to read about field creation
Order Forms
CarePro allows you to create multiple order forms. An order form is a dedicated form accessible only to Employers. Employers can use these forms to place orders for your services.
Each order form can be customized in order to receive the right type of information you need from your various types of Employers. For example, if you run a Nanny agency that caters for Parents and Creches, you can choose to create two order forms, one for Parents and the other for Creches. Links to the order forms can be placed on your Navigation menus for easy location by Employers.
In order to create an order form, login to your Admin account and navigate to 'Settings'-'Forms'-'Order Forms'.
The Order Forms page will open which shows the list of all available forms.
In order to create a new form, click on the 'Add New' Button.
The order form page will open up which contains the following fields:
-
Name: Enter the name of the form. Choose a name that is descriptive of the Form's function as this name will be displayed as the Title of the form when employers open it.
-
Description: The description of the form should contain instructions you would like employers to read before filling the form. This description will be visible on the first section of each Order Page an employer attempts to fill. It will also be visible on the order form list that gets displayed if there are more that one active order forms.
-
Enabled: This specifies if a form can receive responses or not. If disabled, employers will not be able to view the form even if they have the url.
-
Show Shortlist: When an employer is placing orders, they may wish to shortlist candidates from your public list. This setting determines if the shortlisted candidates will be visible on the form while it is being filled. You may wish to disable this if you do not expect Employers the form was designed for to be interested in shortlisting.
-
Show Interview Fields: Typically, order forms are used to place orders for candidates and this usually results in an interview being scheduled. By default, forms have some fields that enable employers set their preferred interview details such as Interview date, Interview location and Interview Time.
If you wish to hide these fields in a form, you can do so using this option.
-
Enable automatic order invoice: This specifies if you would like and invoice to be generated automatically every time an employer successfully creates an order. This is especially useful for collecting mobilization fees. If set to yes, then and invoice will be automatically generated for the employer and they will be redirected to the payment page after they place their order.
-
Invoice Amount: This option will only have an effect if the 'Enable automatic order invoice' option is set to 'Yes'. This specifies the amount that will be charged on the automatically generated invoice.
-
Invoice Title: This option will only have an effect if the 'Enable automatic order invoice' option is set to 'Yes'. This defines the title of the invoice that is generated automatically.
-
Invoice Description: This is the description of the invoice item for the automatically generated invoice (if enabled).
-
Invoice Category: CarePro enables you to categorize your invoices for easy sorting. You can specify the Invoice Category that the automatically generated invoice (if enabled) will belong to by default.
Once you have successfully created a form, you can proceed to create sections for that form. Each order form is comprised of 'Sections'. You can create as many sections as you wish for each form. Each section can contain multiple fields. Fields are the actual form controls that the employer fill input data into. Fields can be of various types such as Text boxes, Text area, Select, Radio buttons, Labels, Checkboxes and File input.
To create a new section, click on the 'Manage Sections' button for the Order Form you are modifying
Next, click on the 'Add New' button.
The Order Form Section creation page will open as shown below:
The different fields on this page are explained below:
-
Name: This is the name of the section. Enter a name that is descriptive of this section. However, ensure that you do not make your name too long as this is what is displayed as the title of the form section on the order form as show below
We recommend you use just three or four words as your section name.
-
Sort Order: The sort order is a digit that controls the order of display of this section relative to the order sections on the same form. Sort orders must be an integer (e.g. 1,2,3). The sections are displayed in ascending order of the sort order. Hence, if you assign the number 1 as a sort order for a section, it will be the first section that is displayed after the 'Details' and 'Shortlist' (if enabled) sections.
We recommend you do not repeat section sort orders in a single form i.e. do not give two sections in the same form the same sort order number. This is to make sure your display order is predictable.
-
Description: This is descriptive text that explains how the fields in this section should be filled. This is displayed to employers when they navigate to this section in the order form.
-
Layout: The layout field is used to define the order in which fields will be displayed on the form. The layout can either be 'Vertical' or 'Horizontal'. If set to 'Vertical' then the order fields will be laid out vertically on the form e.g.
However, if you set the layout to 'Horizontal', you can arrange the fields in that section in a grid format. Selecting the 'Horizontal' option will reveal the 'Column Width' option
The grids are laid out in blocks of 12. You can specify how many blocks out of 12 each column in the section should occupy. For example, if you specify 6/12 as the column width, then each field will take up half of the space in the section as show below:
If you set to 4/12, then each field will occupy one third of the space in the section like below:
Creating Fields
After you have successfully created your sections, you can then create fields. Each field (except the 'Label' field) represents a piece of data you wish to collect from an employer. To create or manage fields for a form section, click on the 'Manage Fields' button for that section:
This brings up the list of all the fields in that section. You can see the field type, sort order and if the field is a required field or not.
Next click on the 'Add New' button. This will bring up the field creation page:
Each option in this page is described below:
-
Name: This is the title of the field. Please give each field a name that clearly describes the type of data that should be inputted into it.
-
Type: This describes the nature of the Form field that will be created. The following type of fields are supported:
- Text: This accepts a single line of text e.g
 Use this field type to collect small pieces of text.
-Textarea: This accepts multi-line paragraph text. e.g.
Use this field type to collect larger amount of text.
-Select: This creates a drop-down control that allows the user select from a list of options e.g.
Use this option if you would like to restrict user input to a predefined set of options.
-Radio: This creates a list of options similar to the 'Select' above. However, for radio buttons, each option is displayed on the page without the user needing to click on the control e.g.
Use this option for smaller list of options.
-Checkbox: Checkboxes are used to create 'Yes' or 'No' fields. If the user selects the option, its value is set to 'Yes'. If not selected, its value is set to 'No' e.g.
-File: This allows a user to upload a file e.g.
-Label: The label field is a special option that does not actually collect any data. This field type is simply used to create a heading withing form fields. This is very useful if you wish to separate fields within a form section. For example see the 'School Information' label below
-
Sort Order: This defines the placement of the field relative to others in the same section. The fields are arranged in ascending order. The sort order must be an integer. We recommend you do not repeat sort orders for fields in the same section.
-
Options: The options box is only visible if you select the 'Select' or 'Radio' field types. This box allows you to define the options that can be selected from. Please note that you need to enter each option on a new line e.g.
-
Required: This specifies if this field should be mandator. If set to 'Yes' then employers will not be able to submit the order form without filling this field.
-
Hint: This allows you to define a descriptive text that tells the user what type of data is expected for that field. Please note that this only works for Text and Texarea field types.
-
Enabled: This specifies if the field will be visible on the order form or not.
Once you have created all your sections and their associated fields, your order form should be ready for use!
Note however that you will need to add your form to a menu in order for it to be visible on the site. You can add the form to the header or footer menu by going to 'Settings'-'Menu'. Click on the 'Header Menu' or 'Footer Menu' option.
One the menu editing page, click on the 'Order Forms' panel. You will see the list of all your order forms there. Click on the 'ADD' button for the form you wish to add to your menu.Â
Your form should now be easy to locate by your employers. For more information on managing menus, please see the 'Managing Menus' help page
Payment Methods
CarePro allows your to configure payment methods that gives your users different options for making payment for your invoices.
We support multiple payment gateways. All payments go through these gateways directly into your bank accounts or online wallets as determined by the gateway. You get to configure gateways using credentials you obtain directly from the gateway.
To manage your payment methods, go to 'Settings'-'Payment Methods'
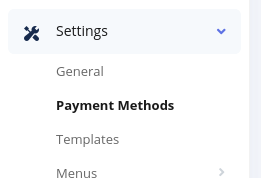
This brings up the list of all available payment methods on the system.
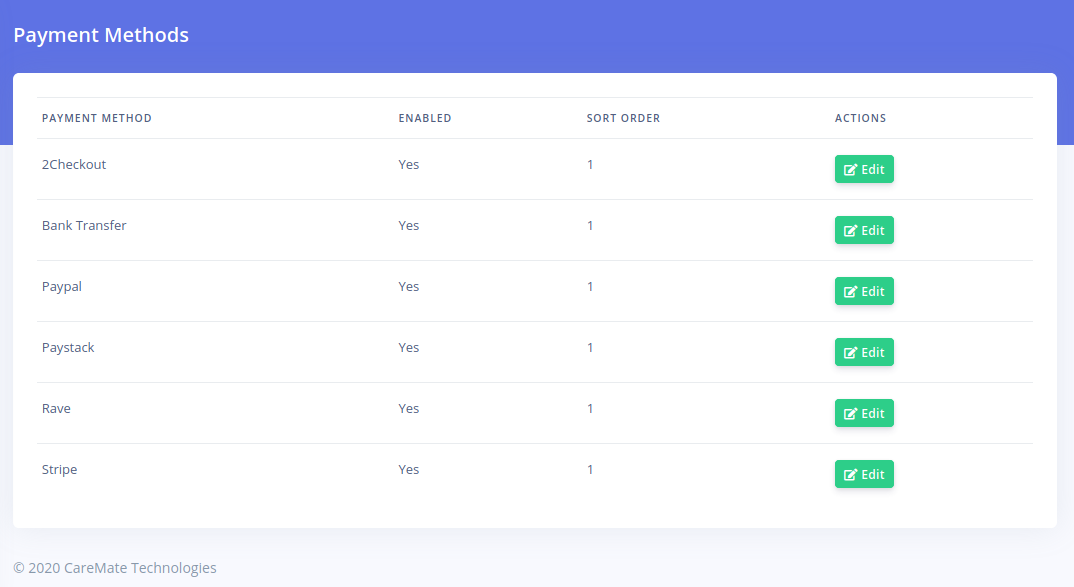
To enable a payment method, click on the 'Edit' button. Each payment gateway has unique settings. Hence, the form for editing each gateway will be different. For the 'Paystack' option, the following page opens
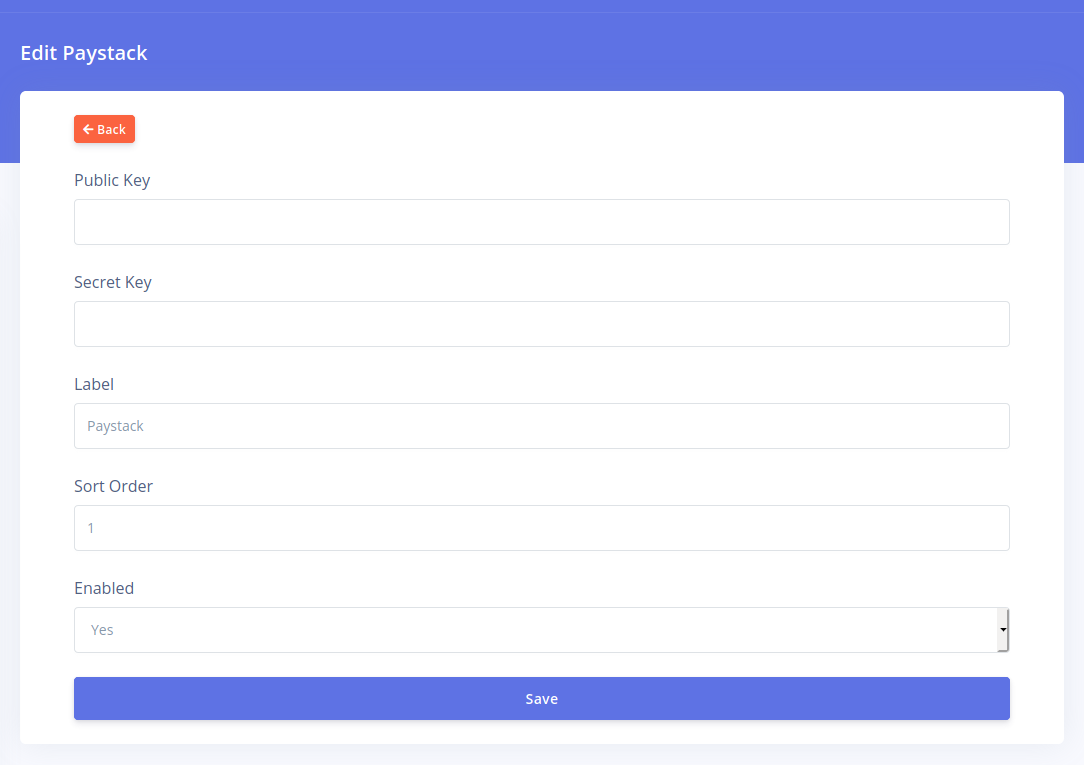
Note however, that for each gateway, the following fields will always be present
- Label: This is the name of the gateway that is displayed to the user as a payment option during checkout.
- Sort Order: This is the order of the payment gateway relative to others.
- Enabled: This controls if the payment gateway is active or not.
For each gateway, you'll need to get the relevant credentials from the provider. Please consult the documentation for each provider.
Templates
CarePro comes with different templates you can choose from. A
template is a design that gives the public area of your CarePro
application a special look. Each template comes with different options
that enable you customize the general appearance and content of various
aspects of the template.
To customize your current theme or choose a new one, go to 'Settings'-'Templates'
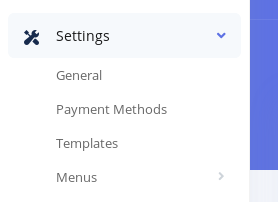
The templates page is split into two sections: Active Template and All Templates.
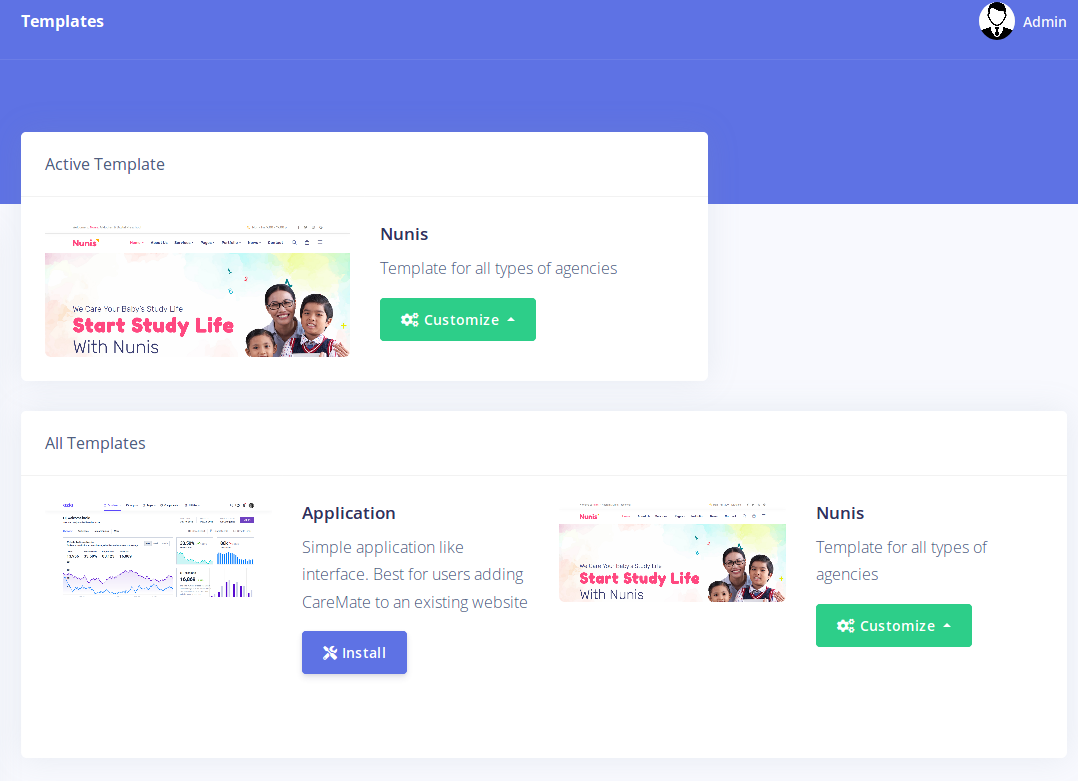
The Active Template section shows the currently installed template
and also displays buttons for modifying the template. The 'All
Templates' section displays all the available templates you can choose
from. Click on the 'Install' button if you would like to switch to a new
template. To modify your existing template, click on the 'Customize'
button.
Clicking the 'Customize' button presents two options: Settings and Colors
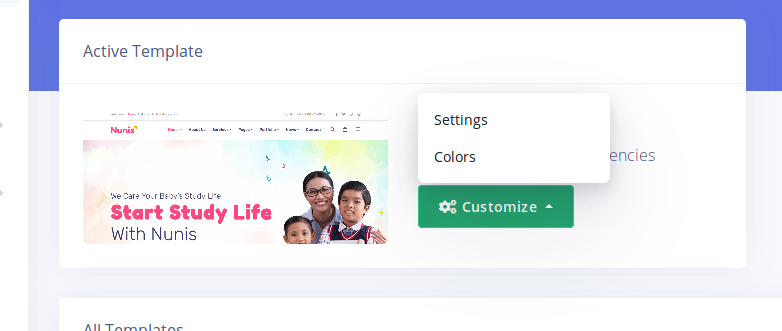
The 'Settings' button is the main option for modifying the template.
It leads to a page that contains various forms for customizing the
template. The 'Color' option leads to a page that enables you change the
different major colors used by the template.
Clicking on the 'Settings' option leads to a page like below:
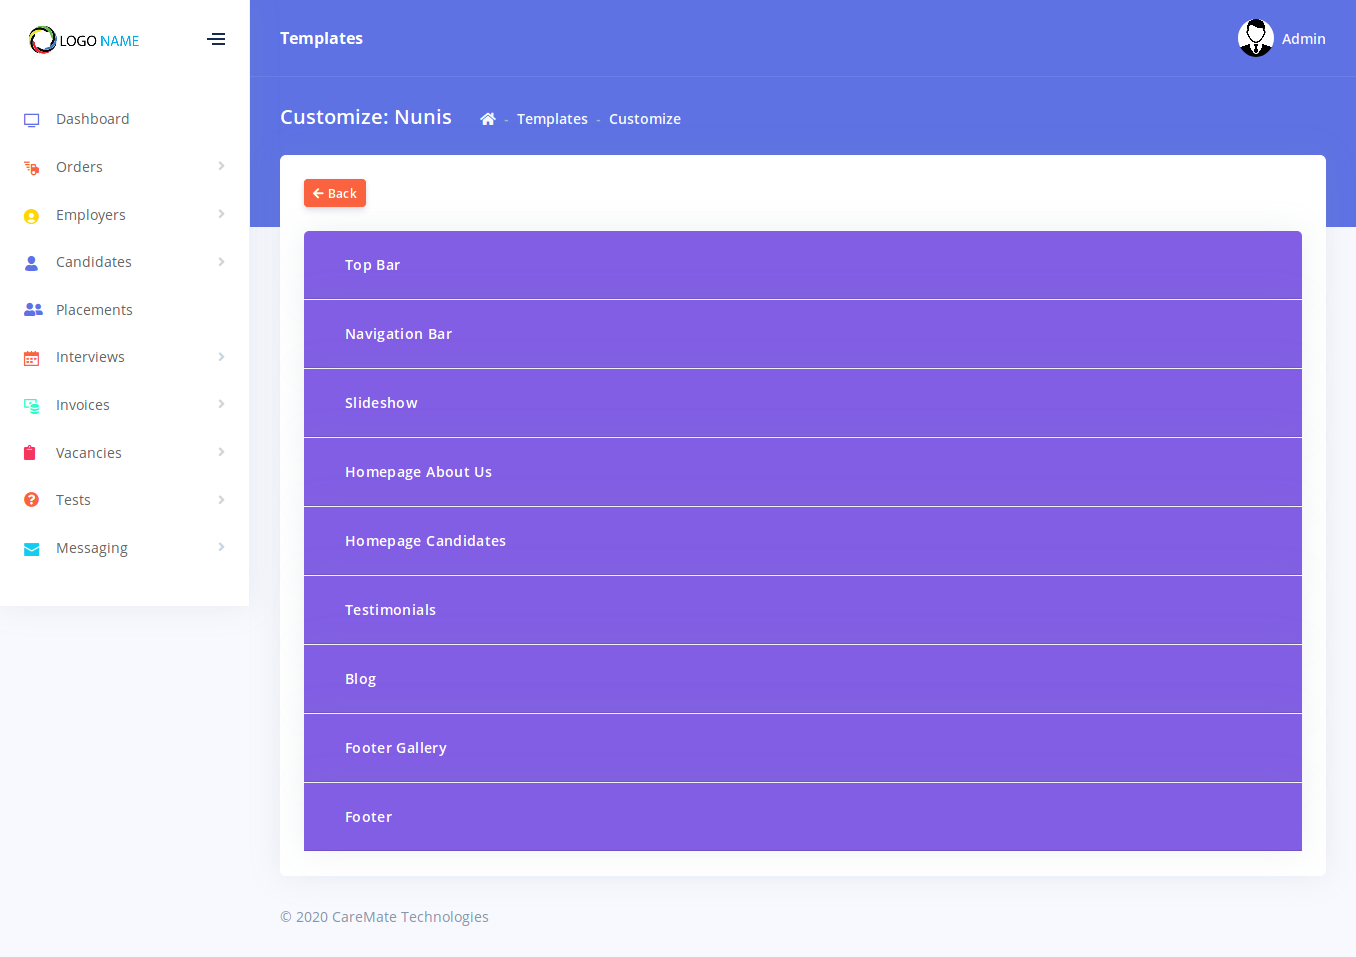
Please note that each template's settings page will give different options other than that shown in this image.
Clicking on any of the options opens the panel to reveal the controls available for modifying that option.
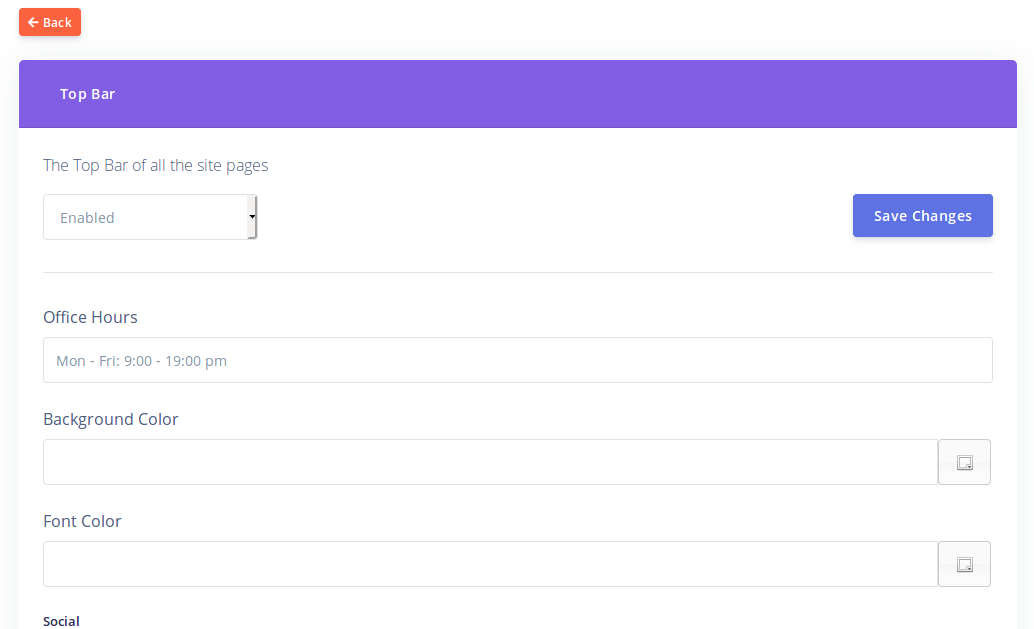
Each option always has an 'Enabled' dropdown control at the top left.
This can be used to completely enable or disable that option. Once you
modify any of the content of an option, click on the 'Save Changes'
button. Your changes will reflect on your portal immediately.
Managing Menus
The CarePro menus feature allows you to completely customize the options and arrangement of menu its on the header and footer sections of your web portal.
The Menus options can be found under 'Settings'-'Menus'
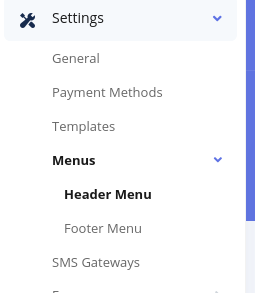
You will see the 'Header Menu' and 'Footer Menu' options.
The Header menu controls the top menu on all the Frontend's public pages (except login and registration). For example:

The links in this image are call set by the 'Header Menu' feature.
The Footer Menu sets the links at the bottom of all the site's public page. For example
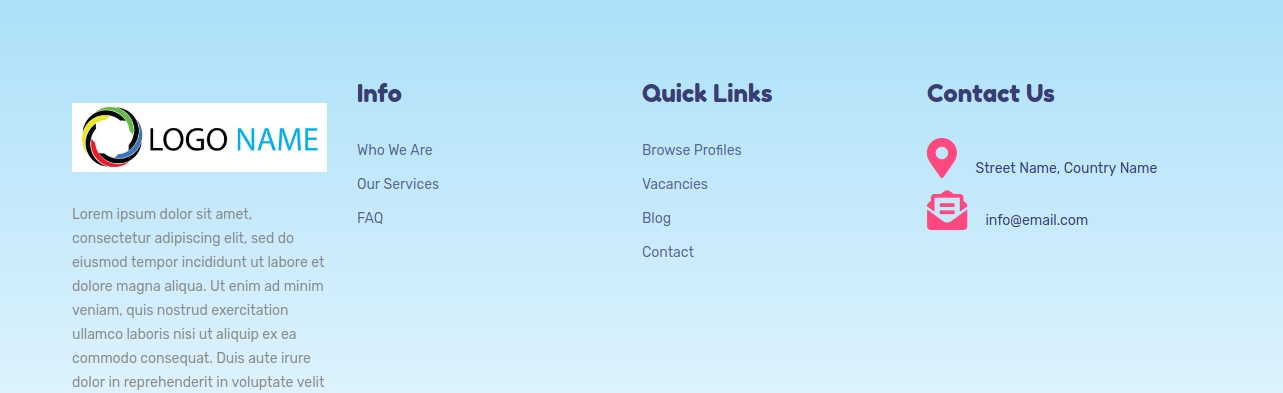
In this example, the Info and Quick Links columns are controlled by the footer menu feature.
The functionality of the Header Menu and Footer Menu pages is identical. Lets look at setting the header menu. Clicking on the 'Header Menu' option opens a page like below:
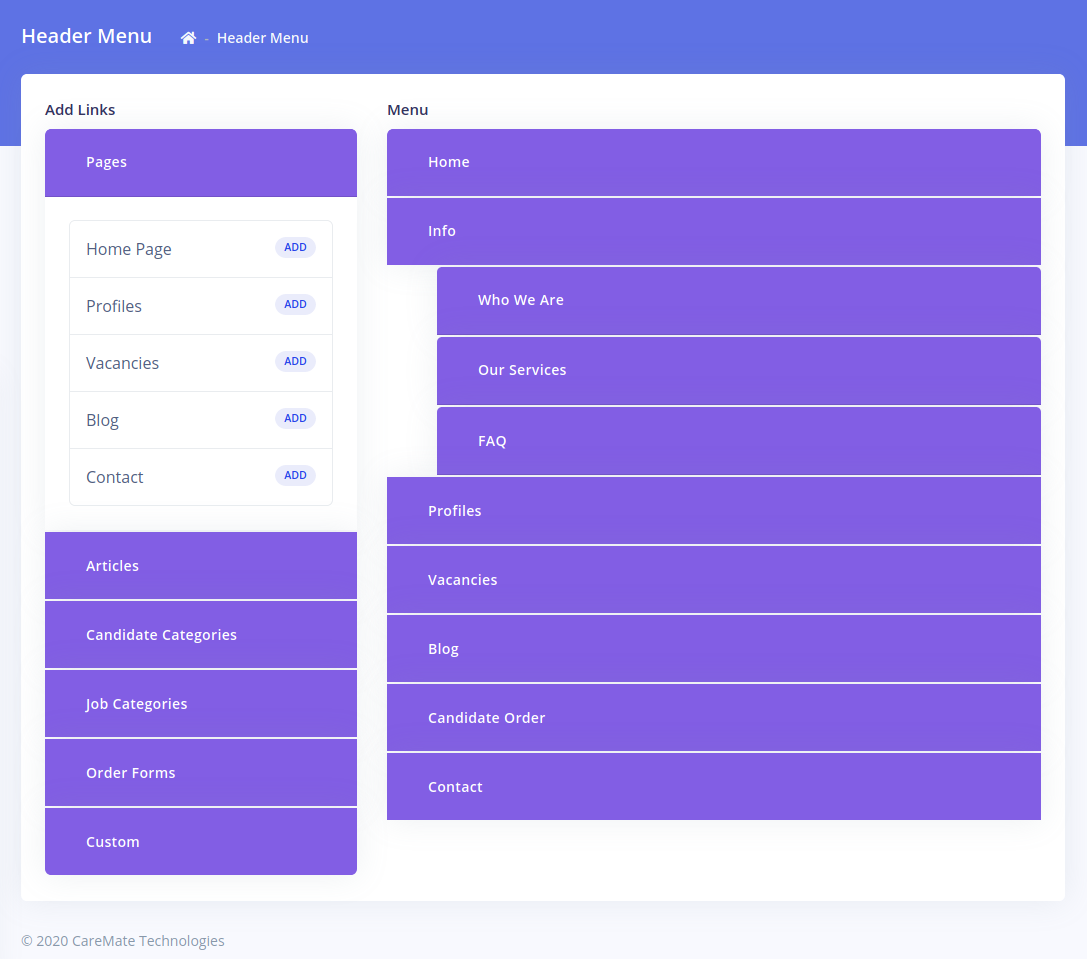
The 'Add Links' column on the left gives you all the available pages to add to menu. The 'Menu' column to the right shows the current menu. The 'Add Link' column contains the following tabs which can be expanded to display available pages:
- Pages: These are standard pages of the frontend. Pages such as the Homepage, Profile Page, Contact page etc can be added to the menu from here.
- Articles: All your articles (Created under 'Content'-'Articles') can be added from here
- Candidate Categories: All your candidate categories can be added from here.
- Job Categories: All your 'Vacancy Categories' can be added from here
- Order Forms: You can add any of your order forms from here. Please ensure that the form is enabled.
- Custom: This is a special panel that allows you add custom links to the menu. You can link to any page within or outside your portal.
Once you click on the 'Add' link for any of the pages (or the 'Add' button for custom pages), the page will be added to the right hand column. Clicking on the newly added page will reveal the following fields
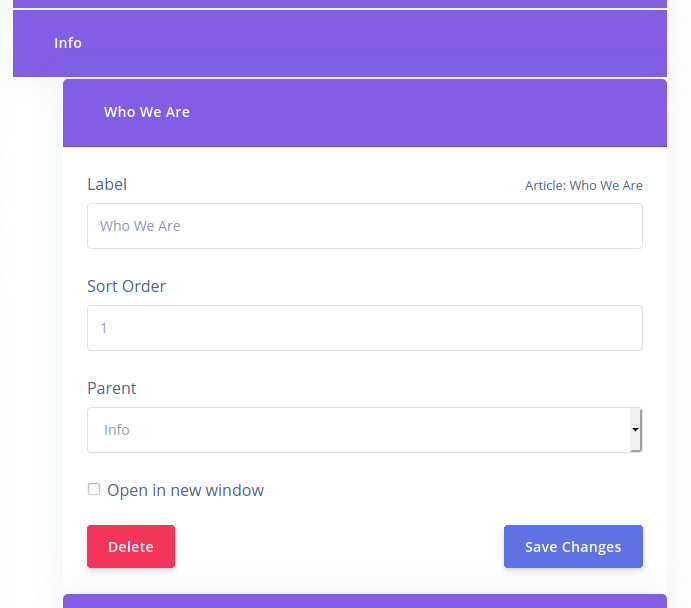
The 'Label' field contains the actual text that is displayed on the menu for this page. The 'Sort Order' field controls the position of the menu item relative to its siblings. The 'Parent' dropdown is used to place a menu underneath another item. In this example, the 'Who we are' page is placed under the 'Info' page.
SMS Gateways
CarePro allows you to send out Text messages using different SMS gateways. The SMS gateways settings section allows you to configure what gateways should be available for sending.
To open the SMS Gateways page, click on the 'Settings'-'SMS Gateways' page
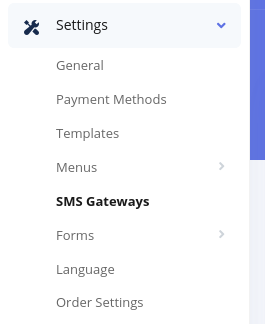
The list of available gateways will come up
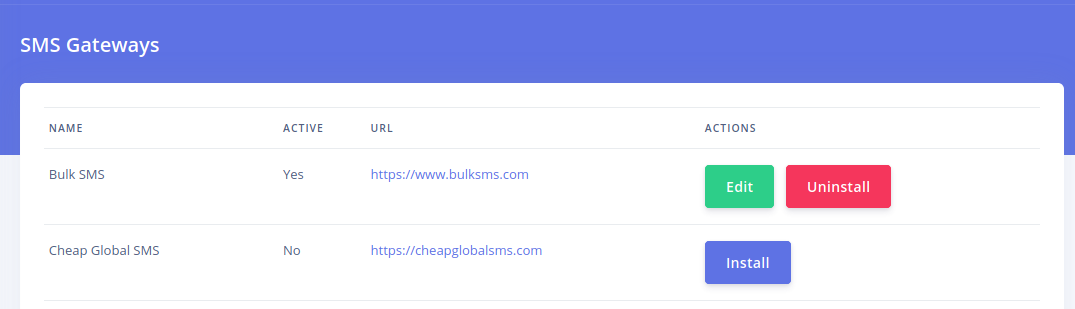
The list shows if a gateway is active or not. The url of the gateway can also be seen here. If you do not already have an account with any of these gateways, please follow the link and create one.
Click on Install to enable a gatway. Click on the 'Edit' field to edit a gateway. Each gateway's settings page will appear different. Save the credentials required by the gateway and save.
Setting your language
CarePro allows you to change the language used for the enter interface of the Frontend and the Backend. To change the language, go to 'Settings'-'Language'
This opens the language selection page
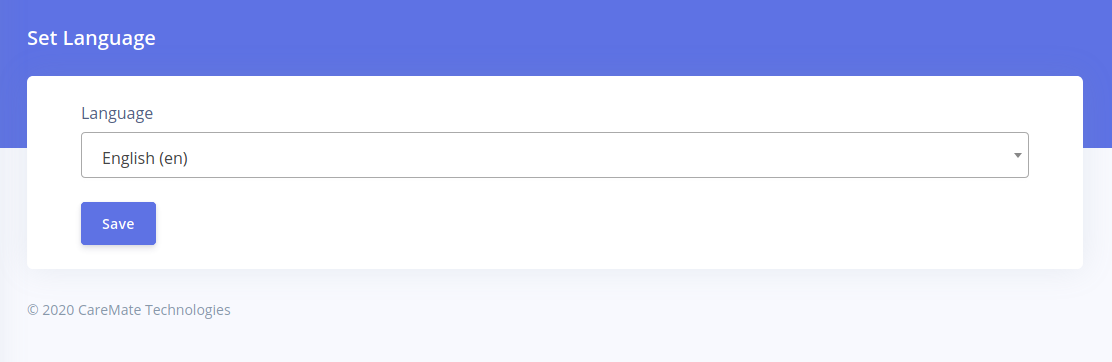
Select the language from the list and click on 'Save'.
Please note that end users are not able to change languages on the fronted. The application can only use one language at a time.
Email Settings
The 'Email Settings' page allows you to change the way your portal sends out emails.
By default, the protocol is 'Mail'
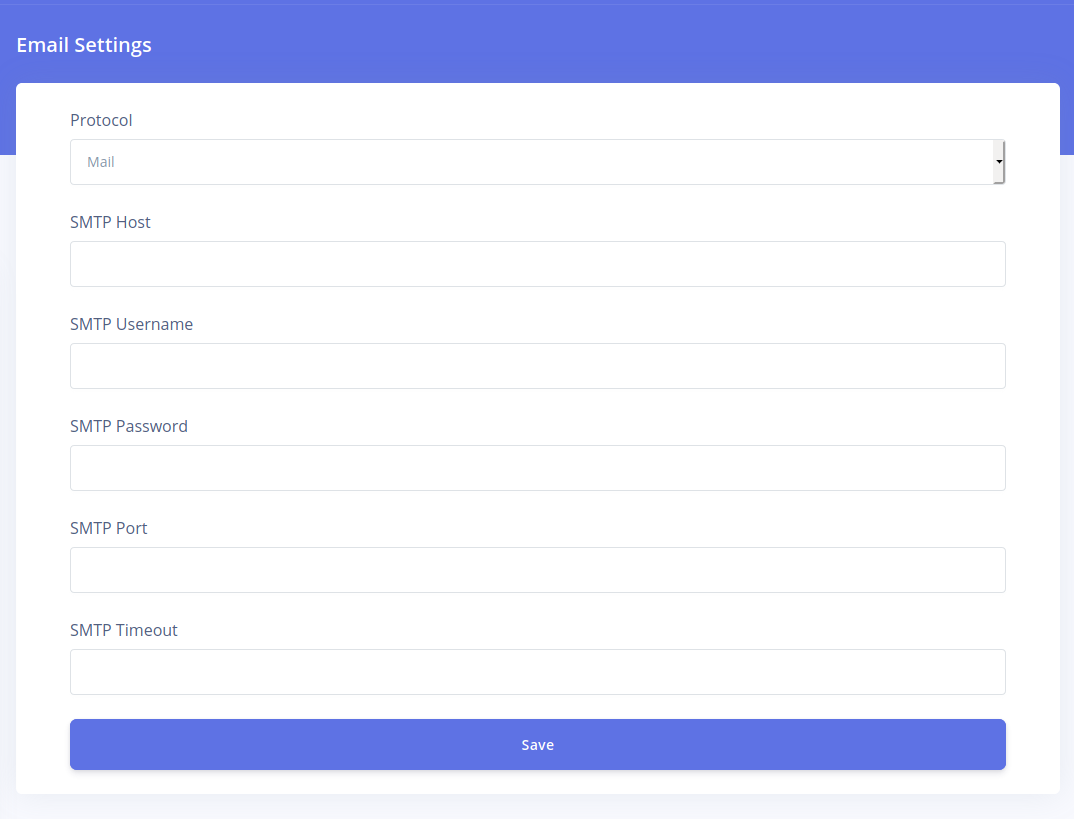
This send out email via our servers. If you wish to use another SMTP server, you can change the protocol to 'SMTP' and set the credentials here.
Social Login
CarePro allows your users (both Employers and Candidates) to login via their social media accounts. We strongly recommend that you enable social login as it will greatly increase your registration rates. Also, for candidates, social login will automatically import the display picture of your candidate thus relieving them of the task of uploading it manually.
To enable social login, please click on the 'Settings'-'Social Login' page
The following page will open
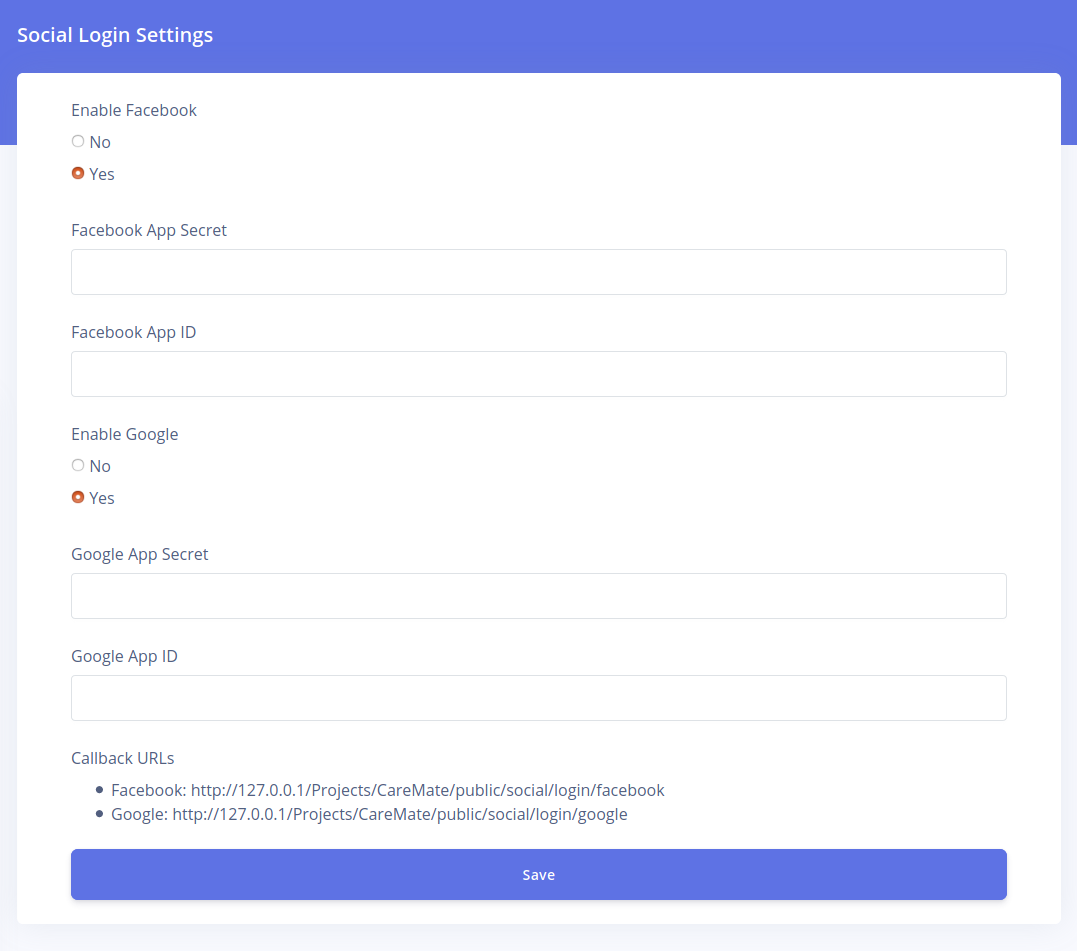
Use the options available to enable Facebook or Google (or both). You will need to supply the Facebook App ID and Secret as well as the Google App ID and secret. Please follow these links for sample instructions on how to get these
- Facebook: http://support.storemantis.com/docs/post/38/facebook-login-setup
- Google: http://support.storemantis.com/docs/post/39/google-login-setup
Also note the Callback URLs for Facebook and Google on this page. You will need these as well during setup.
Setting up your logo
One of the first things you will want to do is to setup your Logo. To do so, click on the 'Setting'->'Logo/Icon' menu option
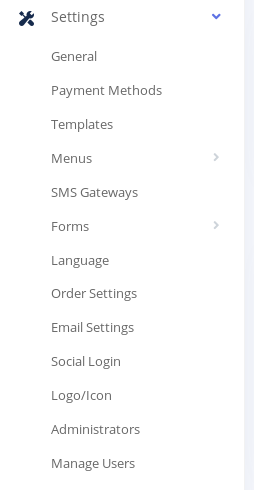
On this page, you can select and image from your computer to be saved as your Logo and Icon respectively.

The logo is the main image that is displayed at the header of your site's pages as show below
The icon on the other hand is the small image that is displayed on your web browsers tabs e.g.
Click on the 'Save' button and your logo will be set immediately.
Managing Administrators
The Administrators page is where you can create Admins that can login to the backend and administer your portal.
Clicking on this link displays all your current administrators
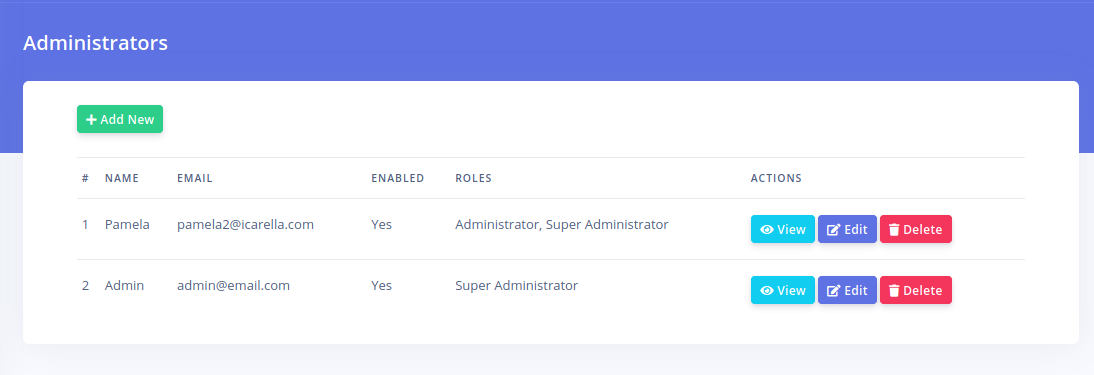
On this list you can see the 'Roles' that are assigned to this user. An admin can have multiple roles assigned. The role an admin has determines the restrictions he might have on the portal.
To create a new Admin, click on the 'Add New' button

Enter in the details for the user. Specify the roles from the dropdown that you would want the user to have. Click on Create when done.
Managing Roles
The 'Roles' settings section controls all the roles that are available on the system. You can create as many roles as you like. 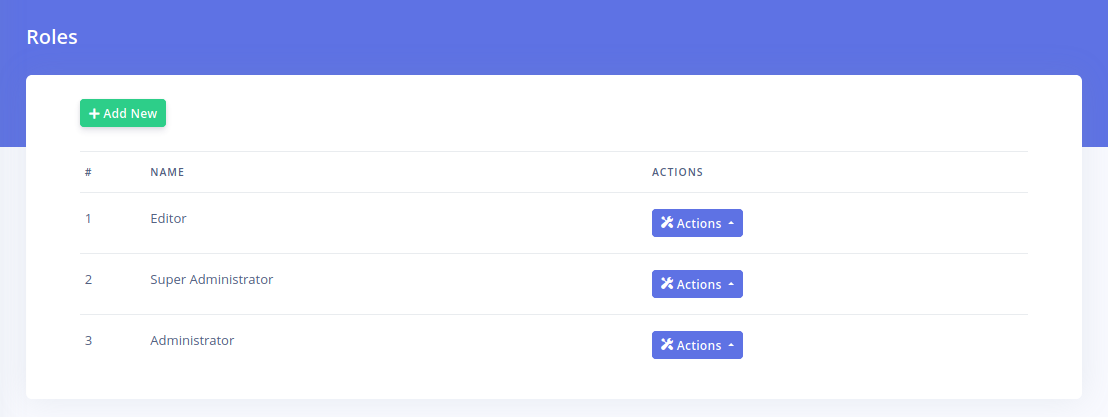 By default, there are two roles 'Super Administrator' and 'Administrator'. These two roles can not be deleted.
The super administrator role has all privileges on the system. You can not edit this role.
The other roles can be edited. Clicking the edit button for a role or clicking on 'Add New' brings up a page like below:
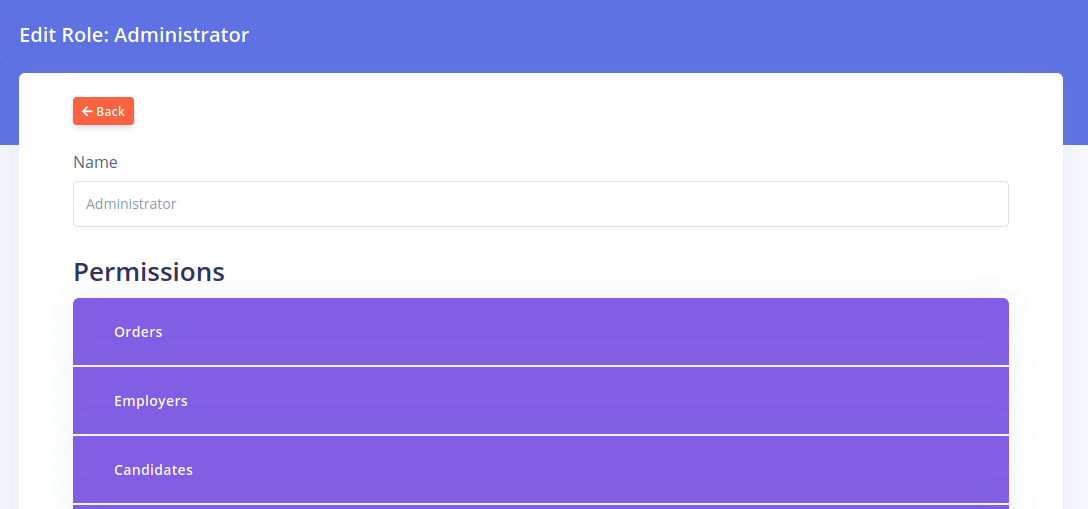
The first field is the 'Name' field which contains the name for the role.
The next section is the 'Permission' section. This section contains a series of panels. Clicking on a panel displays the permissions within that group
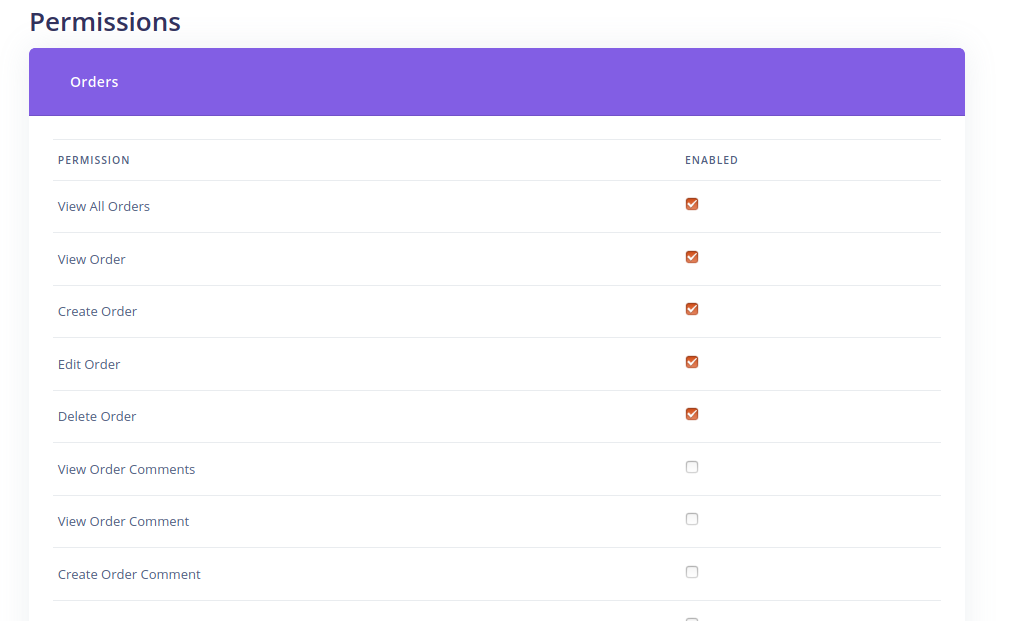
In the 'Enabled' column, select if you wish for that permission to active for that role or not.
Save or update the form when you are done setting all your permissions for the role.
Managing Users
The Manage users page under 'Settings' displays every single user on your portal
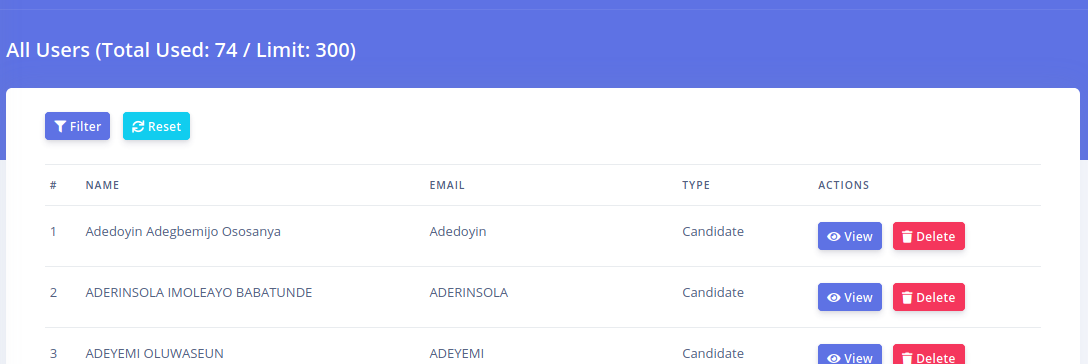
You get to see the type of the user. The 'Filter' button gives you options for searching for a particular user or filtering based on a type e.g. Employers, Candidates or Admins.
At the top of the page, your user count is displayed alongside your user limit. The limit will vary based on your selected plan. You will be redirected to this page if you exceed your quota. You will need to either upgrade to a new plan or remove unwanted users.