Thank you for purchasing this application. If you have questions that are beyond the scope of this help file, contact us.
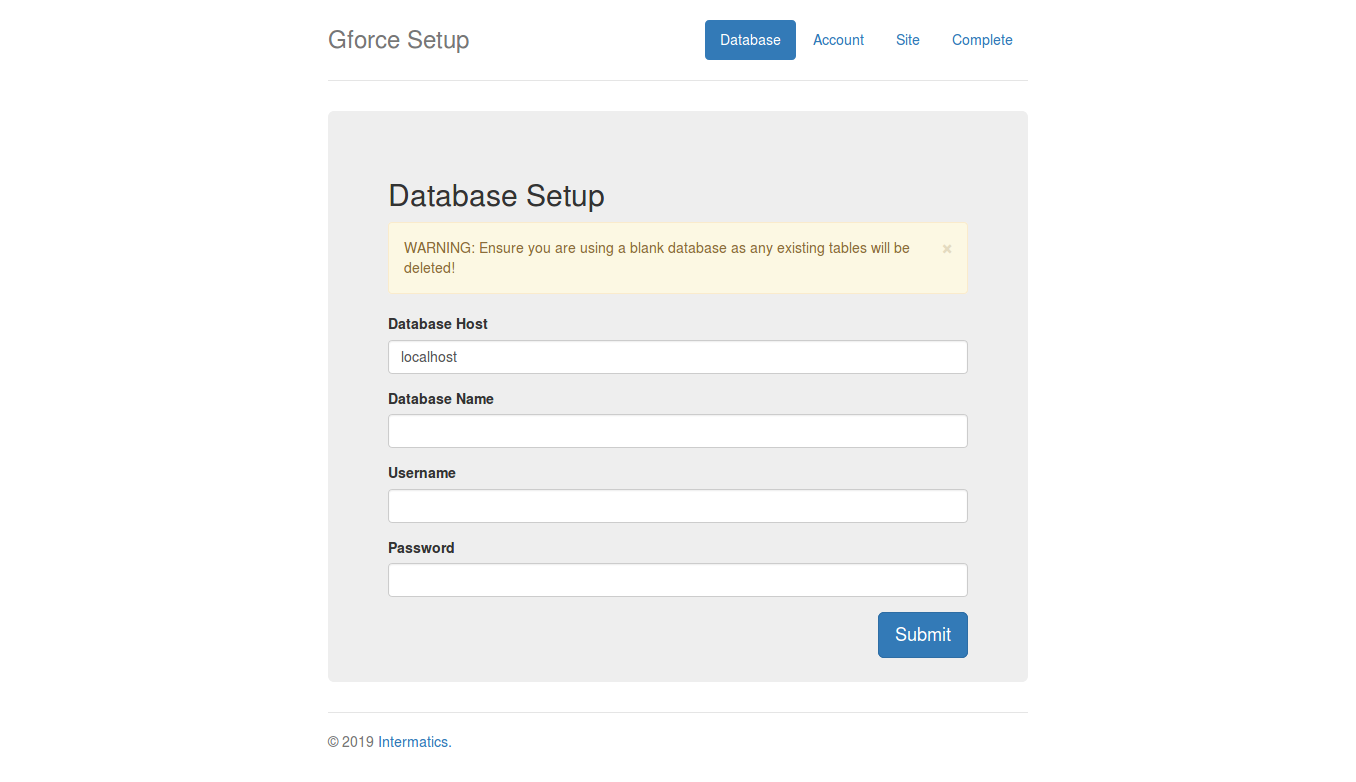
Before you begin installation, make sure you have a webserver that meets the following requirements:
GForce was built using Laravel 5.8
GForce is designed to help you grow and manage your volunteer workforce. It is a powerfull application that enables volunteer members join departments/units and easily manage their activities, resources, communications and schedules within each department they belong to.
The application comes with 3 roles. They are:
Administrators have access to a separate Admin section where they can control the entire application. Department Administrators and Department members on the other hand, have access to
the same member area. However, Department Administrators will have access to more features in the member area than ordinary Department Members. This will be covered in detail later.
Also, Administrators have the ability to log into any department from the Administration section. Once they do, they will have Department Administrator priviledges while logged into that department.
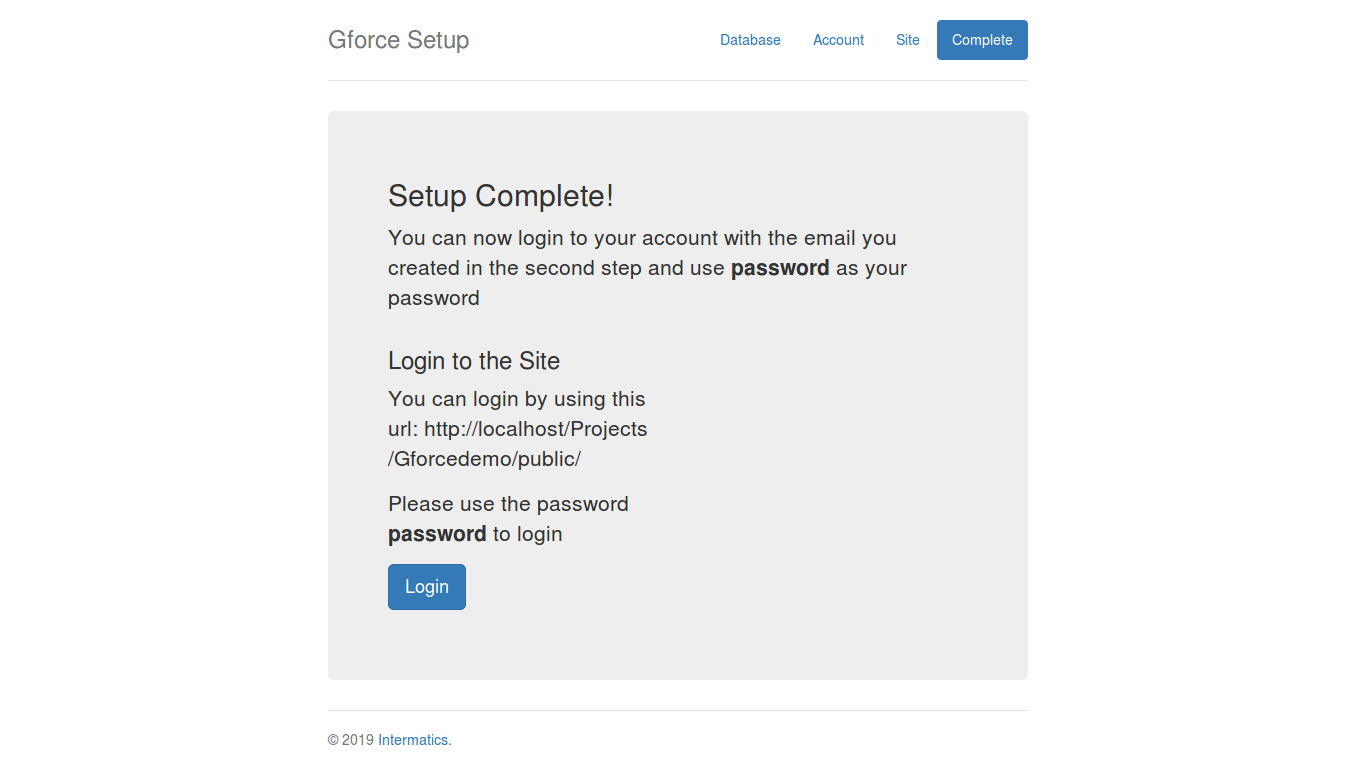
Once you login with your first Admin account, you will be directed to the admin section. You should see the following screen:
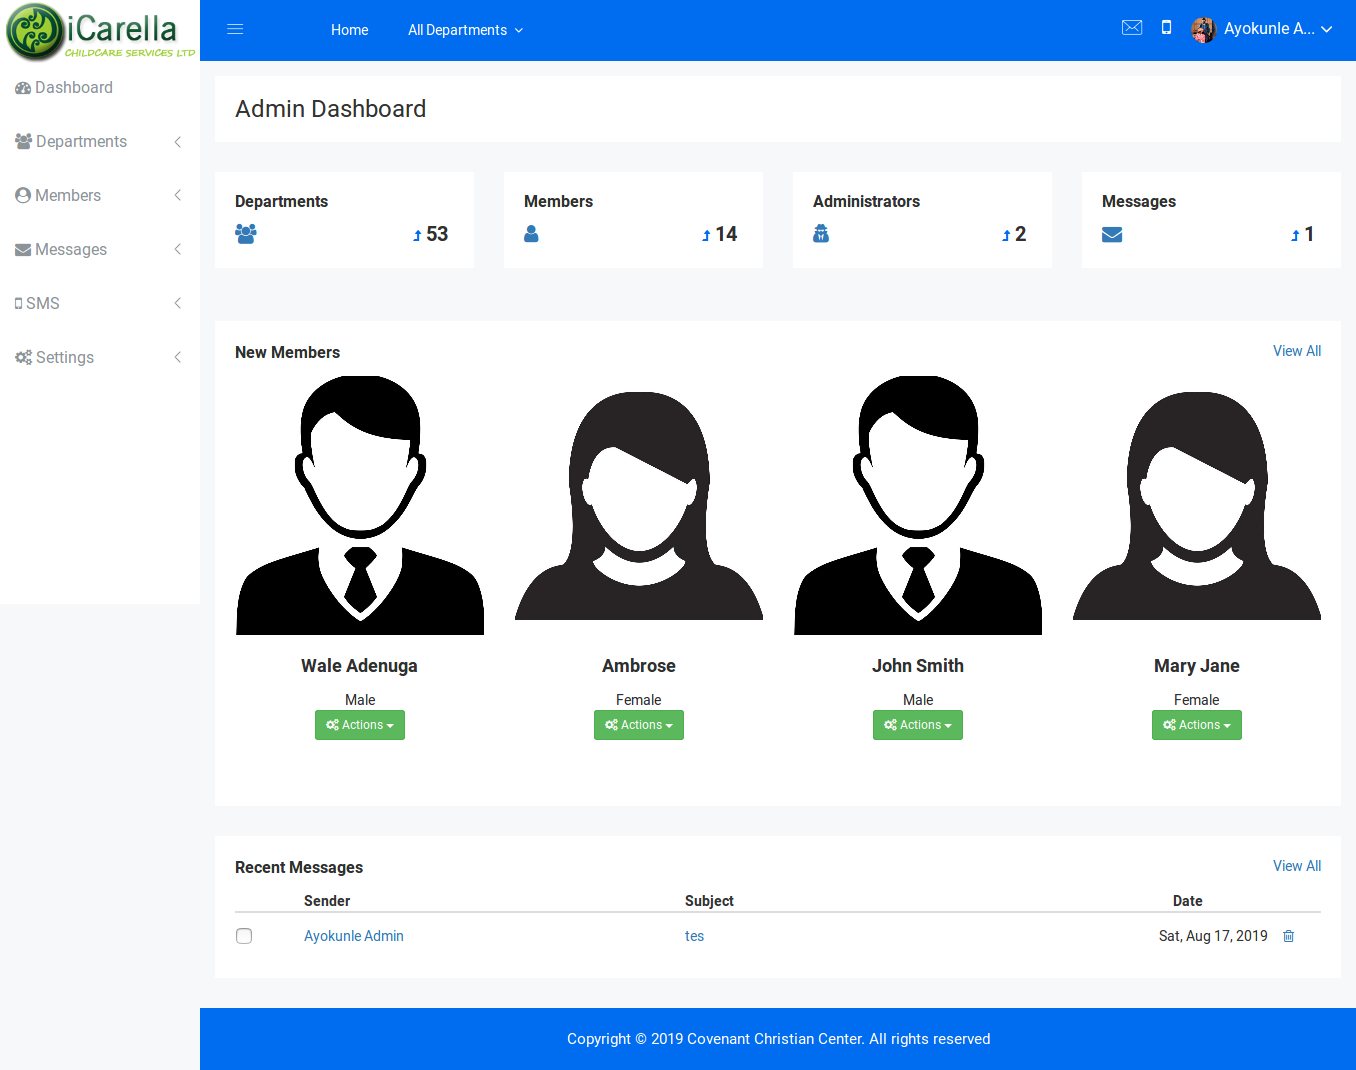
In this section, you can setup the structure and options of the application. You can also manage all users and administrators here.
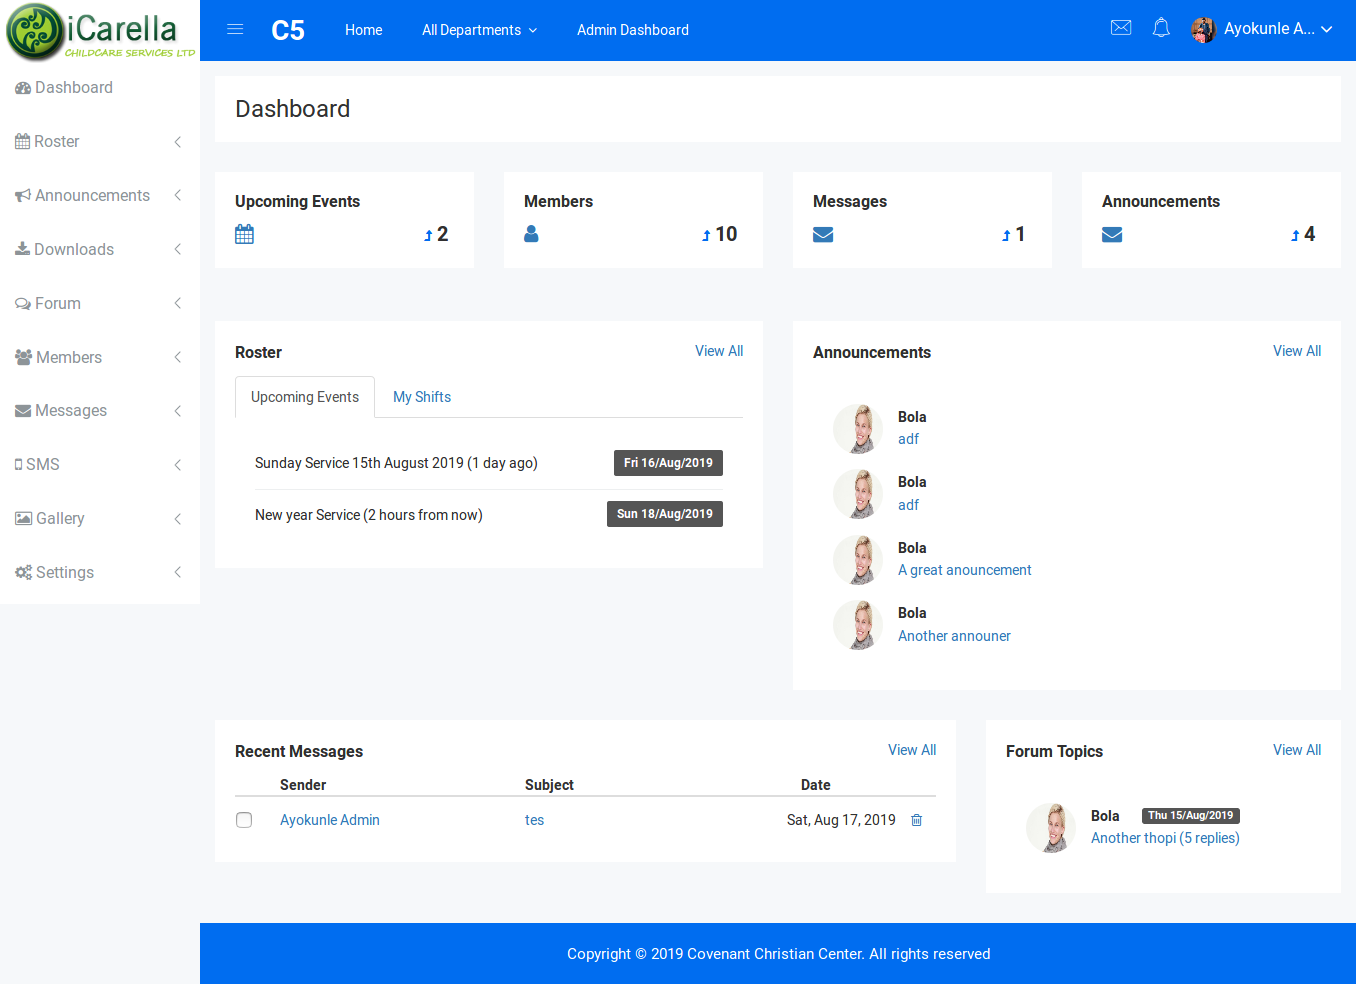
The member section is where department members get to manage their activities within each department they belong to. The dashboard for the member section appears as below:
However, before a member can access this area, they need to belong to at least one department. New users get to join departments by applying.
A department can enable or disable applications to join. Also, each department can have a custom questionaire that prospective members can fill before joining.
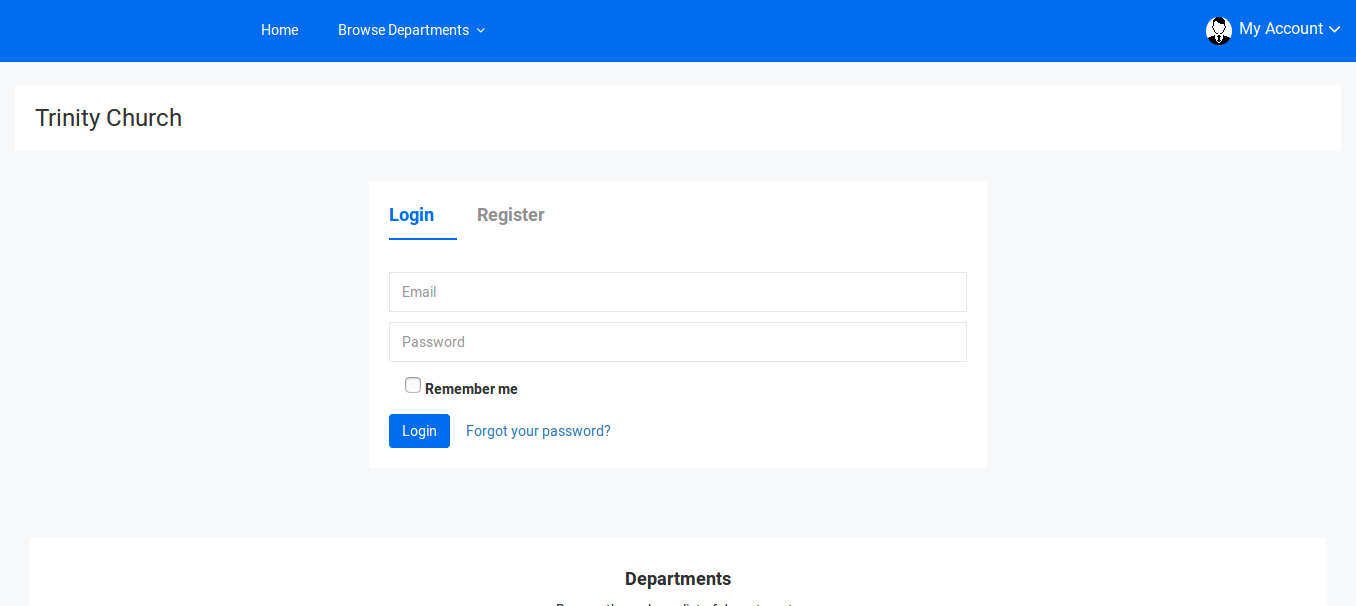
A new member can browse through the list of available departments from the homepage and from the department list page.

Members can join a department by clicking on the 'Apply' or 'Join' buttons for each department. A department can be setup to allow members join wihtout needing approval. If this is the case, then the
visible button will read 'Join'. However, if the department requires screening, then the button will read 'Apply'.
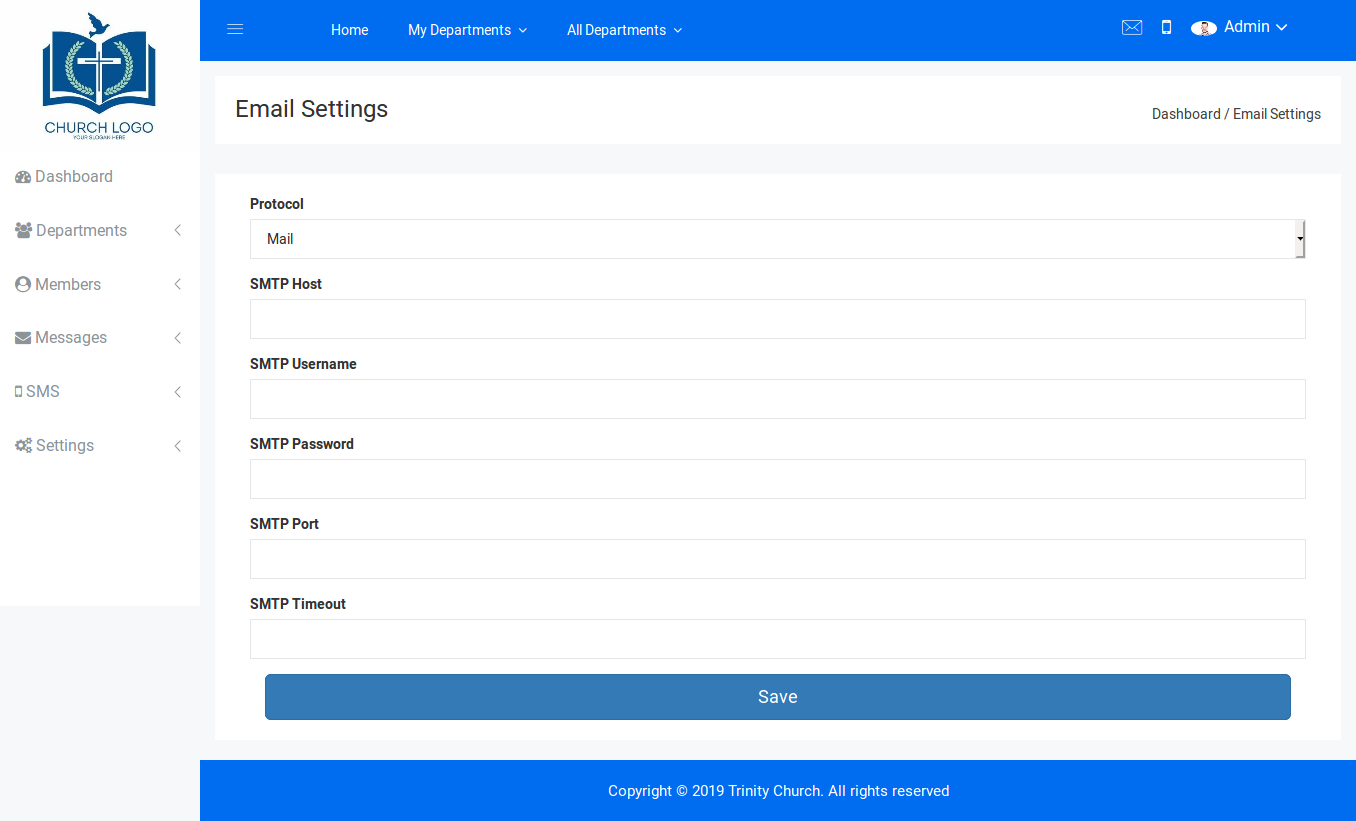
In this section, we are going to cover all the configuration options available on the application, both from the Administration area and the Membership level
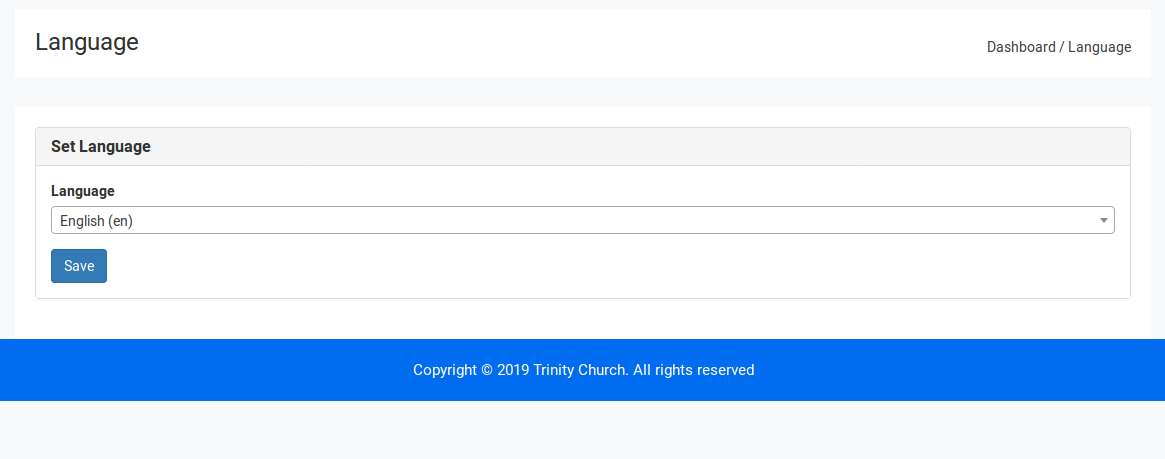
When logged in as an Administrator, you will see a 'Settings' menu option at the bottom of the left hand side menu (on Desktop devices)
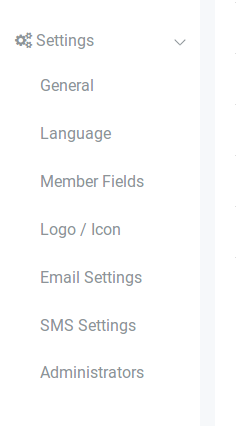
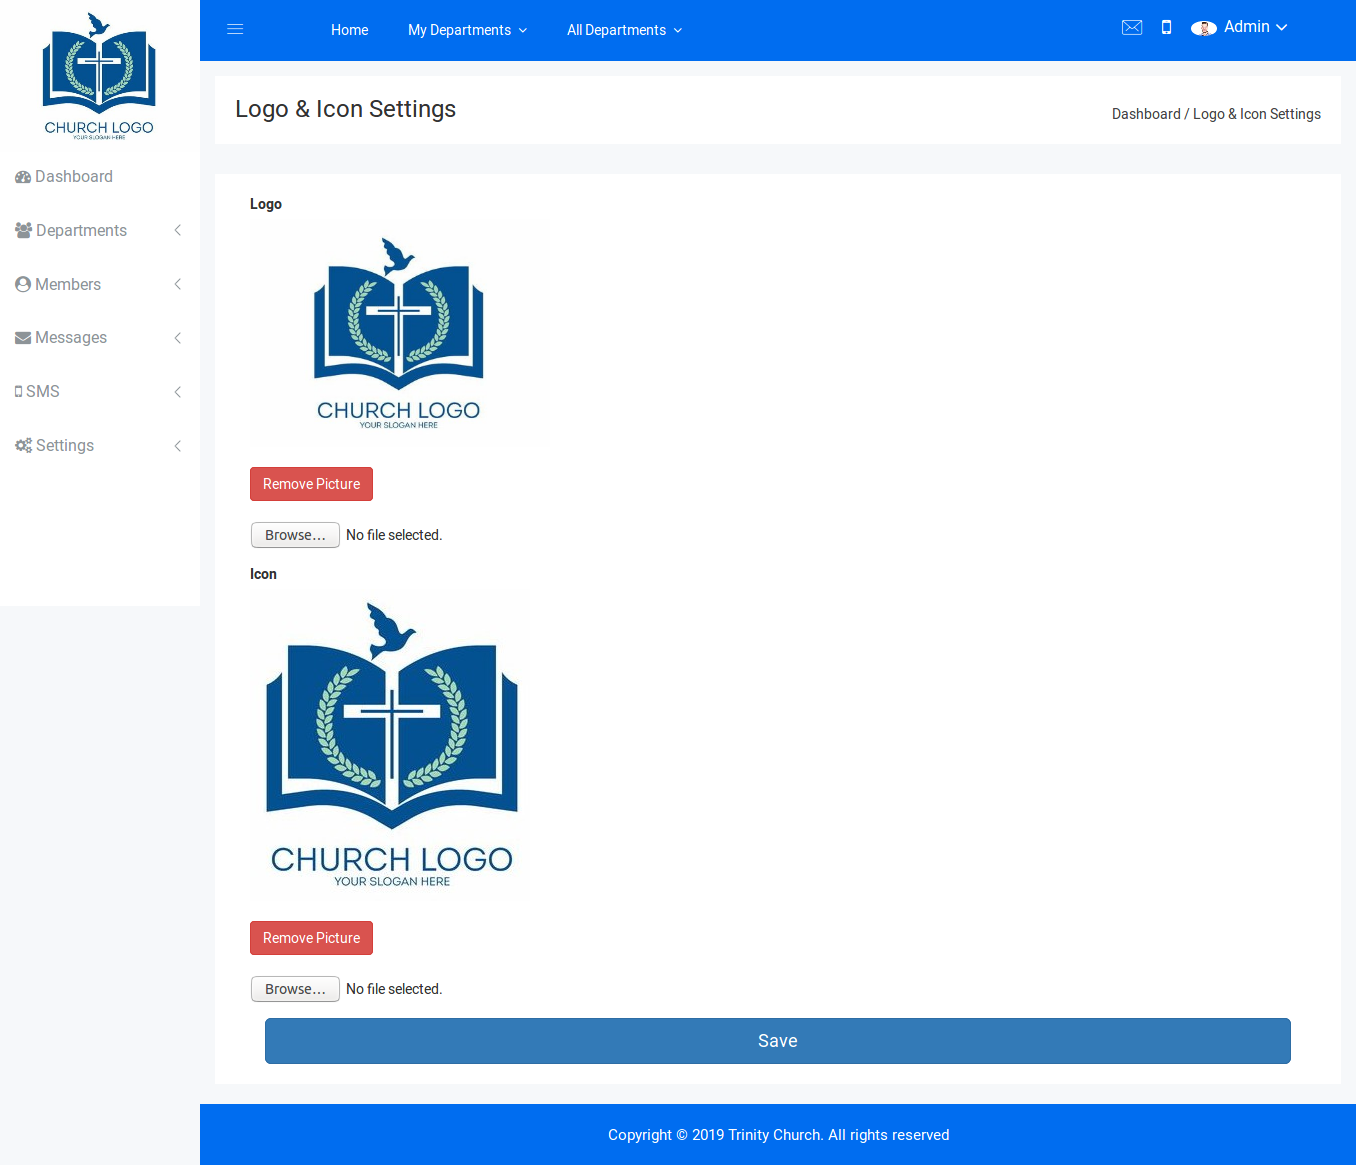
Under this menu, there are various options:
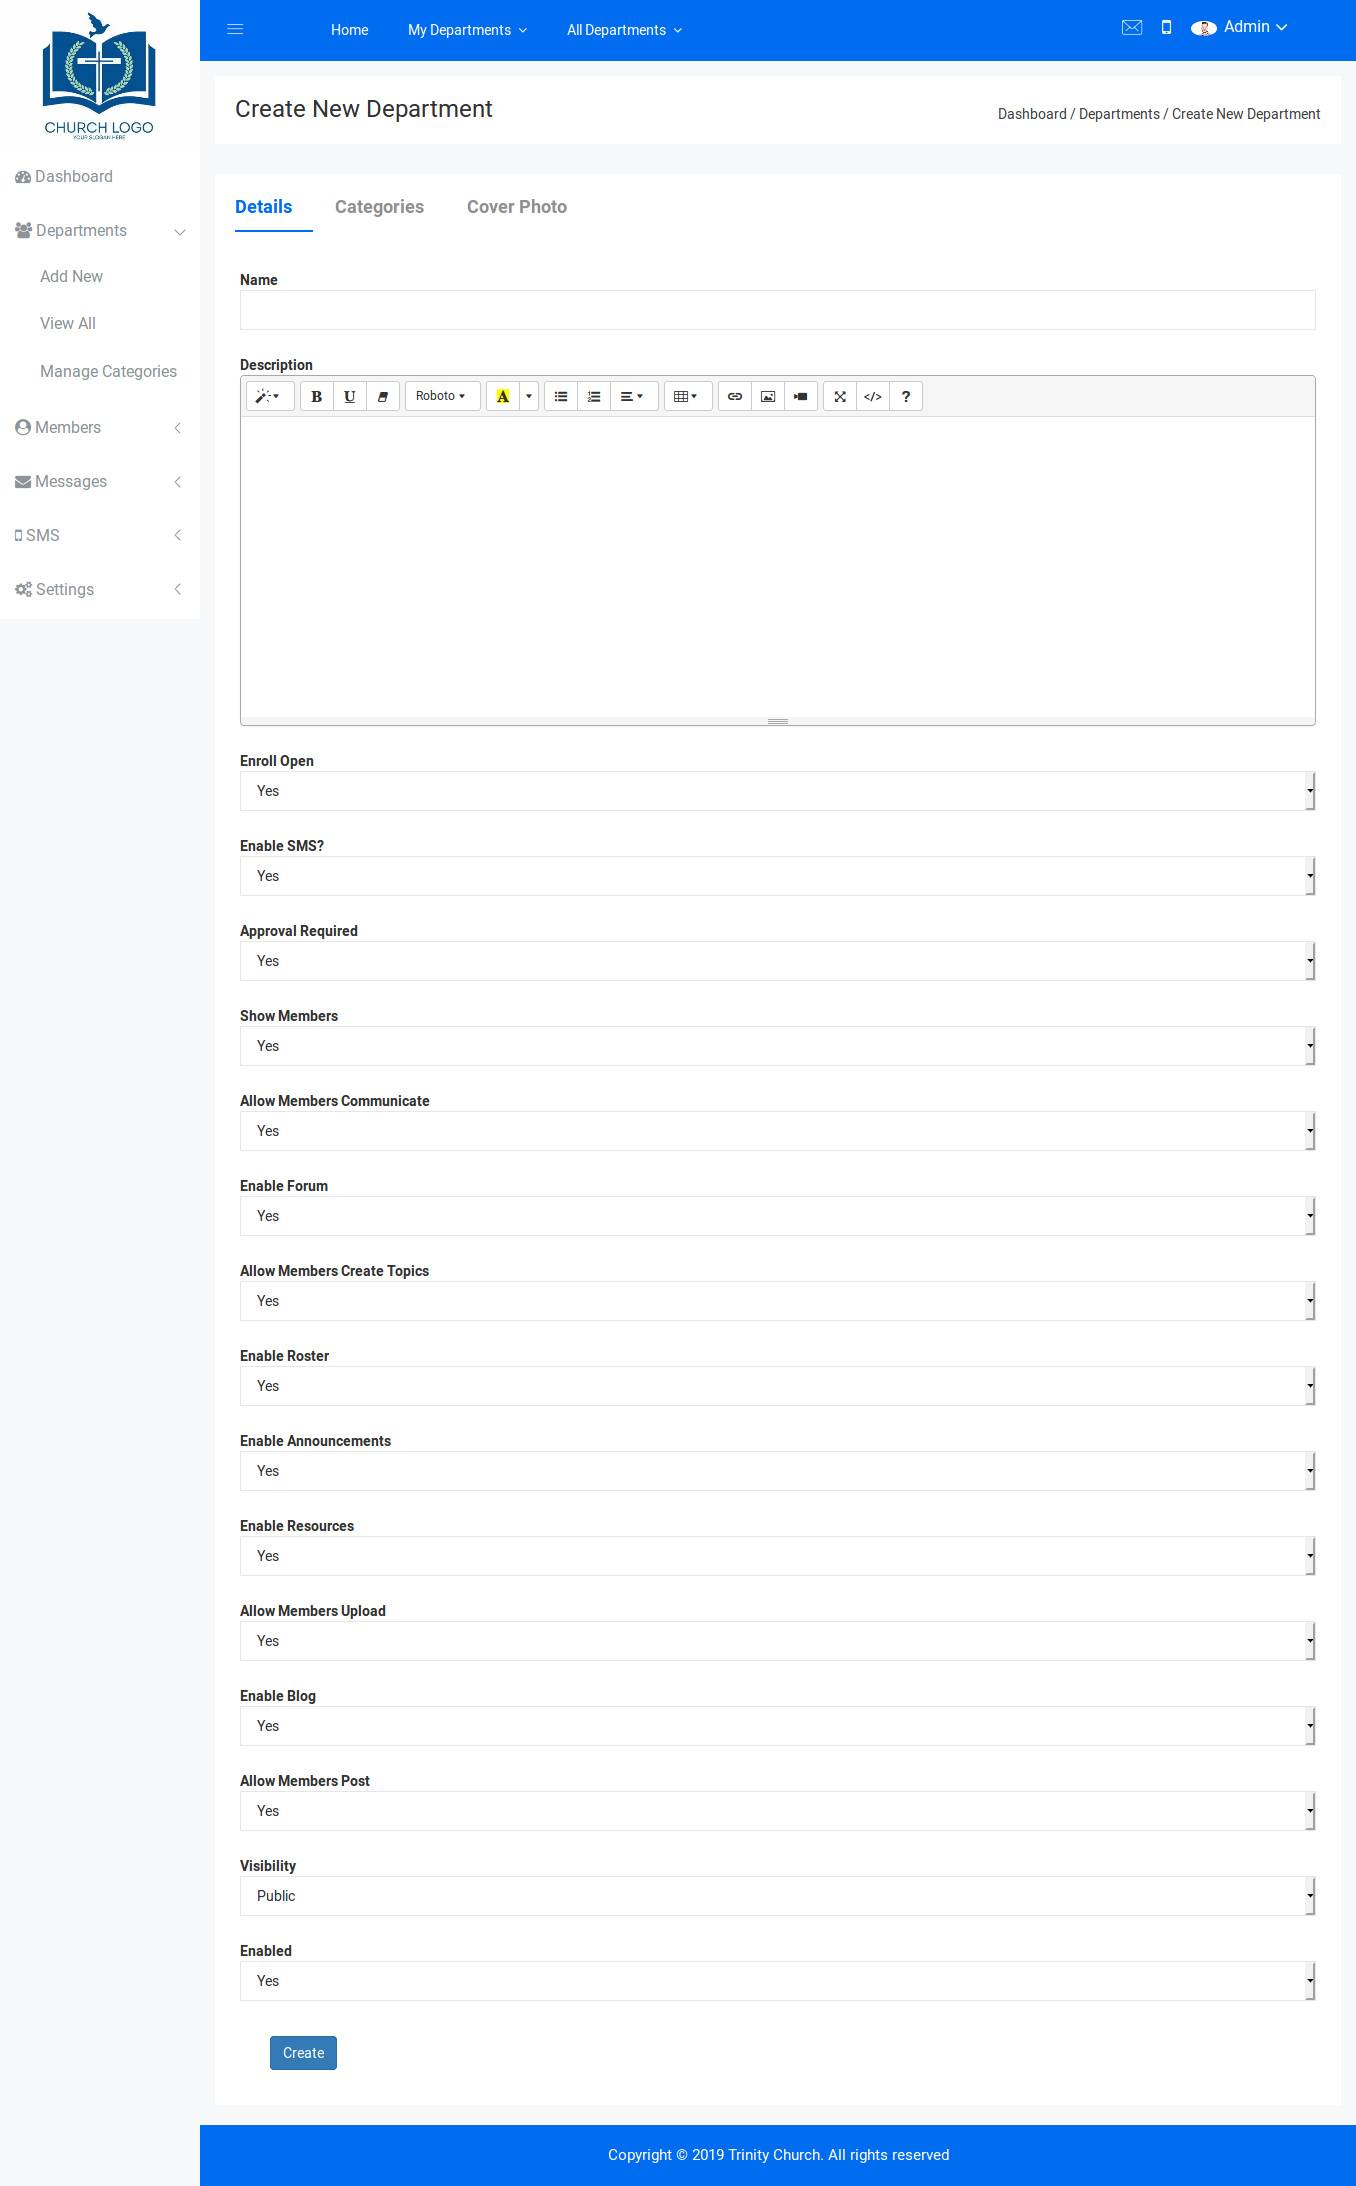
GForce allows you to create as many departments as you wish. You can also categorise your departments. This is especially useful where you have multiple volunteer locations. You can create
categories corresponding to different volunteer locations and group your departments that way.
You can manage departments and their members using the 'Departments' menu option.
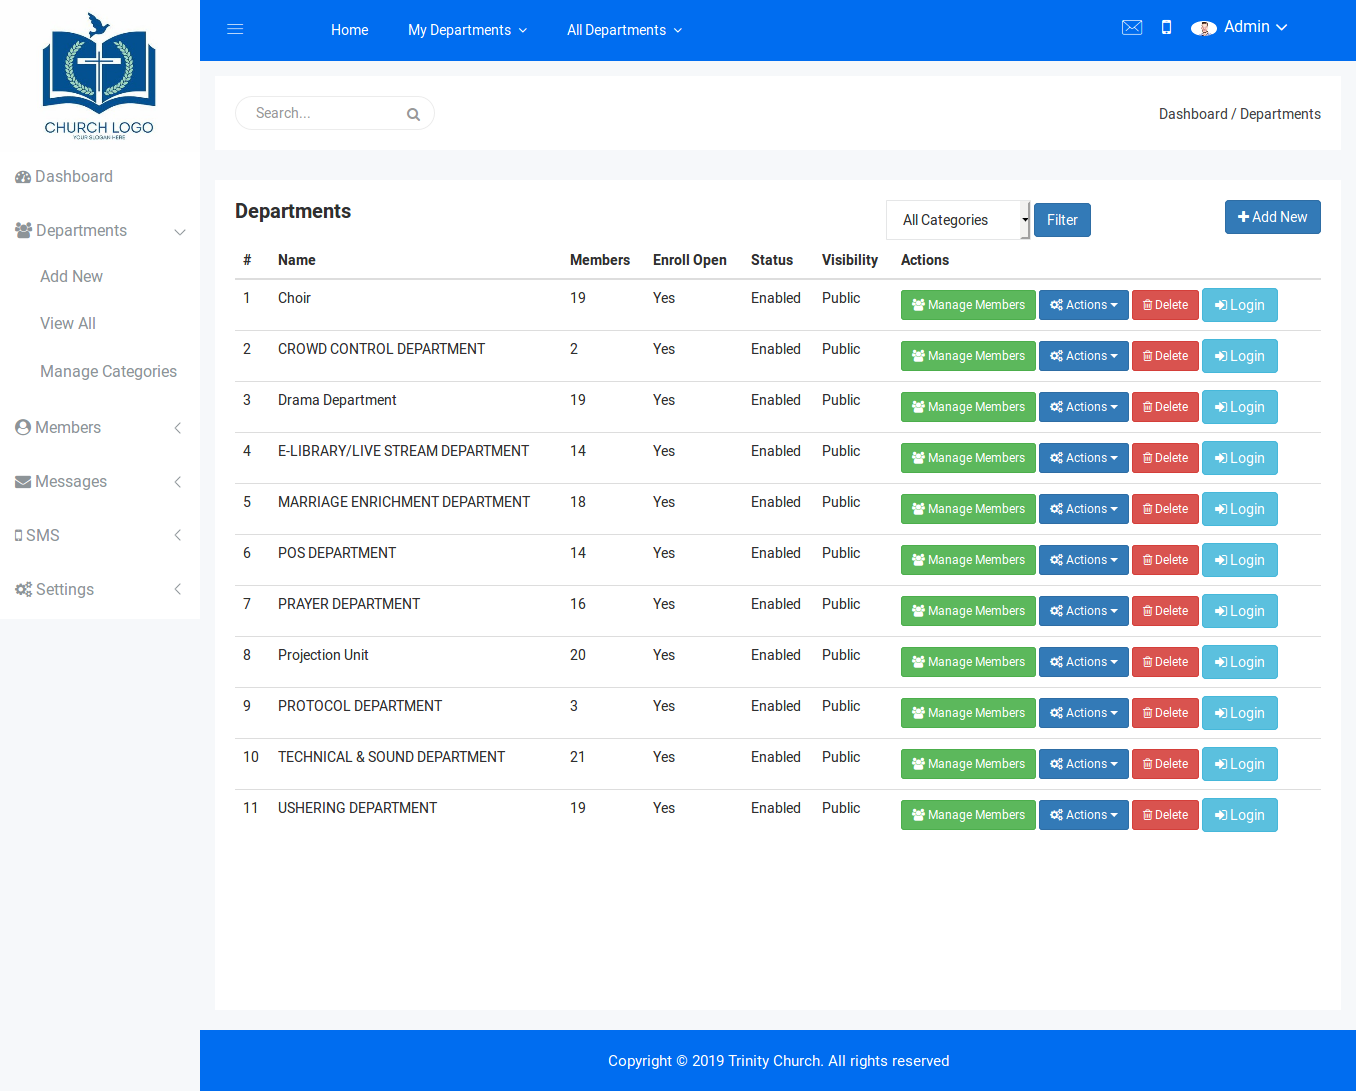
On the 'Manage Members' page, you can set a member as an administrator or remove them from being administrators.
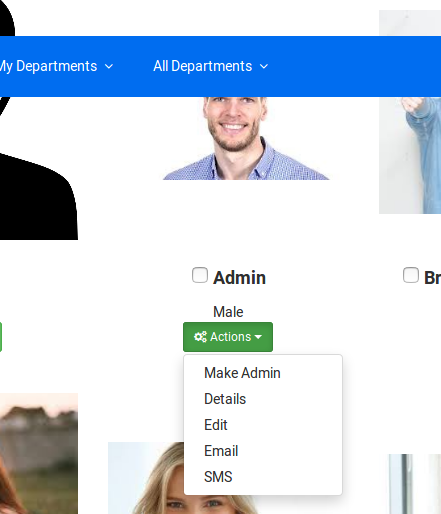
If you click on the 'Actions' button for each member, you will see various options. If the member is not an administrator of the department, you will see a 'Make Admin' option. If the member is already and Admin of the department, you will see a 'Remove Admin' option
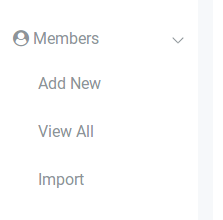
The member management section allows you to create and manage existing members.
Clicking on the 'Add New' option will lead to the member creation page.
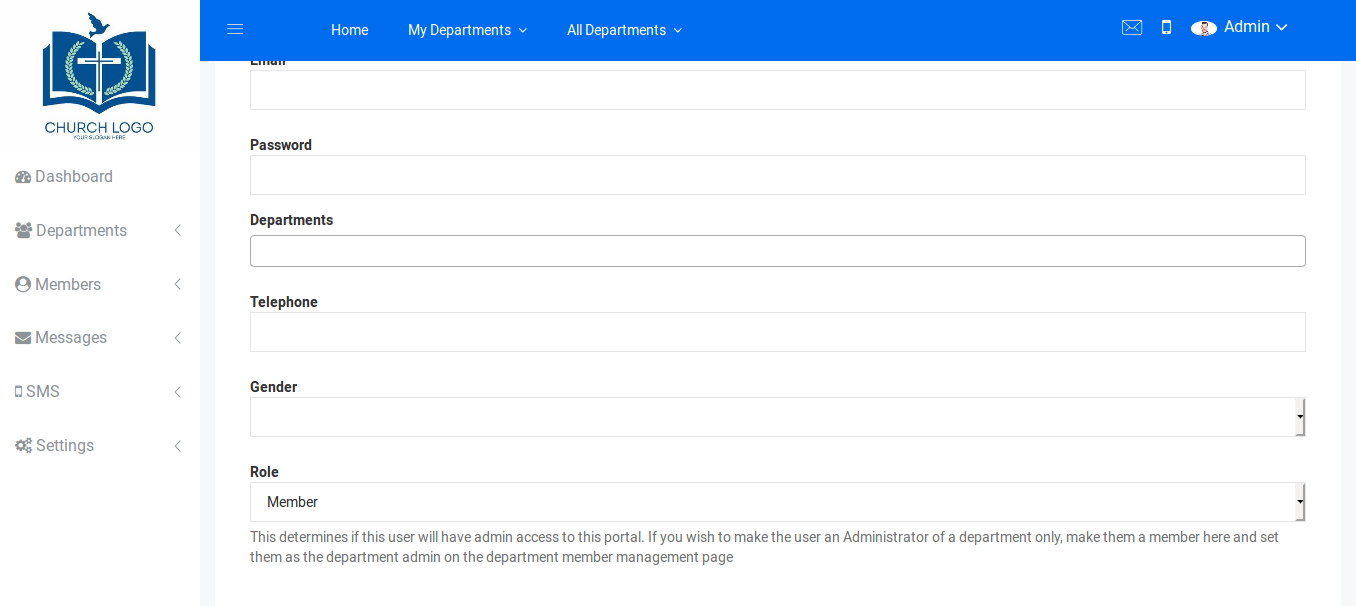
Here you can define the details of the member as well as their login details. You can also optionally select the departments the member will belong to. If you add the member to a department(s), by default they will be added as ordinary department members.
Once you click 'Save', the member's account will be created. They will also recieve an email that gives them their login details.
Clicking on the 'View All' menu option will lead to the page listing all the members, department members and administrators of the application. The Actions button for each member allows you to view or edit the member while the Contact button allows you to compose an email to them or send them an sms.
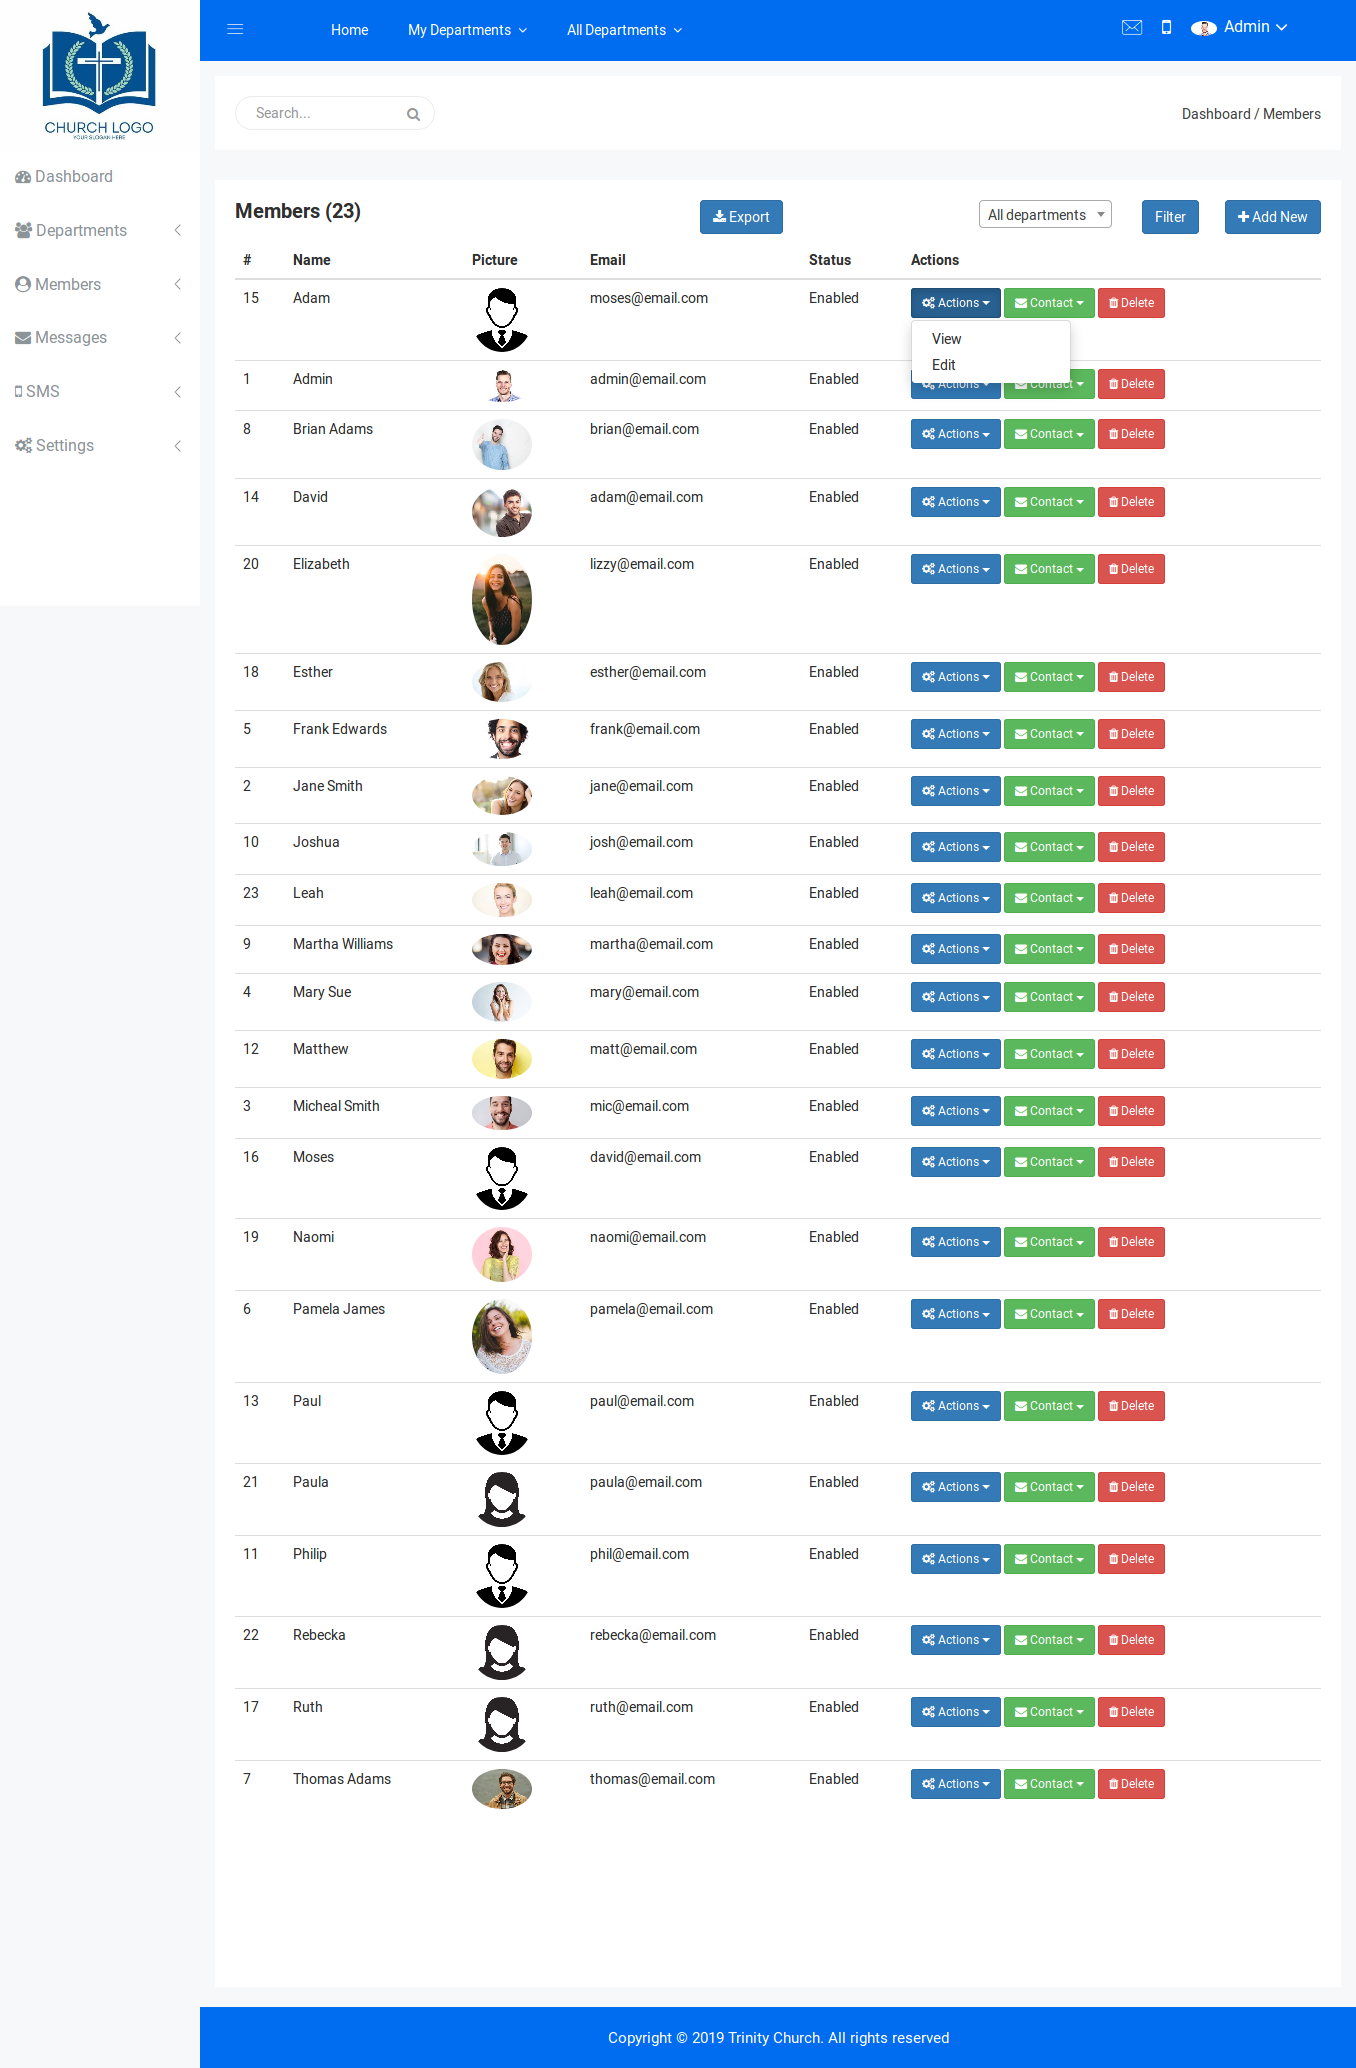
The Export button enables you generate a csv file listing all the displayed members. Note that if you filter members based on departments and/or a search term, the exported CSV file will only contain members that match your filtering criteria.
You can import multiple new members at once into the system using the 'Import' menu option.
Clicking the option will show the following interface:
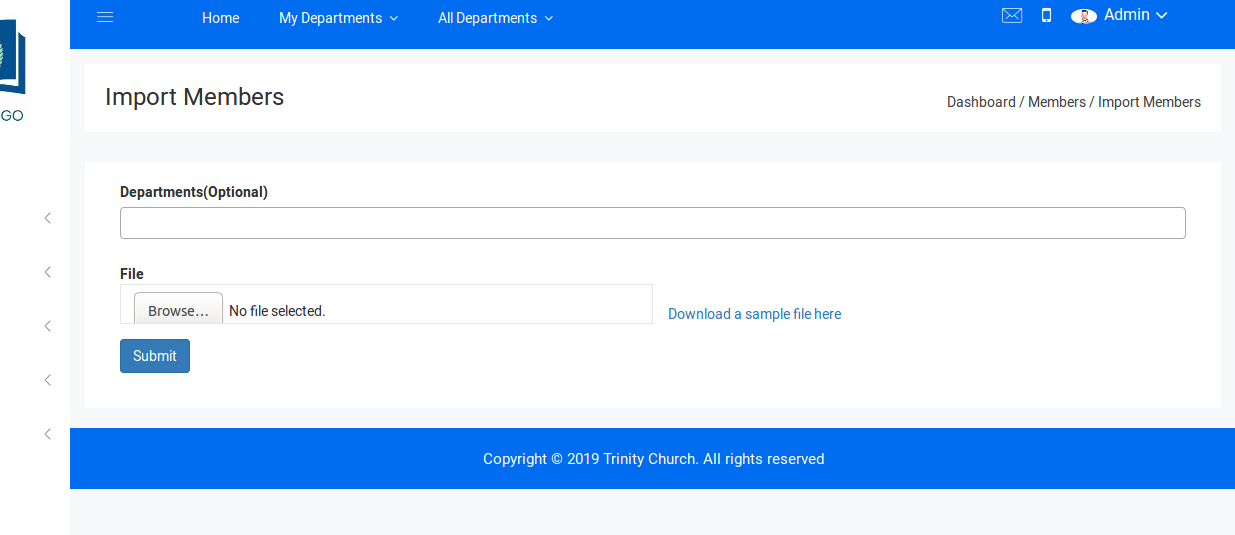
You can import members from a CSV file. The File must be formatted in a specific manager. Please click on the 'Download a sample file here' link to get a sample file you can modify.
You can also select departments that your imported members will belong to. Note that each member is identified uniquely on the system by their email addresses. So if the email address of an entry in your csv file already has a corresponding member, that entry will be skipped. However, if you select departments, the entry will be added to the department.
Once you import members, the system will send each successfully created account and email informing them that an account has been created for them. The email will also contain their login details. A random password will be generated for each member which they can change after logging in.
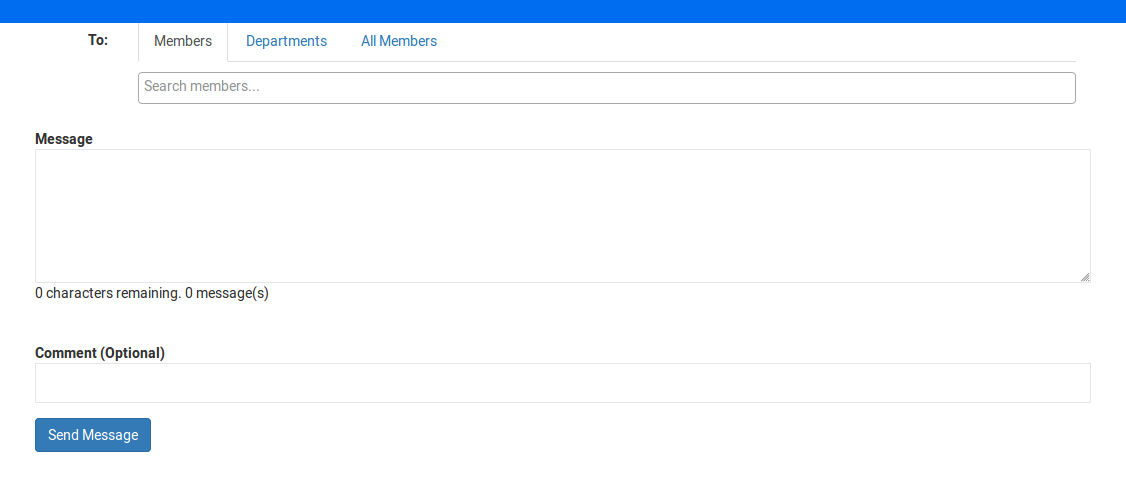
GForce comes with a robust internal messaging system. With GForce, users can send messages to one another. Messages are delivered via email and a local inbox.
Clicking on the 'Compose Message' option opens the message compose page
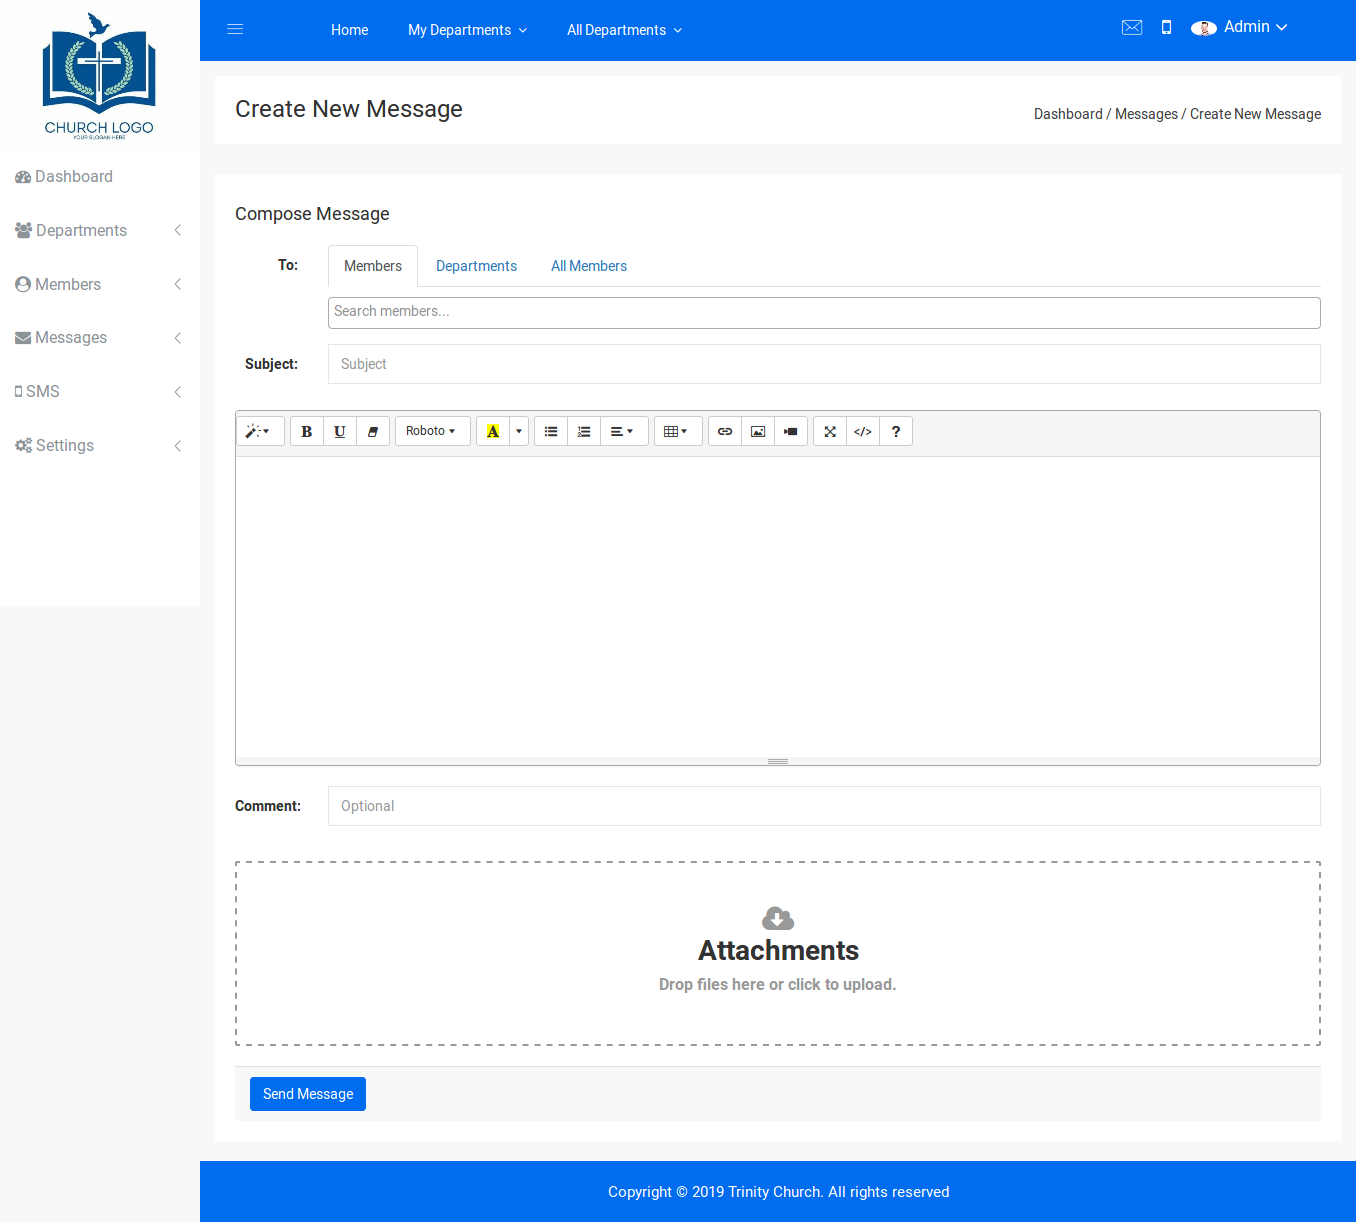
There are three options that can be used to select recipients for a message. The 'Members' option Allows you to type in a name or email address of an existing member.
You can add multiple specific membes this way. The 'Departments' tab allows you to Send messages to entire departments.
Finally, the 'All Members' option enables sending of messages to all users of the system. br
Attachments can also be added to messages. If an attachment is added, it will be sent in the email recieved by the recipient. It will also be availble for downloading in the
local inbox of the Application.
The Inbox and Sent Messages options allow for viewing recieved and sent messages.
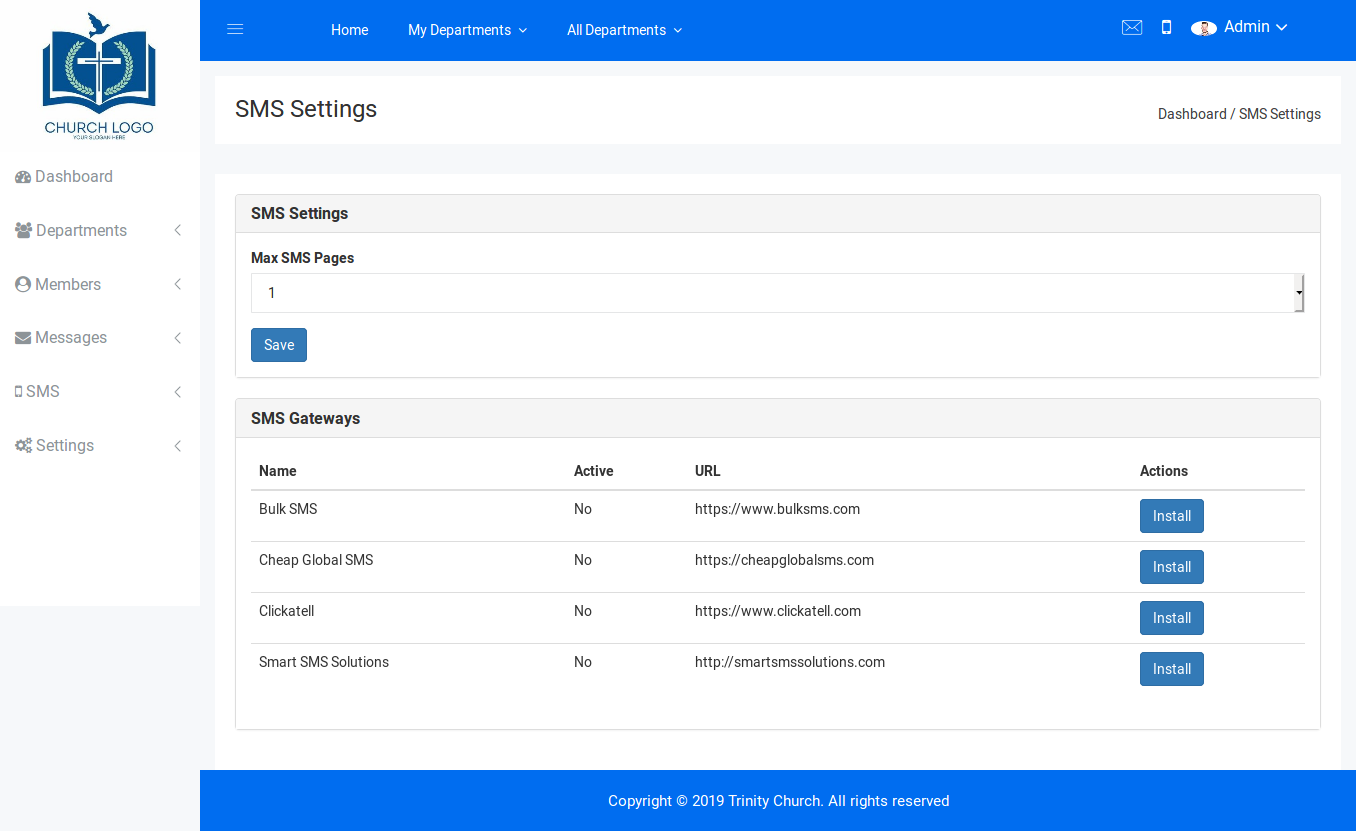
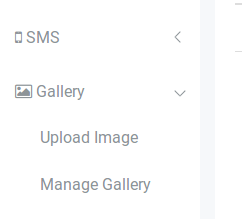
GForce comes with a centralized SMS messaging system. Only Administrators and Optionally Department Administrators can send messages. Department Administrators can send messages if the option to enable SMS is enabled for that department. 0nly Administrators can enable this option.
Clicking on the 'Compose Message' option brings up the form for composing a new message. The recipients for message can be selected similar to the email section mentioned above.
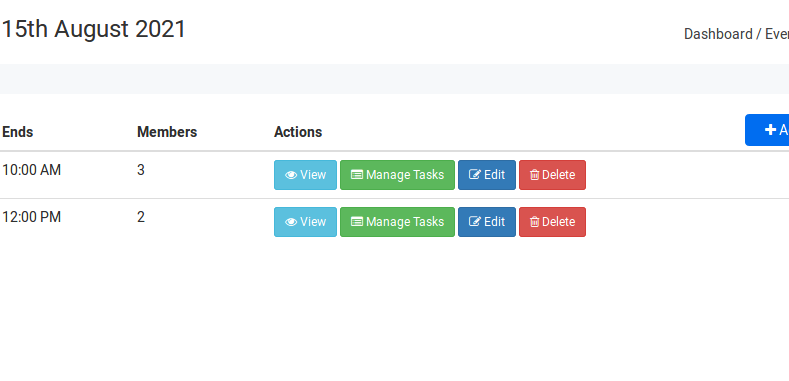
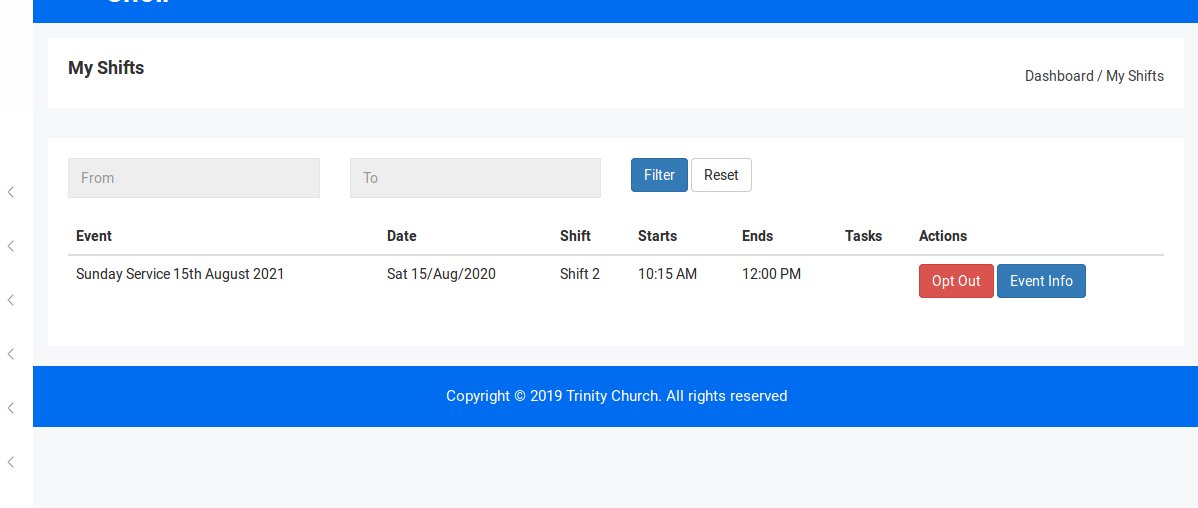
GForce comes with a powerful rostering system. This Feature is very useful for managing volunteer activities and tasks for upcoming volunteer services and other events.
This interface is only available when a user is logged into a department.
The menu options for the roster feature appear as below:


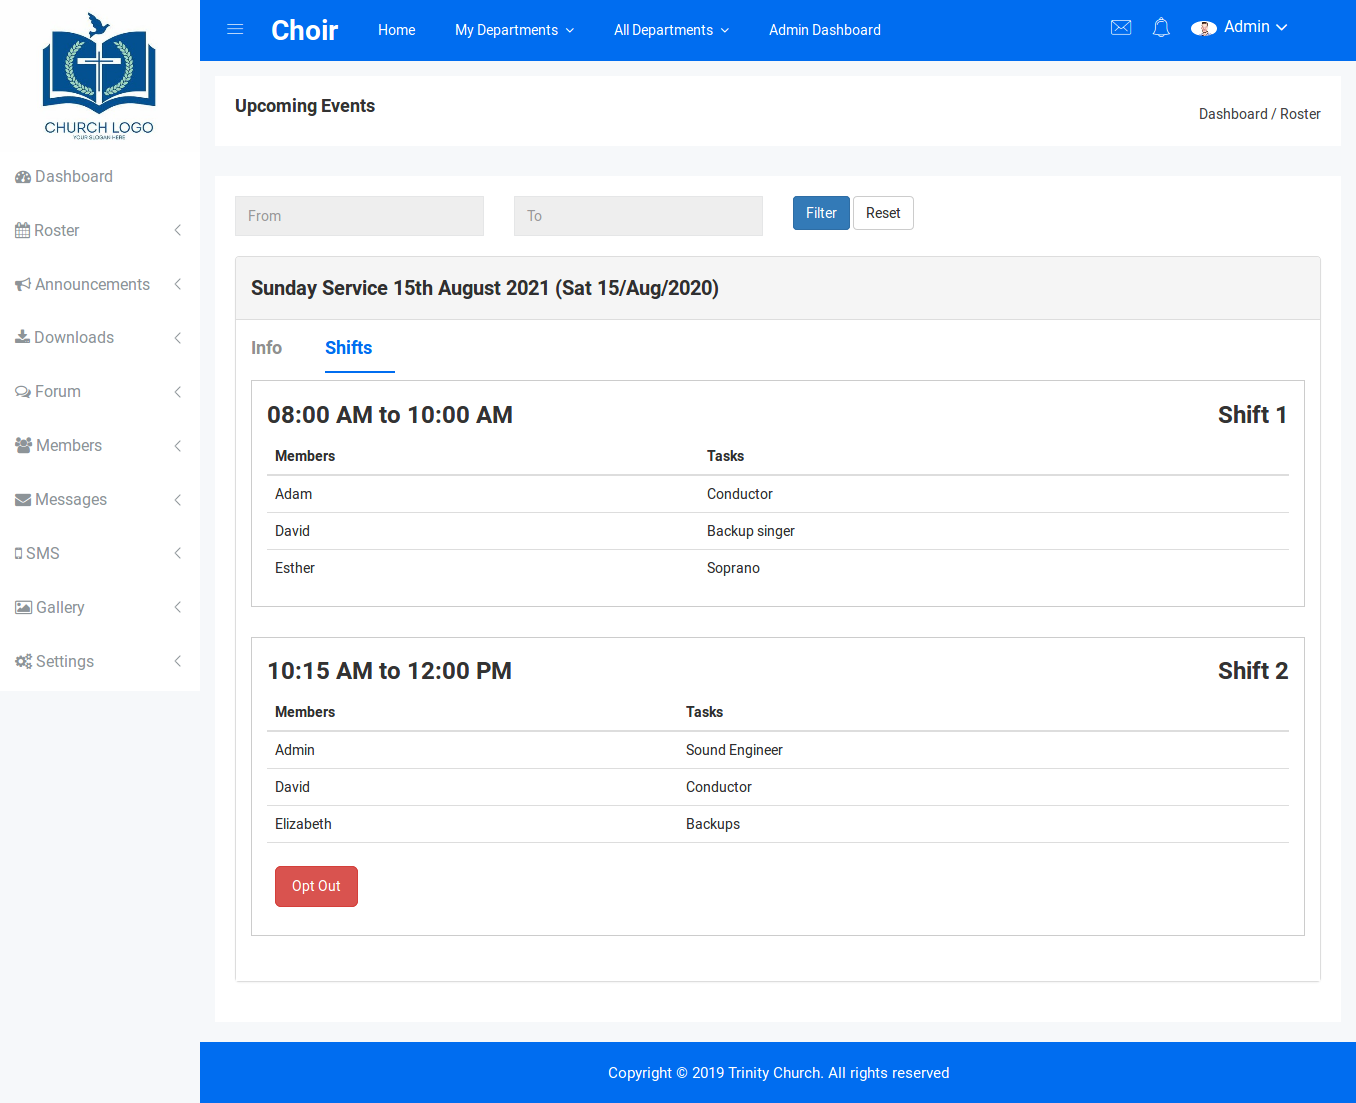

Only department administrators can create or manage events and associated shifts. To create new events and manage existing ones, click on the 'Manage Events' menu option.
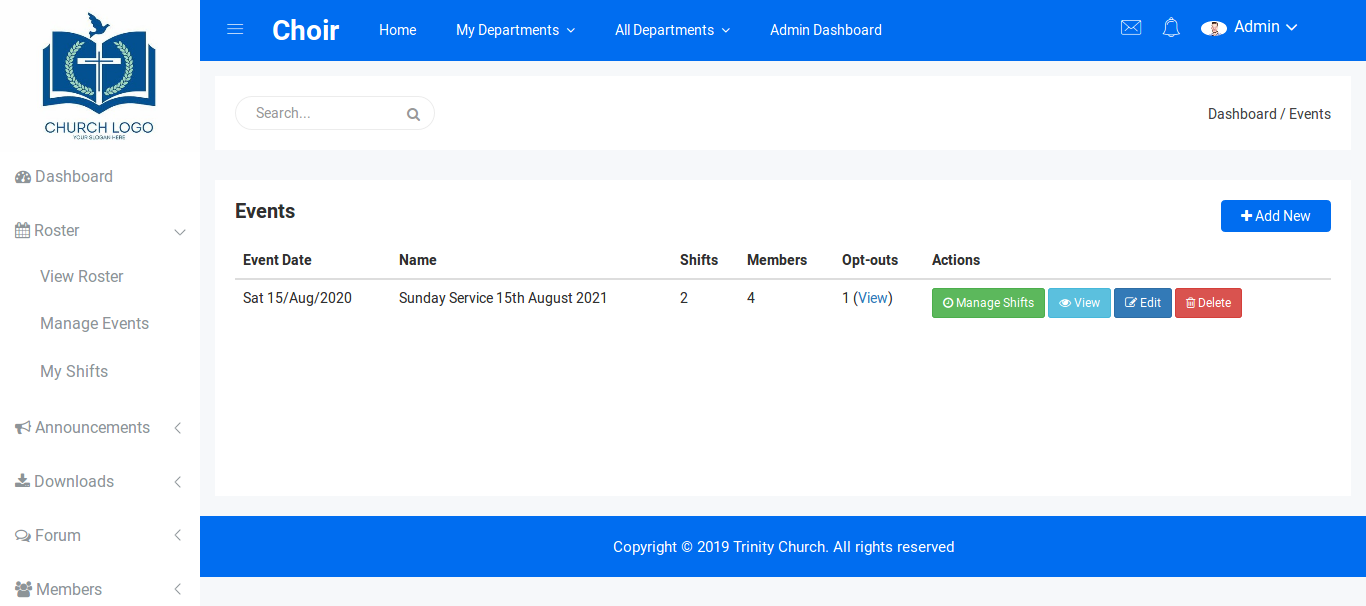
This pages lists all events in descending date order. Hence the most furthest event is displayed first. The list shows the name of the event,
How many shifts have been created for it, to total number of members (across all shifts) that have been added to the event and the total number of opt-outs
for all the shifts in the event. If opt-outs exists for an event, you will see a 'View' link under the opt-outs column. Clicking this link
brings up a pop-up that displays all the members that opted out and the reasons they gave.
To create a new event, click on the 'Add New' button. You can specify the event name, Select a date, a venue and description.
After you save the event, you will be directed to the page to create the first shift for the event.After that shift is created, you can add as many more as needed.

The 'Members' menu allows you to manage the members of a department. You can also view applications that prospective members have submitted and approve or deny such applications.

You can also create Teams in this section. Teams are simply groups of members within the department.This is useful in sending messages as the Messages and SMS creation pages feature a 'Teams' tab that you can use to
send messages to a subset of department members.
Members can view other members in the department if the option is enabled for that department.
The announcements feature is used to create a notice board for a department. Only department Administrators can create announcements but all members can view them.
 br
Click on 'View All' to view all announcements. Click on 'Add new' to add a new announcement.
br
Click on 'View All' to view all announcements. Click on 'Add new' to add a new announcement.
This interface is only available when a user is logged into a department.
GForce comes with a powerful resource sharing system. This system allows files to be securely shared among department members.
Department Admins and members can upload resources. However, there is an option for each department to disable members from uploading
resources if needed. Each download can contain multiple files.
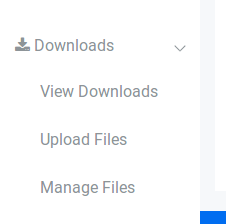
Clicking on the 'View Download' page, displays all the available downloads. This page is visible to both department admins and members.
It shows when a download was added, who created it, the name of the
download and how many files belong to the download. Clicing on the green 'Download' button downloads all the files in a zip file. Clicking on the 'View button
opens a page that displays all the individual files in the download and the description of the download.
To create a new download, click on the 'Upload Files' menu option.
The 'Manage Files' menu option leads to a page for managing the downloads of the department. If the user is a Department Admin, they will be able
to manage all files for that department. If the user is only a member, they will only be able to manage files they created.
This interface is only available when a user is logged into a department.
Gforce comes with a forum feature that enables members hold discussions on specific topics.

All Department Administrators and Members can create topics. However, there is a department settings option that can prevent members from creating topics if needed.
Department Administrators can delete any topic. Members can only delete topics they create.
Clicking on 'View Topics' displays all topics. Clicking on 'Create Topic' presents the form for adding a new topic and the initial thread.
GForce has a gallery feature that enables department admins upload pictures for the department. These images are diplayed for visitors onthe
Department's profile page on the main website.The purpose of this is to show prospective members activities of the department.
This interface is only available when a user is logged into a department.
It is important that you setup a cron job when you install Gforce. This will enable the application be able to send out notification
to members about upcoming shifts. It also handles tasks such as removing temporary files.
To setup your cron job, add this cron command to your server
* * * * * cd /path-to-your-project && php artisan schedule:run >> /dev/null 2>&1
If however you do not have the ability to add a cron job, you can alternatively call the following url once a day:
http://your-url/cron
Upgrading GForce is straighforward. First you need to backup the entire system. Next, copy the public/uploads folder to a seperate location.
Also copy the .env file (in the root directory) to a safe location. Then replace the application's files with the new files you downloaded.
Once you have done this, place back your .env file back to the root directory. Also copy your public/uploads directory back.
Finally, open your terminal and run the following commmand:
php artisan migrate